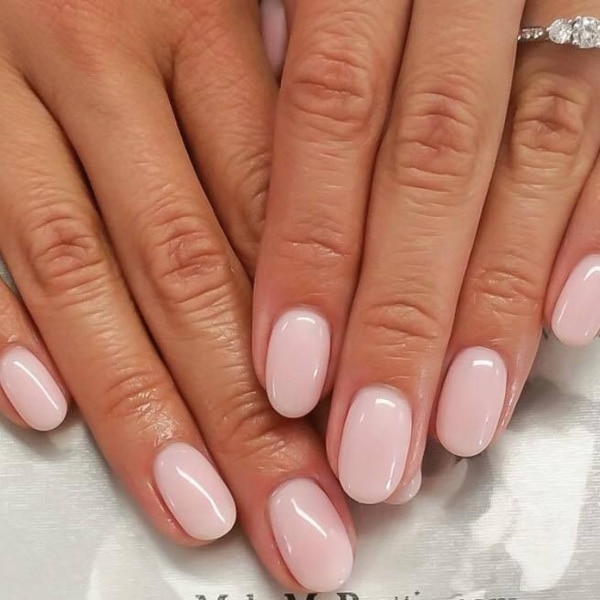
Introduction to Oval Nails
Oval nail boast a classic shape that’s been adored for decades. This style mimics the natural curve of the nail bed, creating a soft, feminine look. Many choose oval nails for their versatility and ease of maintenance. They are less likely to chip or break compared to pointier styles, making them a practical choice for daily wear.
To achieve the ideal oval shape, the sides of the nail must be filed gently to create a taper. The tip is then rounded off smoothly to form the classic oval silhouette. Both short and long nails can adopt the oval form, catering to personal preference and lifestyle needs. For those with shorter fingers, the lengthening effect of oval nails is a significant advantage.
When planning an oval nail design, aim for harmony between the nail shape and chosen art. This ensures a refined and cohesive look. An oval nail provides an excellent canvas for a variety of designs, from minimalist to elaborate. It is also a perfect match for any setting, whether it’s a day in the office or a night out.
The delicate balance of the oval nail renders it an evergreen choice in the nail fashion world. It reflects elegance without effort and suits every finger type. With the right care and design, oval nails can elevate one’s style subtly yet noticeably.
Popular Oval Nail Designs
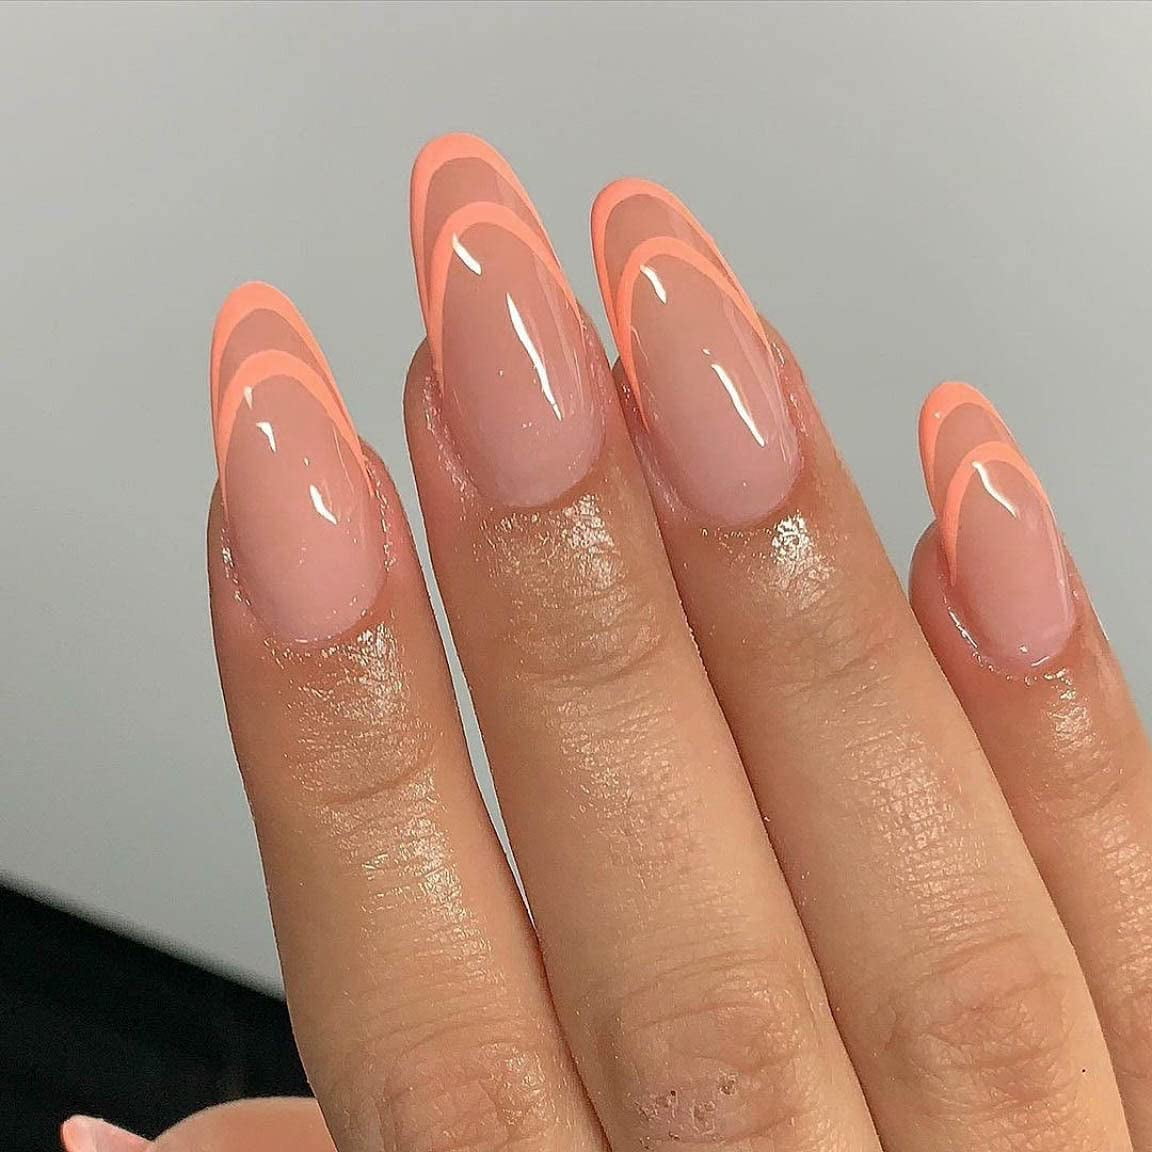
Oval nails offer a timeless look that allows for a wide range of design possibilities. One popular option is the French manicure, which features a natural base color complemented by white tips, aligning perfectly with the oval shape. Glitter accents can add a touch of glamour, often applied either as a gradient or on the tips. For a bolder statement, some choose to adorn their oval nails with geometric patterns or abstract art.
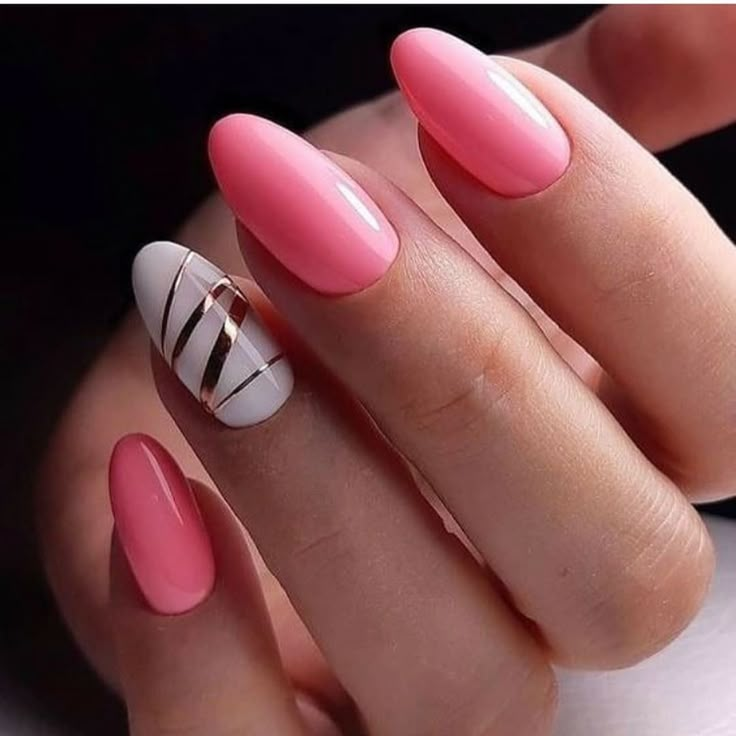
Floral designs with delicate lines and colors can enhance the feminine appeal of oval nails, creating a romantic and soft effect. Negative space designs, where parts of the nail remain unpainted, are on-trend and provide a modern twist to the oval nail aesthetic. They work particularly well when combined with bold colors or metallic stripes.
For those who prefer a minimalist look, a single stripe or dot can speak volumes on an oval canvas. Meanwhile, enthusiasts of more intricate artwork might opt for detailed lace patterns or miniature illustrations. The smooth curve of the oval nail shape makes it an excellent backdrop for even the most elaborate designs.
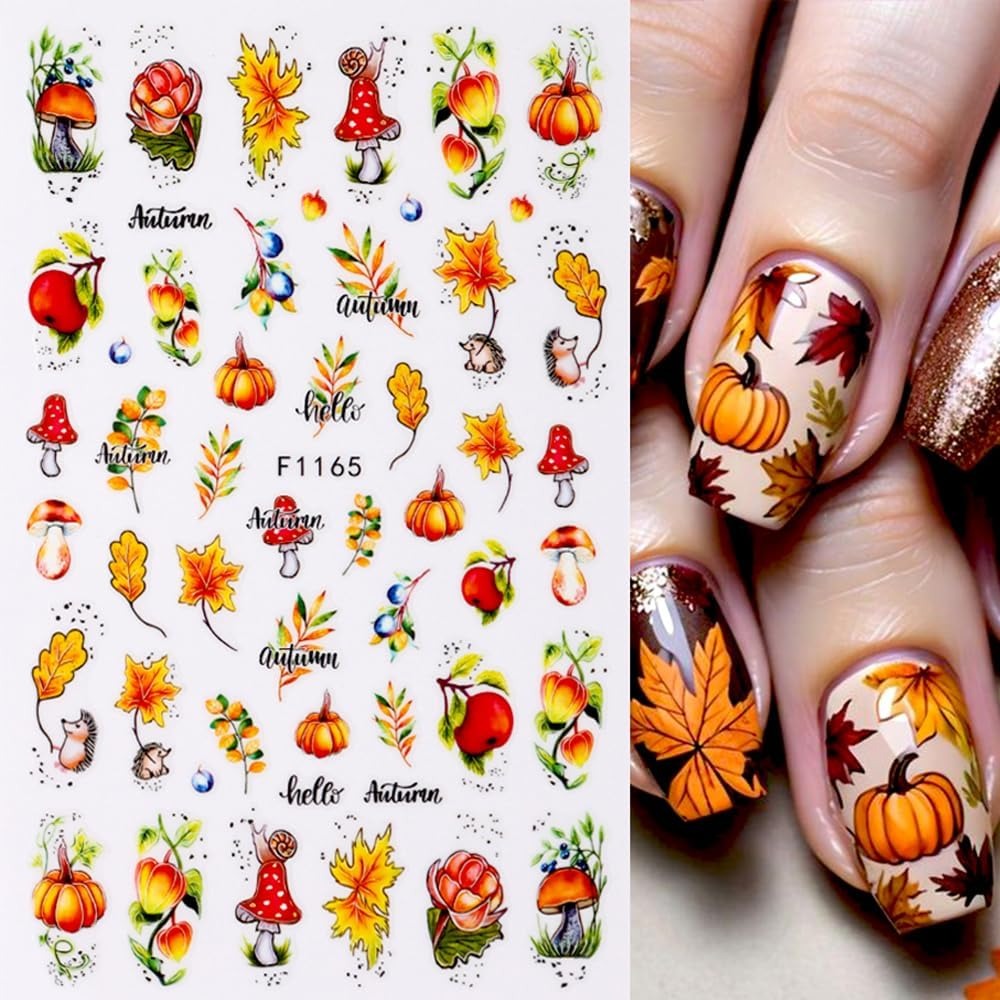
Seasonal themes are also popular, with winter designs incorporating icy blues and snowflakes, while autumn might evoke warm, earthy tones with leaves or pumpkin motifs. During festive seasons, oval nails become playful with glitter, sequins, or holiday-inspired art.
No matter the occasion or personal style, oval nail designs are adaptable and can be tailored to suit anyone’s preferences. The key is to choose a design that complements the classic oval shape and enhances one’s individual style.
Choosing Colors and Patterns for Oval Nails
Choosing the right colors and patterns for your oval nails can elevate your style. Think about each occasion and what suits you best. Soft pastels or nude tones work well for a day-to-day look. They blend perfectly with the oval nail’s classic appeal. For a more dramatic impact, bold hues like deep reds, vibrant blues, or emerald greens can stand out.
When selecting patterns, consider the size of your nails. Small, delicate designs can make short oval nails appear elegant. Larger patterns can work well on longer nails, offering more space for intricate details. Stripes and polka dots add a playful touch, ideal for casual outings. Geometric shapes or abstract art can create a modern, edgy feel.
Seasonal colors can guide your choice. Cooler shades match the winter mood, while bright, lively colors fit summer vibes. When it comes to patterns, think festive for holidays. Tiny hearts or flowers can be perfect for a romantic date. Snowflakes or stars can align with holiday themes.
Always remember, the pattern should not overwhelm the nail’s shape. Keep it simple. Minimal designs often make the biggest statement on oval nails.
By carefully selecting suitable colors and patterns, you can ensure your oval nails are always in vogue. Aim for a balance between trendiness and personal taste. This way, your nails will complement your overall style beautifully.
Tips for Achieving the Perfect Oval Nail Shape
Achieving the perfect oval nail shape takes precision and patience. Here are some tips to help you master this classic look. First, start with clean, dry nails. This allows for smoother filing and a cleaner shape. Remember to file gently, focusing on the sides of the nail. Work from the outside edge toward the center. Use a fine-grit nail file for best results. This prevents splitting and cracking.
Ensure both sides are symmetrical. This is key for the oval shape. Check the shape from different angles to maintain balance. It’s better to file a little at a time. This prevents over-filing and allows you to control the shaping process. If you’re growing out your nails, trim them regularly. This encourages a stronger, more defined oval shape as they grow.
Don’t skip on nail care. Moisturize your cuticles and nails regularly. This keeps them flexible and less prone to breakage. Use a nail strengthener if your nails are weak. This supports the oval shape and prevents distortion.
For those unsure about achieving the shape alone, consult a professional. They can guide you and provide a template for maintenance at home. Lastly, practice makes perfect. With regular care and attention, you’ll find the process becomes easier and your oval nails will look fantastic.
Maintenance and Care for Oval Nails
Maintaining oval nails requires regular upkeep to keep them looking their best. Here are essential tips to care for your oval nail designs:
- Regular Trimming: Trim your nails frequently to prevent them from growing too long and becoming prone to breaking.
- Smooth Filing: File your nails regularly using a fine-grit file to maintain the smooth oval shape. Always file in one direction.
- Cuticle Care: Keep cuticles moisturized with oils or creams. Push them back gently; never cut them.
- Hydration is Key: Apply hand lotion daily to keep the skin around your nails soft and nourished. This helps protect the overall health of your nails.
- Strengthener Use: If your nails are weak, use a nail strengthener. This can help maintain the oval shape and prevent breakage.
- Avoid Harsh Chemicals: Wear gloves while cleaning or using chemicals, as they can damage your nails and cause brittleness.
- Healthy Diet: A diet rich in vitamins and proteins supports nail strength and growth.
- Professional Check-ins: Visit a nail technician for regular maintenance. They can address any concerns and provide expert care.
By implementing these practices into your nail care routine, you can ensure that your oval nails remain elegant and stylish. Remember, healthy nails are the foundation of beautiful nail art, so never compromise on the basics of nail care.
The Best Products for Oval Nail Design
To ensure a flawless oval nail design, using the right products is essential. Here’s a list of recommended items to keep in your nail design kit:
- Nail Files: Opt for fine-grit files for precise shaping without damaging the nail.
- Base Coat: A quality base coat helps protect the nail and enhance the durability of your design.
- Nail Polishes: Invest in a range of colors from pastels to bold shades for diverse designs. High-pigment polishes provide better coverage.
- Top Coat: A high-shine top coat seals your art, adds gloss, and prevents chipping.
- Dotting Tools and Brushes: Use these to create detailed patterns and precise dots with ease.
- Nail Strengthener: A good nail strengthener supports nail health and keeps oval nails from distorting.
- Cuticle Oil: Keep your cuticles moisturized for a clean nail design canvas.
- Nail Art Stickers: These are perfect for quick and easy design applications without complex drawing.
- Nail Glue: For adding embellishments, a strong nail glue is vital to keep them in place.
- Glitters and Sequins: Add sparkle to your oval nails with a selection of nail glitters and sequins.
By having these products at your disposal, you can create and maintain beautiful oval nail designs with professionalism and ease. Each product works together to provide a complete look that showcases your oval nails at their best. Remember to select the items that align with your personal style and the oval nail aesthetic.

Step-by-Step Guide to Creating Oval Nail Art
Creating beautiful oval nail art is achievable with the right techniques. Here’s a simple step-by-step guide to help you design your oval nails like a pro.
- Prep Your Nails: Ensure that your nails are clean, shaped into an oval (refer to the tips from previous sections), and free from any oils for the polish to adhere properly.
- Apply Base Coat: Spread a thin layer of base coat over your nails to protect them from staining and to help the polish last longer.
- Choose Your Color: Pick a nail polish color that suits your style. Apply the first coat, starting at the base and brushing up to the tip.
- Add a Second Coat: Once the first coat is dry, apply a second coat to ensure full coverage and vibrant color.
- Create Your Design: Use dotting tools, brushes, or stickers to add patterns and details to your nails. Keep your hand steady.
- Seal with Top Coat: Finish with a top coat to add shine and seal in your design for longevity.
- Dry Thoroughly: Let your nails dry completely to prevent smudging your new nail art.
By following this guide and using the recommended products, your oval nail art will look polished and professional. Don’t rush the process and allow each layer to dry for best results. Enjoy showcasing your creative and elegant oval nail designs!
Trendsetting Oval Nail Designs for Different Occasions
Oval nails are versatile for any event. Let’s explore some oval nail designs that can make a statement for different occasions:
- For the Office: Choose simple, subdued colors like nudes or pale pinks. A sheer gloss finish adds a professional touch. Consider thin stripes or small dots for minimalistic flair.
- Weddings and Formal Events: Go for soft pastels or classic French tips. Pearlescent finishes or tiny rhinestones can add sophistication without being too flashy.
- Casual Gatherings: Try brighter colors or fun patterns like floral prints. A matte top coat can give a modern edge to your oval nail design.
- Night Out: Pick bold shades like deep plum or shimmery gold. Metallic accents or a glitter gradient can create a glamorous look.
- Holidays: Seasonal designs are perfect here. Think red and green for Christmas or orange and black for Halloween. Themed decals can make quick and festive nail art.
- Vacation Mode: Tropical hues or ocean blues work well. Palm tree silhouettes or sunset gradients can complete the vacation vibe.
- Sporting Events: Show team spirit with team colors. Add logos or jersey stripes for a devoted fan’s look on oval nails.
By adjusting designs and colors, you can have oval nails suitable for any time or place. Keep nail health in mind, and enjoy changing up your look!