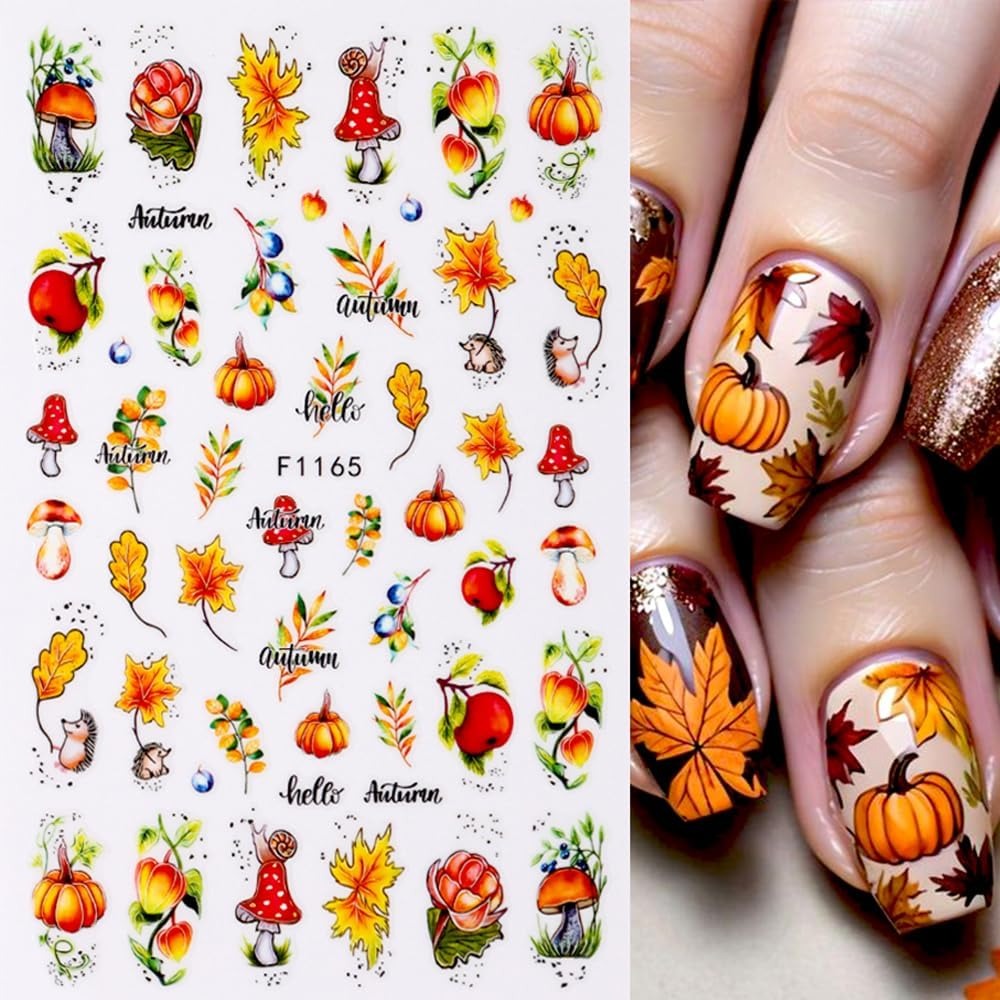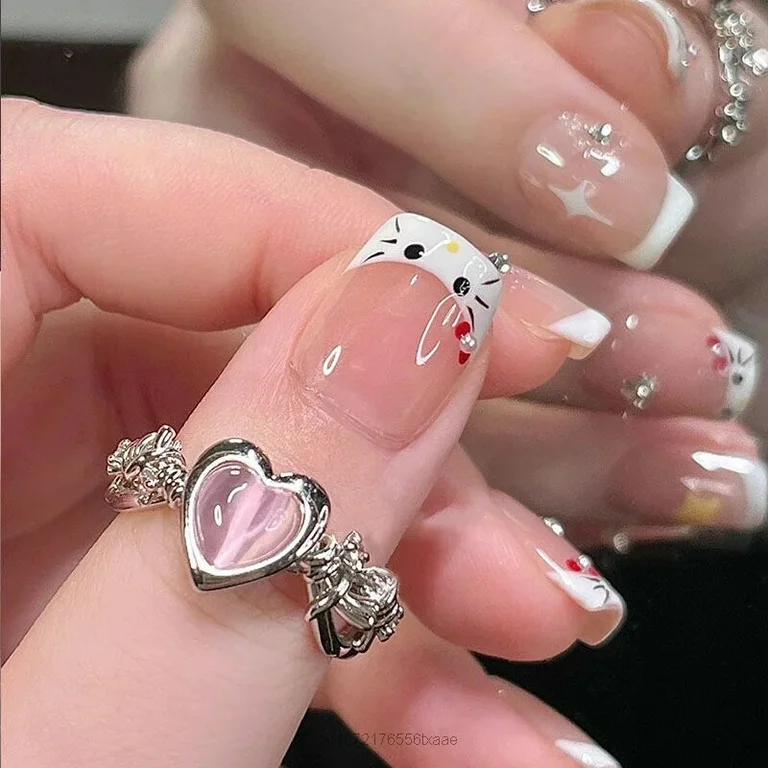
Introduction to Hello Kitty Nail Art
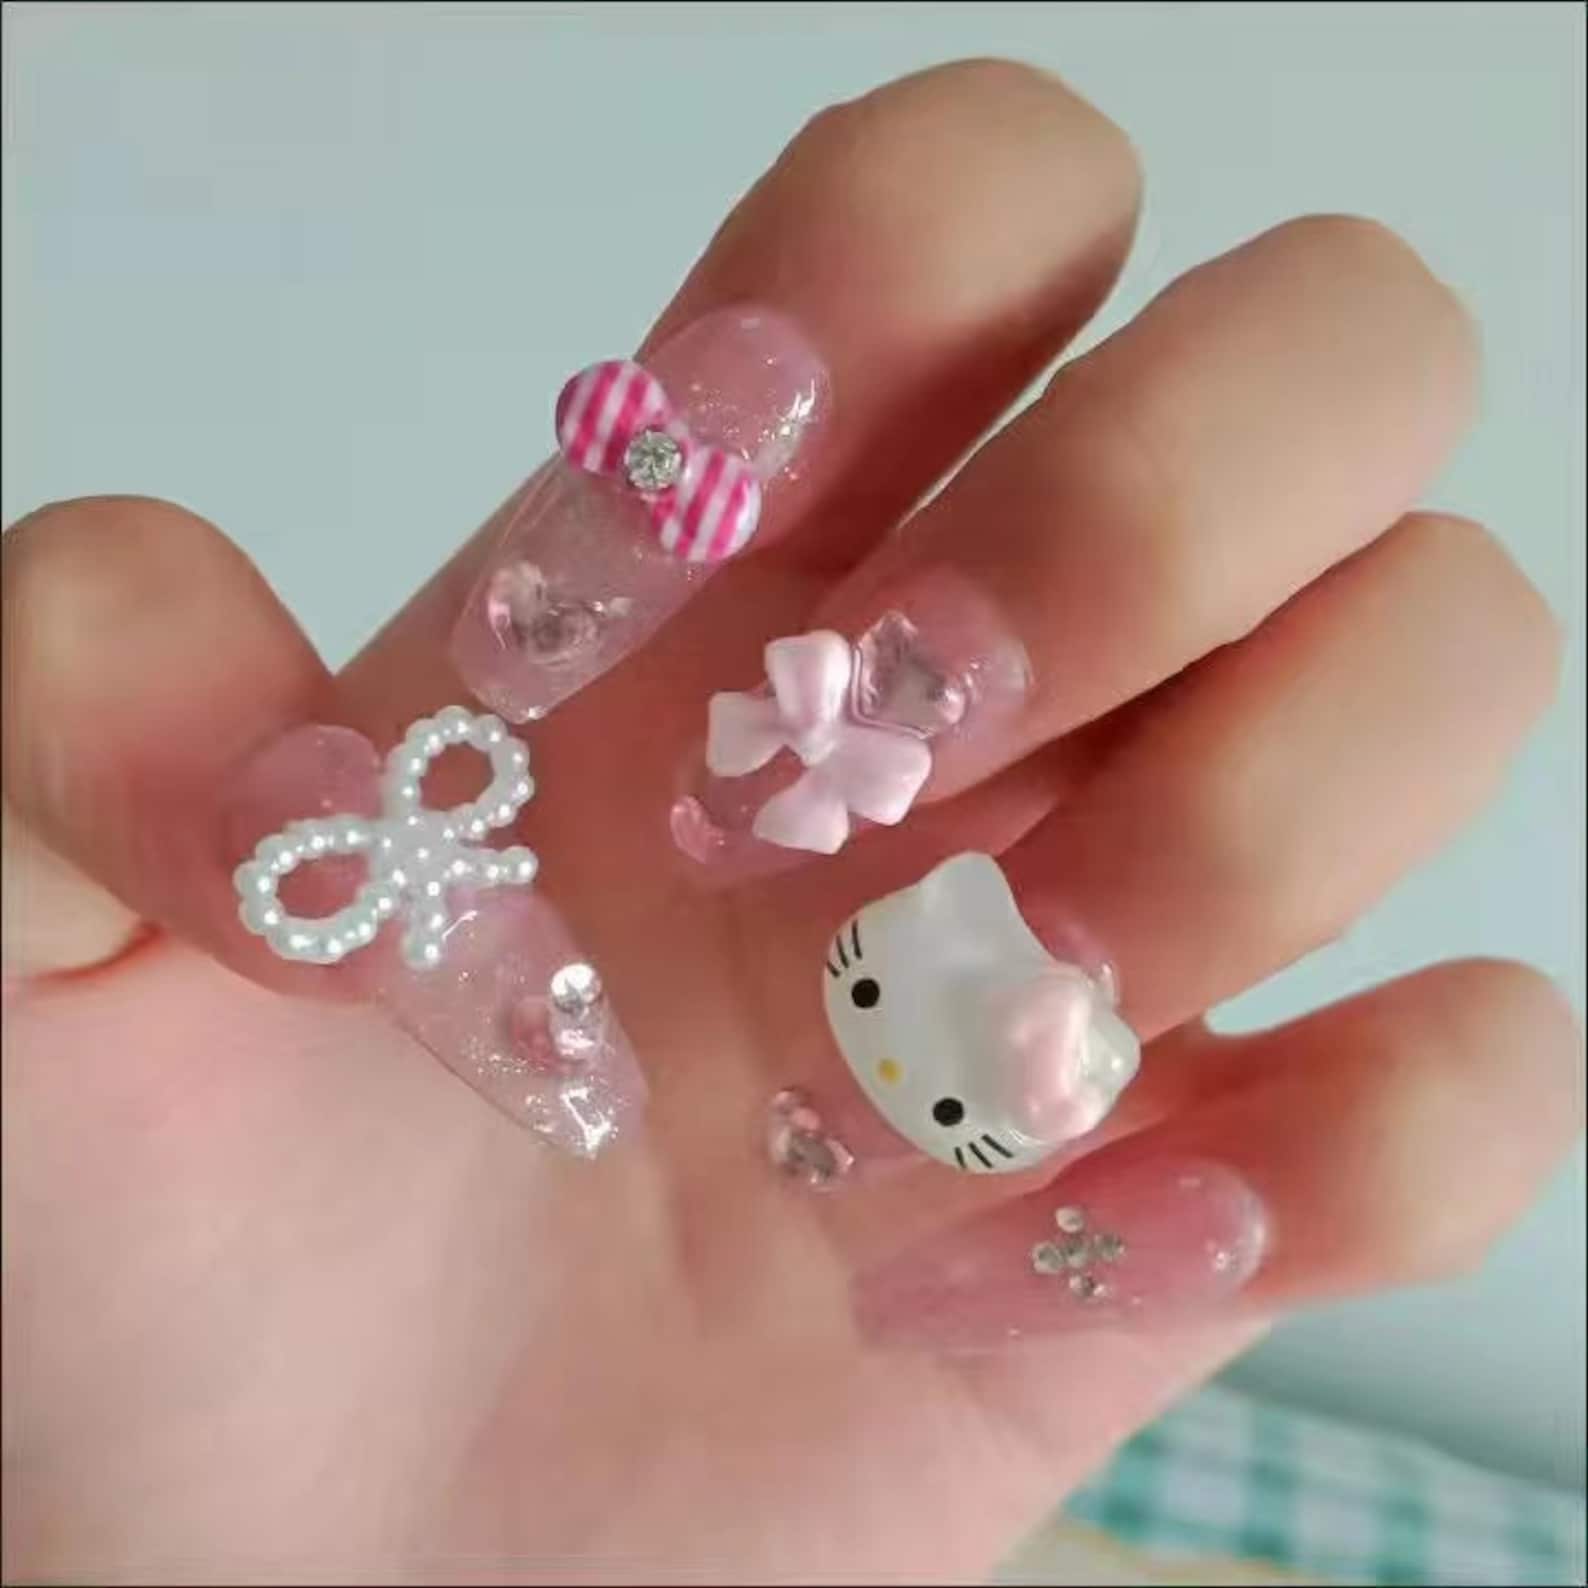
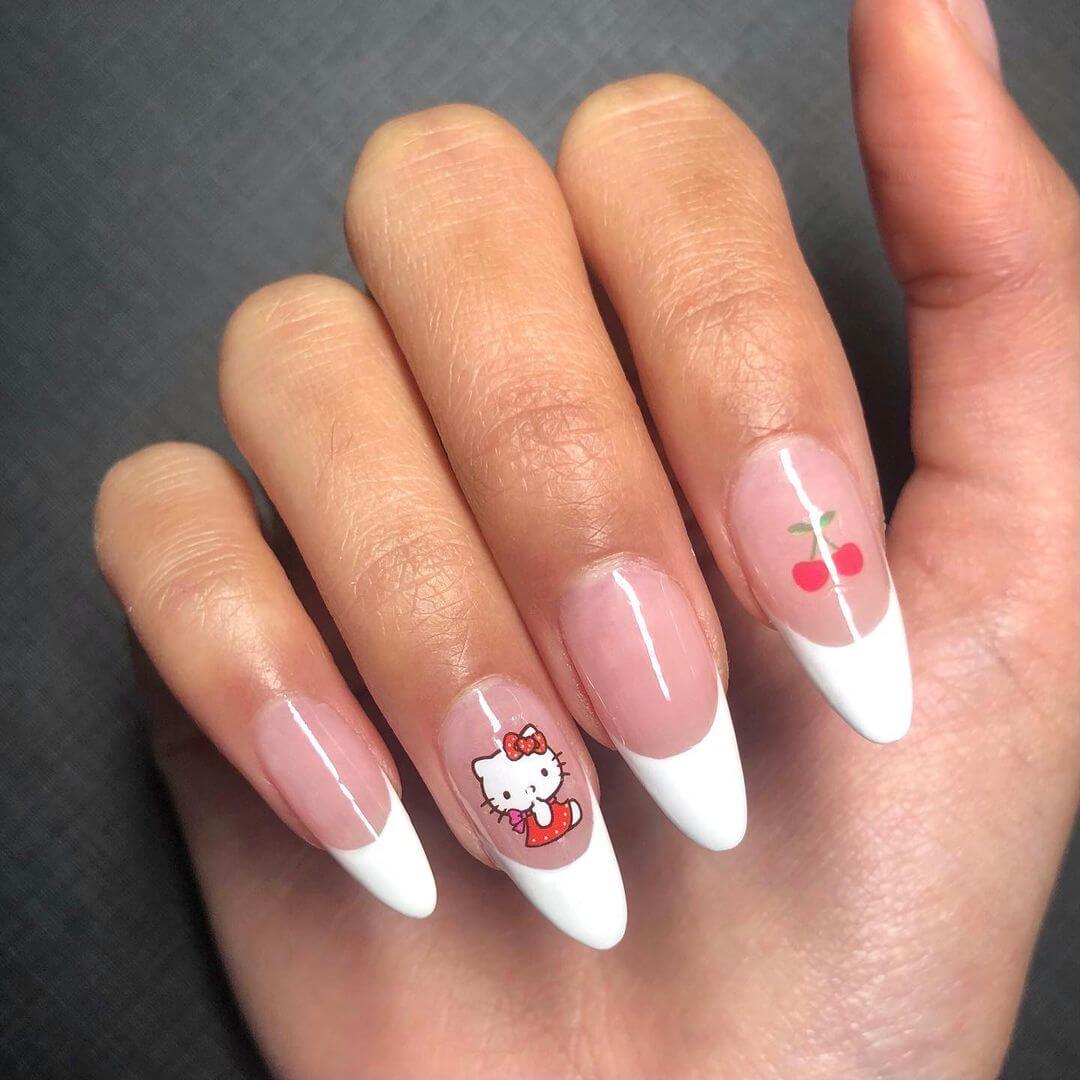
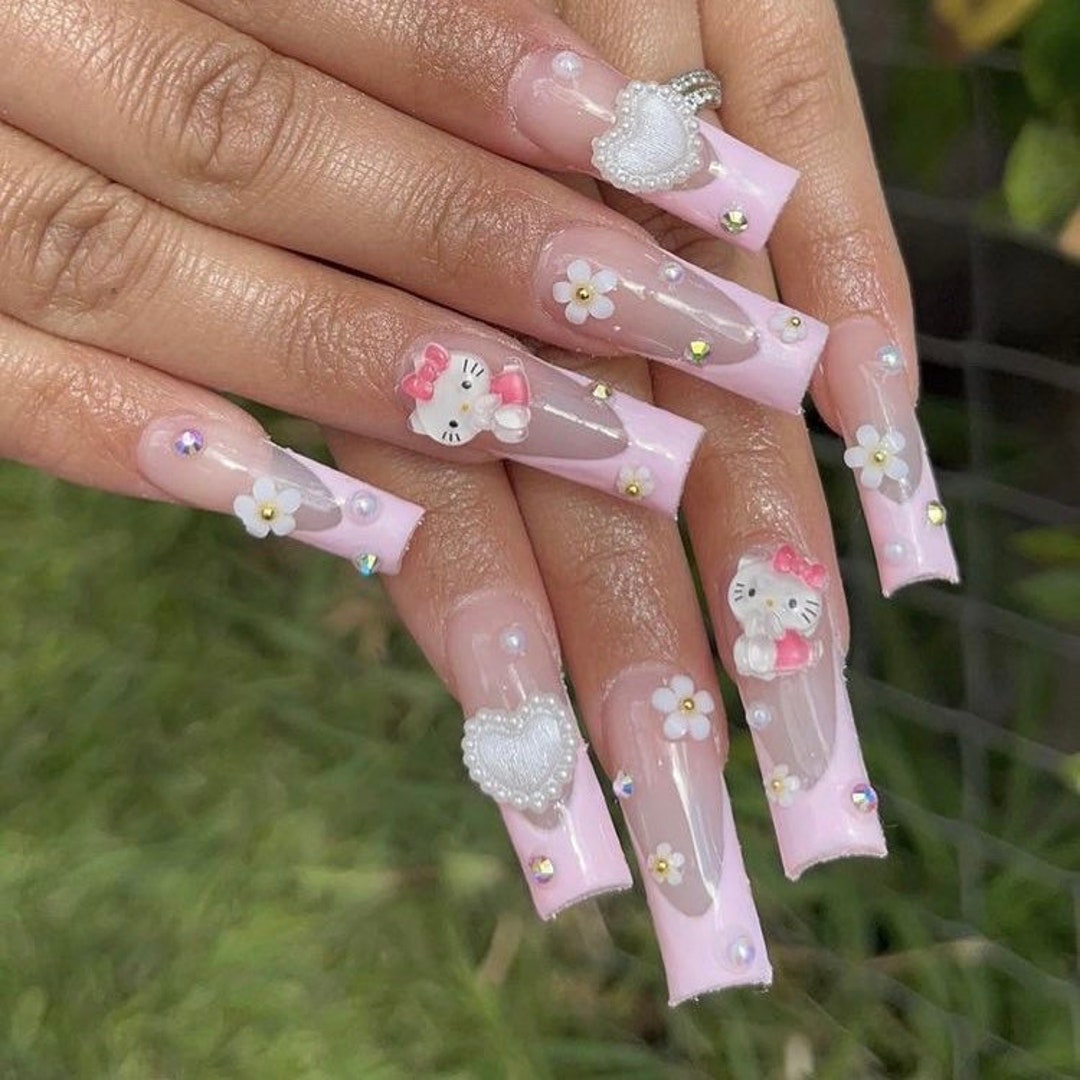
Hello Kitty nail art has become a beloved trend. It honors a popular and cute character. This style blends creativity with nostalgia. Into each design, artists infuse Hello Kitty’s signature colors and symbols. It’s not just for the young but adults too who cherish their sweet memories.The essence of short Hello Kitty nails art lies in its simplicity and cuteness. It often features bright pinks, reds, and whites. Look for bows, flowers, and kitty faces. Short hello kitty nails are practical and fashionable. They suit everyday life while adding a touch of fun.
Nail enthusiasts adore this trend for its versatility. It can suit any occasion, from casual outings to celebratory events. To keep up with the latest in Hello Kitty nail styles, one should stay tuned to current trends. This will ensure your nails are always in vogue.
In this guide, we will uncover the charm of short Hello Kitty nails. We will explore trending designs, color combos, and maintenance tips. Beginners will find easy tutorials. We will also discuss must-have tools and products. Lastly, we will reveal where to find endless inspiration for these adorable nail designs. Stay with us to become a Hello Kitty nail art pro.
Trending Hello Kitty Nail Designs in 2025
As we step into 2025, short Hello Kitty nails continue to charm with fresh, trending designs. Nail artists have expanded their creativity to turn these cute nails into statement pieces. From minimalist accents to full-blown themed art, here are some of the hottest designs making waves this year.
Minimalist Kitty Accents
Simplicity reigns with minimalist Hello Kitty motifs. Small bows, tiny paw prints, or a single Hello Kitty face on one nail adds a subtle but sweet touch. Use a fine brush or a nail sticker if you’re doing this at home.
Bold Color Blocks
Combining Hello Kitty’s classic colors, bold blocks of red, pink, and white dominate. These vibrant designs pop, especially on shorter nails, keeping the look modern and chic.
Mixed Patterns with Hello Kitty Icon
Mix it up with stripes, dots, or chequers alongside your Hello Kitty icon. It creates a playful canvas, blending pattern with nostalgia.
Glitter and Gems
For a glamorous touch, many are using glitters or tiny gems to outline Hello Kitty elements. It’s flashy and fun—perfect for special occasions.
Negative Space Designs
A trend on the rise involves leaving parts of the nail untouched to create Hello Kitty shapes in the negative space. It’s a sophisticated twist on the classic nail art form.
Seasonal Themes
Seasonal interpretations are all the rage. Think about incorporating Hello Kitty into holiday scenes or with seasonal colors and designs.
These designs are just a start. Remember, short hello kitty nails are a canvas for creativity. Don’t shy away from experimenting with any of these trending styles to make the Hello Kitty theme truly your own. Use the right tools and take your time to achieve these eye-catching looks on your nails.
Tips for Achieving the Perfect Short Hello Kitty Nails
Achieving the perfect design for short Hello Kitty nails requires attention to detail and a steady hand. Here are some practical tips to help you craft these sweet designs:
Choose the Right Base Color
Start with a solid base color that complements Hello Kitty’s signature palette. Light pinks, whites, and reds work best. A smooth base will make the rest of your design stand out.
Use Quality Nail Tools
Invest in fine-tip brushes and dotting tools. They help create precise lines and dots for those iconic Hello Kitty elements. Good tools make a big difference.
Apply a Clear Top Coat
Protect your nail art with a clear top coat. It seals in color and design, extending the life of your manicure. Plus, it adds an extra shine.
Practice Placement
Before painting, practice placing your design on paper. This helps you gauge where Hello Kitty’s face and other elements will go on the nail. Planning ahead avoids mistakes.
Keep Your Nails Healthy
Healthy nails ensure a better canvas for any nail art. Use cuticle oil and keep your nails trimmed to a uniform length. Happy nails equal happy designs.
Avoid Overcrowding
On short nails, space is limited. Choose one or two elements of the design to focus on. Too much can look cluttered and take away from the cuteness.
Be Patient and Let Layers Dry
Rushing can cause smudges or chips. After each layer, give your nails time to dry. This means waiting between the base color, design, and top coat applications.
Remember, practice makes perfect. With these tips and a bit of patience, you’ll be able to create adorable short hello kitty nails that everyone will admire.
The Best Colors and Patterns for Hello Kitty Nails
Selecting the right colors and patterns is key for charming short Hello Kitty nails. Below, we explore the most favorable options that resonate with this adorable theme.
Opt for Classic Hello Kitty Shades
Stick with the iconic Hello Kitty color scheme. Light pinks and pastel reds capture her essence. Pure whites also provide a clean backdrop for designs. These hues bring out the innocence and charm characteristic of Hello Kitty.
Experiment with Pastels
Pastels add a soft, modern twist. Lavender, mint green, and soft yellows complement the classic tones. They offer a fresh palette for creativity.
Embrace Bold and Bright
For a daring look, go for bright blues or greens. These energetic colors make designs pop. They also add a playful edge to your Hello Kitty nail art.
Incorporate Patterns Wisely
Stripes or polka dots in small doses work well. They add interest without overwhelming short nails. Balance is crucial; use patterns sparingly.
Mix and Match with Caution
Blending different elements needs a gentle touch. Choose patterns that align with the Hello Kitty theme. Too many patterns can clash, so keep it simple.
Leverage Glitter with Care
A touch of glitter can add sparkle. Use it to highlight features or for an accent nail. Remember, less is more. Overdoing glitter can overshadow the subtlety of Hello Kitty.
Remember to keep proportions in mind for short nails. Smaller designs and delicate patterns work best. Apply these tips to pick the best colors and patterns, and your Hello Kitty nail art will shine.
Hello Kitty Nail Design Tutorials for Beginners
For those new to nail art, creating short Hello Kitty nails may seem daunting. Yet, with the right guidance, beginners can achieve adorable results. Here’s a step-by-step tutorial designed to help novices craft cute Hello Kitty designs with ease.
Step 1: Gather Your Materials
Start by assembling all your tools and products. You’ll need nail polish in Hello Kitty’s signature colors, fine-tip brushes, dotting tools, and stickers if you prefer. Don’t forget the clear top coat.
Step 2: Prep Your Nails
Clean and shape your nails. Apply a base coat in a light pink, white, or red. Let it dry completely. Healthy nails are the best canvas.
Step 3: Add the Hello Kitty Accents
Using your fine-tip brush, paint a simple Hello Kitty face or bow. Keep it small and centered. Stickers can also work for a fuss-free application.
Step 4: Include Extra Elements
Add extra flair with dots, stripes, or glitter. Choose one element to keep it simple. Remember, less is more on short nails.
Step 5: Seal with a Top Coat
Once your design is complete and dry, apply a clear top coat. It protects your art and adds a glossy finish. Let it dry thoroughly.
Step 6: Practice and Experiment
Practice makes perfect. Start with simple designs, then try more as you get comfortable. Experiment with different colors and patterns.
These tutorials aim to simplify the process for beginners. With a steady hand and a bit of practice, you’ll master short Hello Kitty nail designs in no time. Keep experimenting and have fun with it!
How to Maintain Short Hello Kitty Nails
Maintaining your short Hello Kitty nails is essential for keeping them looking great. Here are some tips to help preserve your manicure and ensure your nails stay healthy and beautiful:
Keep Nails Clean and Dry
Regularly wash your hands and nails. Dirt can cause designs to fade or get damaged. After washing, dry them thoroughly to prevent moisture from weakening nail polish.
Moisturize Regularly
Use cuticle oil and hand cream to keep the skin around your nails supple. Moisturizing prevents hangnails and helps maintain the overall health of your nails.
Wear Gloves for Protection
When doing household chores, wear gloves to shield your nails. Cleaning products and water can be harsh and may shorten the lifespan of your nail art.
Be Gentle with Your Nails
Refrain from using your nails as tools to pick or pry things. This can lead to chipping or breaking not just the polish, but your nails too.
Touch Up When Needed
If you notice a small chip or scratch, touch it up with the same polish. Quick fixes can extend the life of your design without a full redo.
Avoid Biting Nails
Biting can damage the design and weaken nails. If you struggle with this habit, look for a bitter-tasting nail polish deterrent.
Regular Trimming and Filing
Keep your nails short and in good shape. Trim and file them regularly to prevent snags and tears that can ruin nail art.
Seal with a Top Coat
Applying a new top coat every few days adds an extra layer of protection. It keeps the nail art shiny and prevents it from fading.
By following these maintenance tips, you’ll ensure your short Hello Kitty nails stay adorable for longer. Regular care goes a long way in preserving the beauty of your manicure.
Must-have Tools and Products for Hello Kitty Nail Art
Creating Hello Kitty nail art requires specific tools and products. They ensure your designs look precise and last longer. Here are the must-haves:
Quality Nail Polish in Hello Kitty Colors
Select high-quality nail polishes in pink, red, and white. They form the base of Hello Kitty’s color palette. Choose ones that have good opacity and a long-lasting formula.
Fine-tip Brushes and Dotting Tools
Fine brushes help in painting tiny details like whiskers and eyes. Dotting tools are perfect for creating the iconic bow and polka dots.
Nail Stickers and Decals for Easy Designs
Not confident in your freehand skills? Use stickers or decals. They are simple to apply and give a clean, professional appearance.}
Top Coat for Durability
A top coat keeps your nail art from chipping. It also adds a glossy shine to your Hello Kitty designs.
Nail Polish Remover and Cotton Swabs
These are essential for clean-up and corrections. Keep your lines sharp and tidy with precise application.
Cuticle Oil and Hand Cream
Healthy nails and skin make for better nail art. Use cuticle oil for strong nails and hand cream for soft skin.
Nail File and Clippers
Keep your short nails in shape with regular filing and clipping. It’s easier to create designs on well-maintained nails.
Gather these tools and products to achieve perfect short hello kitty nails. Quality counts, so invest in the best you can afford.
Where to Find Hello Kitty Nail Art Inspiration
Finding the right ideas for short Hello Kitty nails can spark your creativity. Look for inspiration in the following places:
Social Media Platforms
Instagram and Pinterest are full of nail art accounts. Here, artists share their designs. Search for #HelloKittyNails to find a variety of styles.
Nail Art Blogs and Websites
Many bloggers focus on nail trends. They provide tutorials, photos, and tips. Websites like Nailsmag and Nailedit are good sources.
YouTube Tutorials
YouTube has countless nail art videos. Watch tutorials for both basic and complex designs. It’s a visual way to learn new tricks.
Hello Kitty Events and Collaborations
Keep an eye on special Hello Kitty events. Brands sometimes collaborate for limited edition designs. These can inspire your own creations.
Hello Kitty Merchandise
Look at Hello Kitty toys and accessories. Their colors and patterns can translate into nail designs. It’s a direct way to capture the character’s essence.
Nail Art Communities
Online forums and groups bring enthusiasts together. Sites like Reddit’s r/Nails and NailArtGallery have members who share ideas and give feedback.
Subscription Boxes and Nail Art Kits
Some subscription boxes cater to nail art. They often include Hello Kitty-themed items. This can give you new products to test.
By exploring these sources, you’ll find endless Hello Kitty nail art inspiration. Mix ideas from different places. With inspiration and the right tools, you can create your own adorable short Hello Kitty nails.