Hello Kitty Nail Art History
Hello Kitty nail art has grown in popularity over the years. The trend began in the early 2000s, influenced by the kawaii culture from Japan. Kawaii, meaning ‘cute’, fits perfectly with Hello Kitty’s brand appeal. Sanrio, the company behind chic Hello Kitty short nails, has become a global lifestyle brand since its creation in 1974. This little cat with a red bow became an iconic image and a fashion statement.
The Hello Kitty design started appearing on various merchandise including clothing, accessories, and even tech gadgets. It didn’t take long for the beauty industry to embrace this trend, resulting in cute and creative nail art designs. Initially, the designs were popular among younger demographics. But soon, Hello Kitty short nails captured the hearts of all ages.
Hello Kitty nail art history shows a shift in preferences as well. Early designs were quite simple, usually involving stickers or painted faces of Hello Kitty on one or two nails. As nail art techniques evolved, so did the complexity and creativity of Hello Kitty designs. Now, nail artists can create intricate patterns that include Hello Kitty characters and elements of her world.
As these short nails inspired by Hello Kitty became a part of mainstream fashion, celebrities and influencers started showcasing them. This increased their visibility and popularity. Fans of the character could express their love for Hello Kitty in a fun, and often glamorous, way.
To this day, Hello Kitty nail art remains a stylish choice for nail enthusiasts. The designs keep evolving, but the affection for this cute character holds strong. Investing in Hello Kitty short nails is more than just a beauty choice; it’s an embrace of a beloved cultural icon and its history.
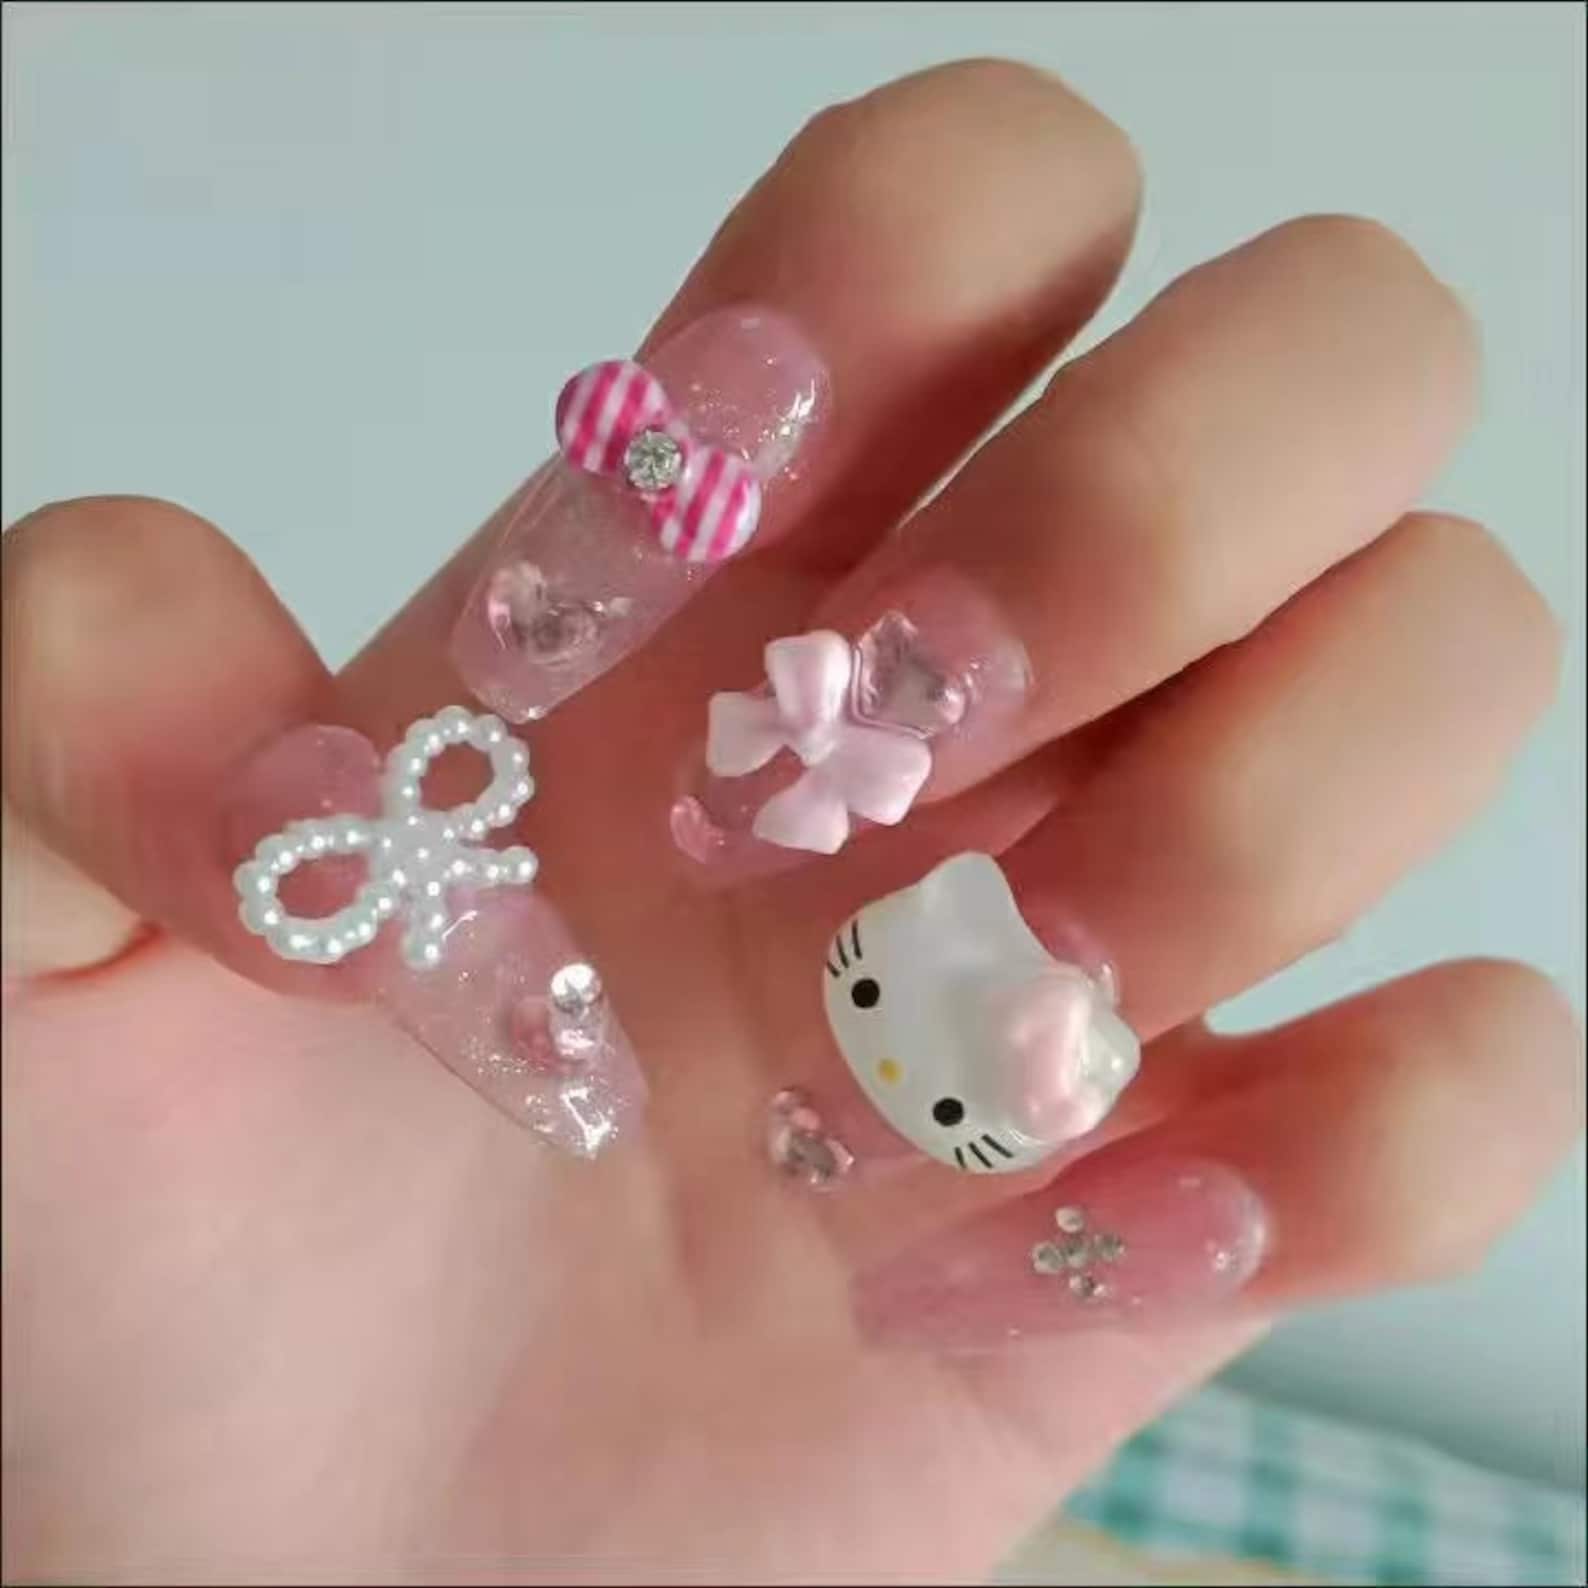
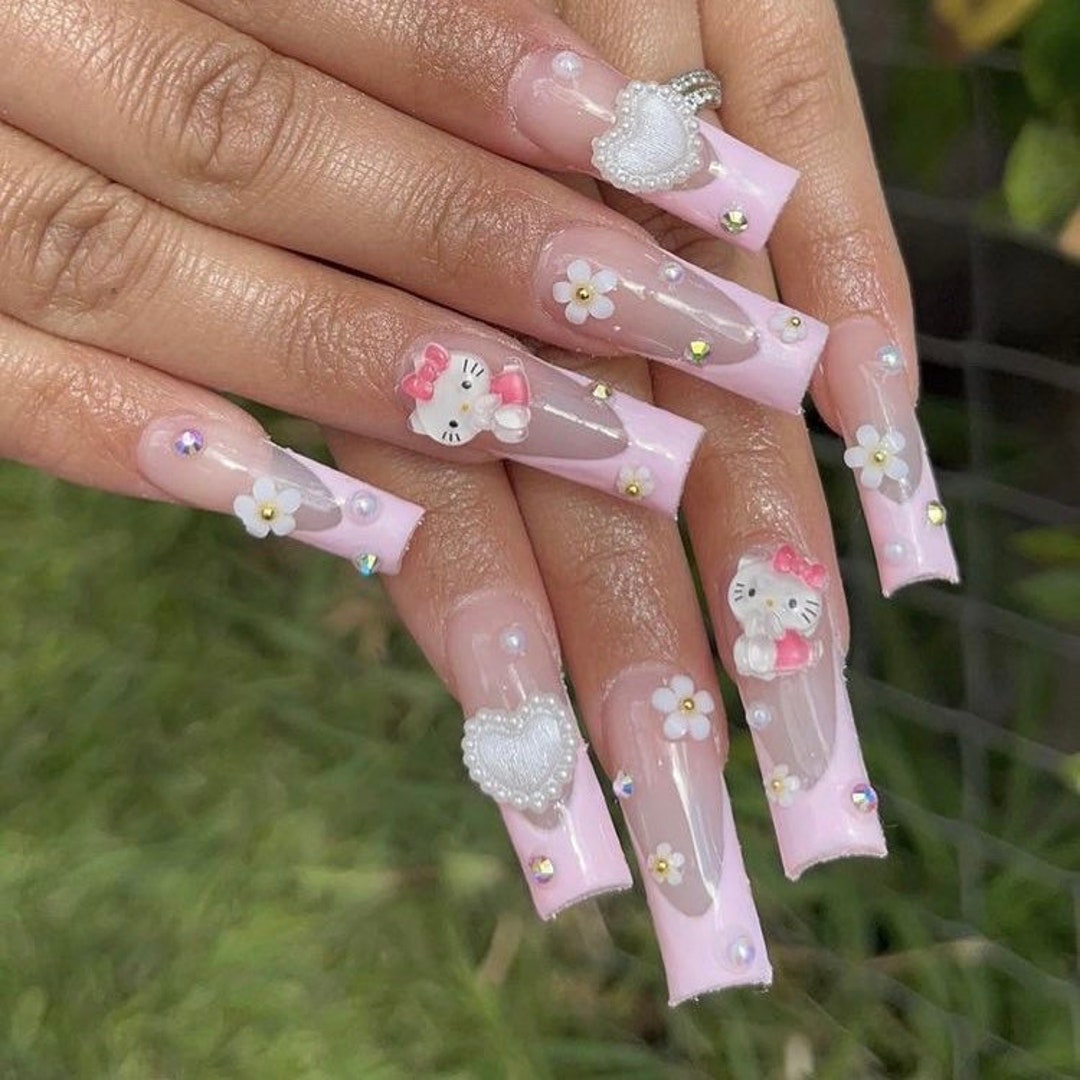
Trendy Hello Kitty Design Ideas for Short Nails
Delving into the world of Hello Kitty nail art, let’s explore trendy design ideas for short nails. Short nails are practical and chic, which makes them a perfect canvas for Hello Kitty-inspired designs that are adorable yet sophisticated.
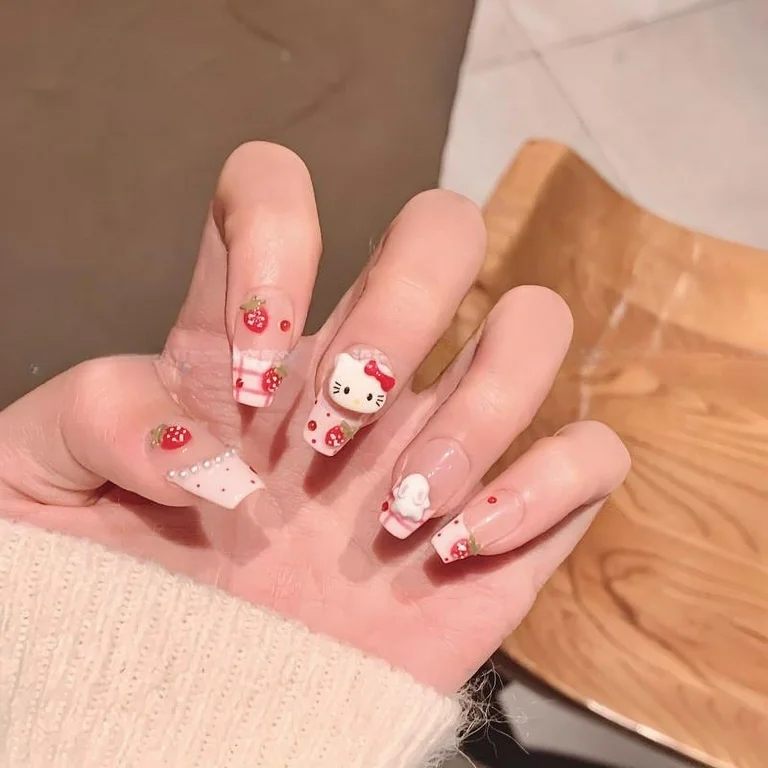
- Classic Bow and Whiskers: A simple and timeless design is to draw Hello Kitty’s iconic bow and whiskers on a white or pink base coat. This minimalistic approach works well on short nails and remains a fan favorite.
- Glitter and Glam: For those who love a little sparkle, adding glitter accents to your Hello Kitty nail art brings glamour. Consider a glittery background with a Hello Kitty silhouette or her signature elements.
- Polka Dots and Stripes: Mix patterns like polka dots and stripes with Hello Kitty motifs. These add a playful touch while keeping the design suitable for short nails.
- Pastel Paradise: Utilize pastels for a soft, dreamy look. Think lavender, baby blue, or mint green as base colors with small Hello Kitty faces or apples as accents.
- Floral Fantasy: Incorporate floral patterns alongside Hello Kitty elements for a feminine touch. Small flowers can frame a Hello Kitty face or simply be combined with her color palette.
- Negative Space Nails: Embrace the trend of negative space in your designs. Outline Hello Kitty’s head using negative space techniques for a modern twist on short nails.
- Hello Kitty French Tips: Instead of traditional white tips, adorn your nails with Hello Kitty’s bow or face on the tips for a kawaii twist to the French manicure.
Each of these trendy Hello Kitty design ideas can be easily adapted to suit the short nail length, ensuring that your nails are not just cute and stylish, but also manageable. Remember to use ‘hello kitty short nails’ as your central theme when experimenting with your nail art.

Essential Tools and Materials for Hello Kitty Nail Art
Creating the perfect Hello Kitty short nails requires certain tools and materials. Below is a list of essentials that every nail artist or enthusiast should have on hand:
- Fine Detail Brushes: For intricate details like Hello Kitty’s face and bow, you need fine brushes.
- Acrylic Paints: These are great for creating sharp lines and vivid colors on your nails.
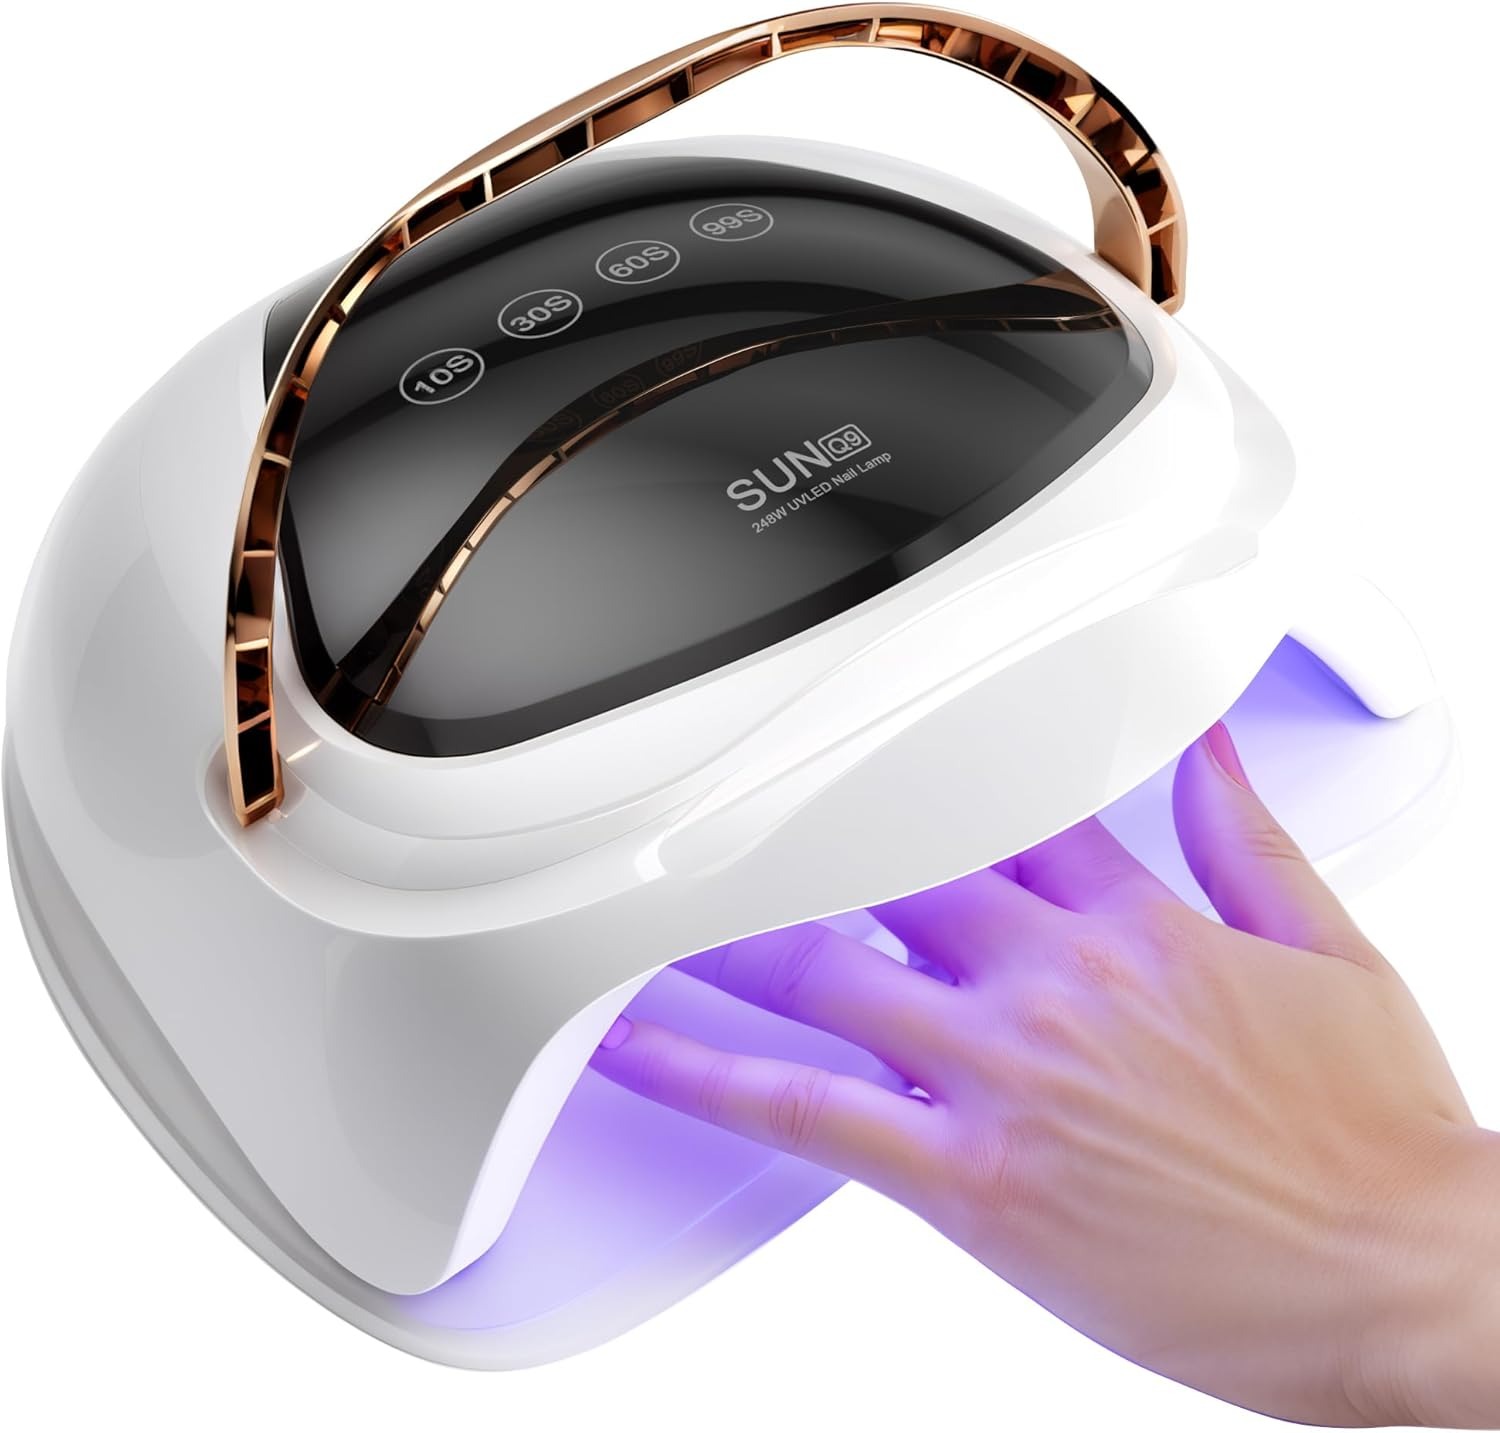
- Base and Top Coats: A smooth base coat is key, and a top coat seals in your design.
- Nail Polish: Choose from pinks, whites, and other colors that match Hello Kitty’s palette.
- Dotting Tools: They help in making perfect dots and circles for eyes and noses.
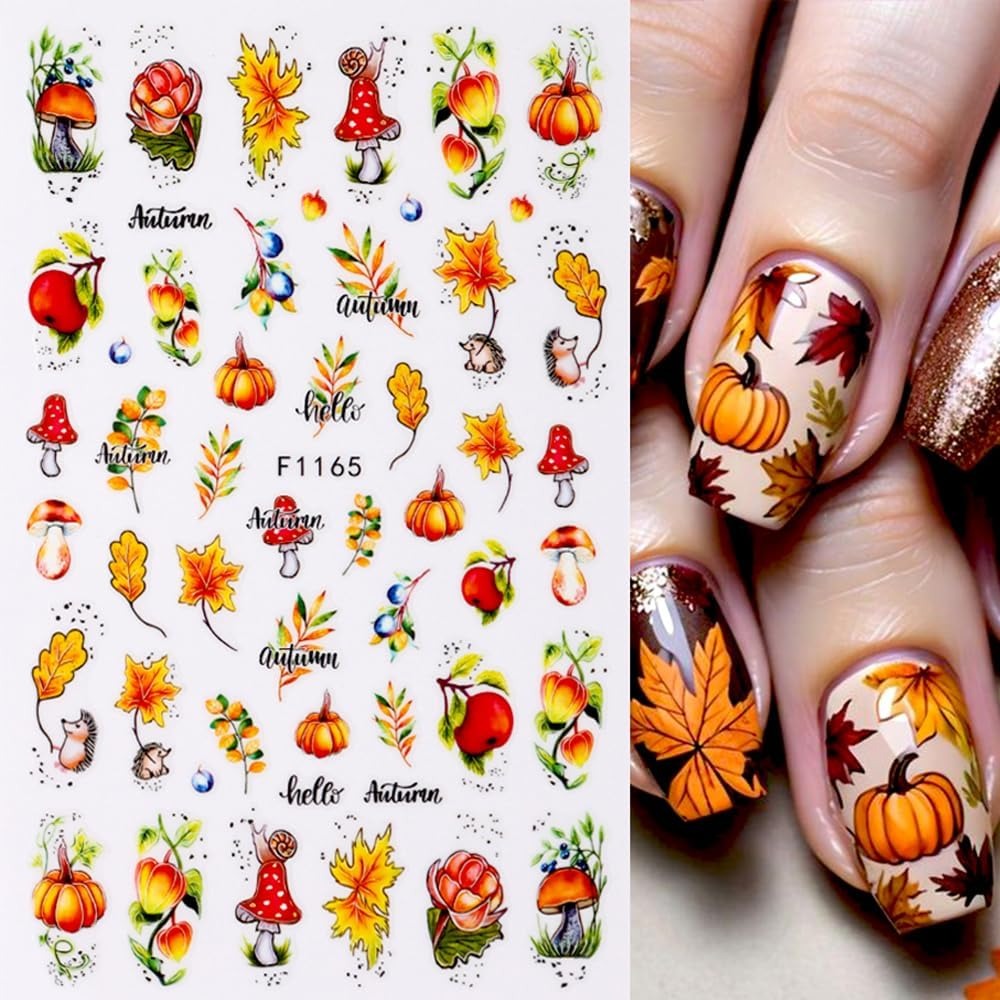
- Nail Decals: Hello Kitty stickers can be a shortcut for detailed designs.
- Glitters and Rhinestones: Add sparkle to your nails with glitter polish or stick-on gems.
- Tweezers: These are useful for placing decals or rhinestones precisely.
- Nail Art Tape: Create clean lines or patterns with this versatile tool.
- Cuticle Pusher and Nippers: Clean up the nail bed for a polished look.
- Nail Files: Shape your short nails before painting Hello Kitty designs.
With these tools and materials, you’ll be well-equipped to start crafting adorable Hello Kitty short nails. Remember, practice makes perfect, so don’t be afraid to experiment with different techniques and styles!
Step-by-Step Tutorial for Hello Kitty Accent Nails
Creating an accent nail with Hello Kitty design is a fun way to add a pop of kawaii to your manicure. This step-by-step tutorial will guide you through the process of making your hello kitty short nails stand out. Let’s begin!
- Prep Your Nails: Start by cleaning your nails. File them to your desired shape for short nails.
- Apply Base Coat: Protect your nails with a base coat. Let it dry completely.
- Paint the Base Color: Choose a light pink or white nail polish as the base for the accent nail. Apply two coats and wait for it to dry.
- Draw Hello Kitty’s Face: Dip your fine detail brush in acrylic paint. Start with the eyes, nose, and whiskers. For the eyes and nose, use a dotting tool for precision.
- Add the Bow: Paint Hello Kitty’s iconic red bow on the top corner of the nail. Use your brush to get the shape right.
- Outline the Design: To make the design stand out, outline the features with a black acrylic paint or a nail art pen.
- Seal with Top Coat: After your accent nail dries, apply a top coat. This will protect your Hello Kitty design and add shine.
- Decorate Other Nails: Paint the remaining nails in colors that complement the accent nail. You can keep them simple or add small accents like polka dots or stripes.
Easy and adorable, right? Remember to let each layer dry before moving onto the next step. With practice, your hello kitty short nails will be a cute conversation starter. Enjoy showing off your stylish, Hello Kitty-inspired nails!
Tips for Maintaining Short Hello Kitty Nails
Maintaining the adorable appearance of hello kitty short nails requires regular care. Here are some tips.
- Keep Them Clean: Wash your hands often. This prevents dirt from ruining your nail art.
- Moisturize Frequently: Apply lotion or cuticle oil. It keeps your nails and skin healthy.
- Quick Fixes: Carry a small nail kit. If a chip occurs, you can fix it fast.
- Gentle Use: Avoid using your nails as tools. It prevents chips and breaks.
- Regular Touch-Ups: Apply a fresh top coat every few days to maintain shine and protection.
- Wear Gloves: When cleaning or doing dishes, gloves help protect your nails.
- Balanced Diet: Eat foods rich in biotin like eggs and almonds. They strengthen your nails.
By following these easy tips, you can keep your hello kitty short nails looking fresh and stylish.
Top Polishes and Decals for Hello Kitty Nails
Choosing the right polishes and decals is crucial for perfect Hello Kitty short nails. Here’s a list to guide you:
- Pearly White Polish: A must-have for the base. It gives a clean canvas for designs.
- Bright Pink Polish: It reflects Hello Kitty’s playful spirit. Use it for bows and accents.
- Quality Red Polish: No bow is complete without a pop of vibrant red.
- Fine Glitter Top Coat: Adds sparkle and protects your nail art.
- Hello Kitty Nail Stickers: These make adding intricate details easy.
- Mini Rhinestone Decals: Small jewels can add flair to Hello Kitty’s bow.
- Specialty Top Coats: Look for fast-drying, long-lasting options.
When choosing polishes, go for non-toxic, long-wearing brands. This ensures a safe and enduring manicure. Decals are a quick way to add detail without much skill. They come in various sizes, perfect for short nails. Always seal your Hello Kitty artwork with a top coat. This step keeps the design chip-free and shiny. With these polishes and decals, your hello kitty short nails will be both durable and adorable.
How to Combine Hello Kitty Nails with Outfits and Accessories
When you have your hello kitty short nails done, you’ll want to show them off. Here are some tips to combine your nails with your outfits and accessories:
- Match Your Colors: Pair your nail colors with your outfit. If you have pink in your nails, try a pink scarf or hat.
- Coordinate Styles: Choose accessories that match the style of your Hello Kitty nails. For a cute look, add a Hello Kitty bag or jewelry.
- Keep It Simple: If your nails have lots of details, wear simple clothes. This lets your hello kitty short nails stand out.
- Pick a Theme: Use a Hello Kitty theme through your look. Add stickers or pins of the character on your bag or jacket.
- Casual or Dressy: Your nails can work with any look. For casual days, go for a t-shirt and jeans. Dress up with a chic dress for nights out.
- Use Complementary Colors: Look at a color wheel. Find colors that work well with your nail art. This can inspire your clothing choices.
- Add Textural Contrast: Mix textures in your attire. If your nails have a shiny finish, try a matte bag or shoes.
- Seasonal Trends: Adjust your outfit to the time of year. Pastel colors and Hello Kitty nails are perfect for spring.
By mixing and matching your Hello Kitty nails art with your clothes and accessories, you can create a harmonious and playful look.
Troubleshooting Common Hello Kitty Nail Art Issues
When creating hello kitty short nails, you might face a few common issues. Here are tips to fix them:
- Smudged Designs: If your design smudges, wait longer between coats. Try a quick-dry top coat to speed up the process.
- Blurry Lines: Use a thinner brush for clearer lines. Clean up any mistakes with a tiny brush dipped in nail polish remover.
- Sticker Edges Lifting: Make sure your base coat is dry before applying stickers. Seal them with a top coat to prevent edges from lifting.
- Chipping Nail Polish: Apply thin layers of polish and wait for each to dry. Use a high-quality top coat to protect your design.
- Faded Colors: Choose high-pigment polishes for vibrant colors that last. Store your polishes away from sunlight to prevent fading.
- Difficult Decal Placement: Tweezers help you place decals precisely. Stick them on while the polish is tacky, not fully dry.
- Uneven Glitter: Apply glitter with a sponge for an even coat. This method puts more glitter on your nails and less polish.
Using these tips, you can tackle problems and keep your hello kitty short nails looking perfect. Remember, practice makes progress. The more you do your nails, the better you’ll get at solving these little challenges.