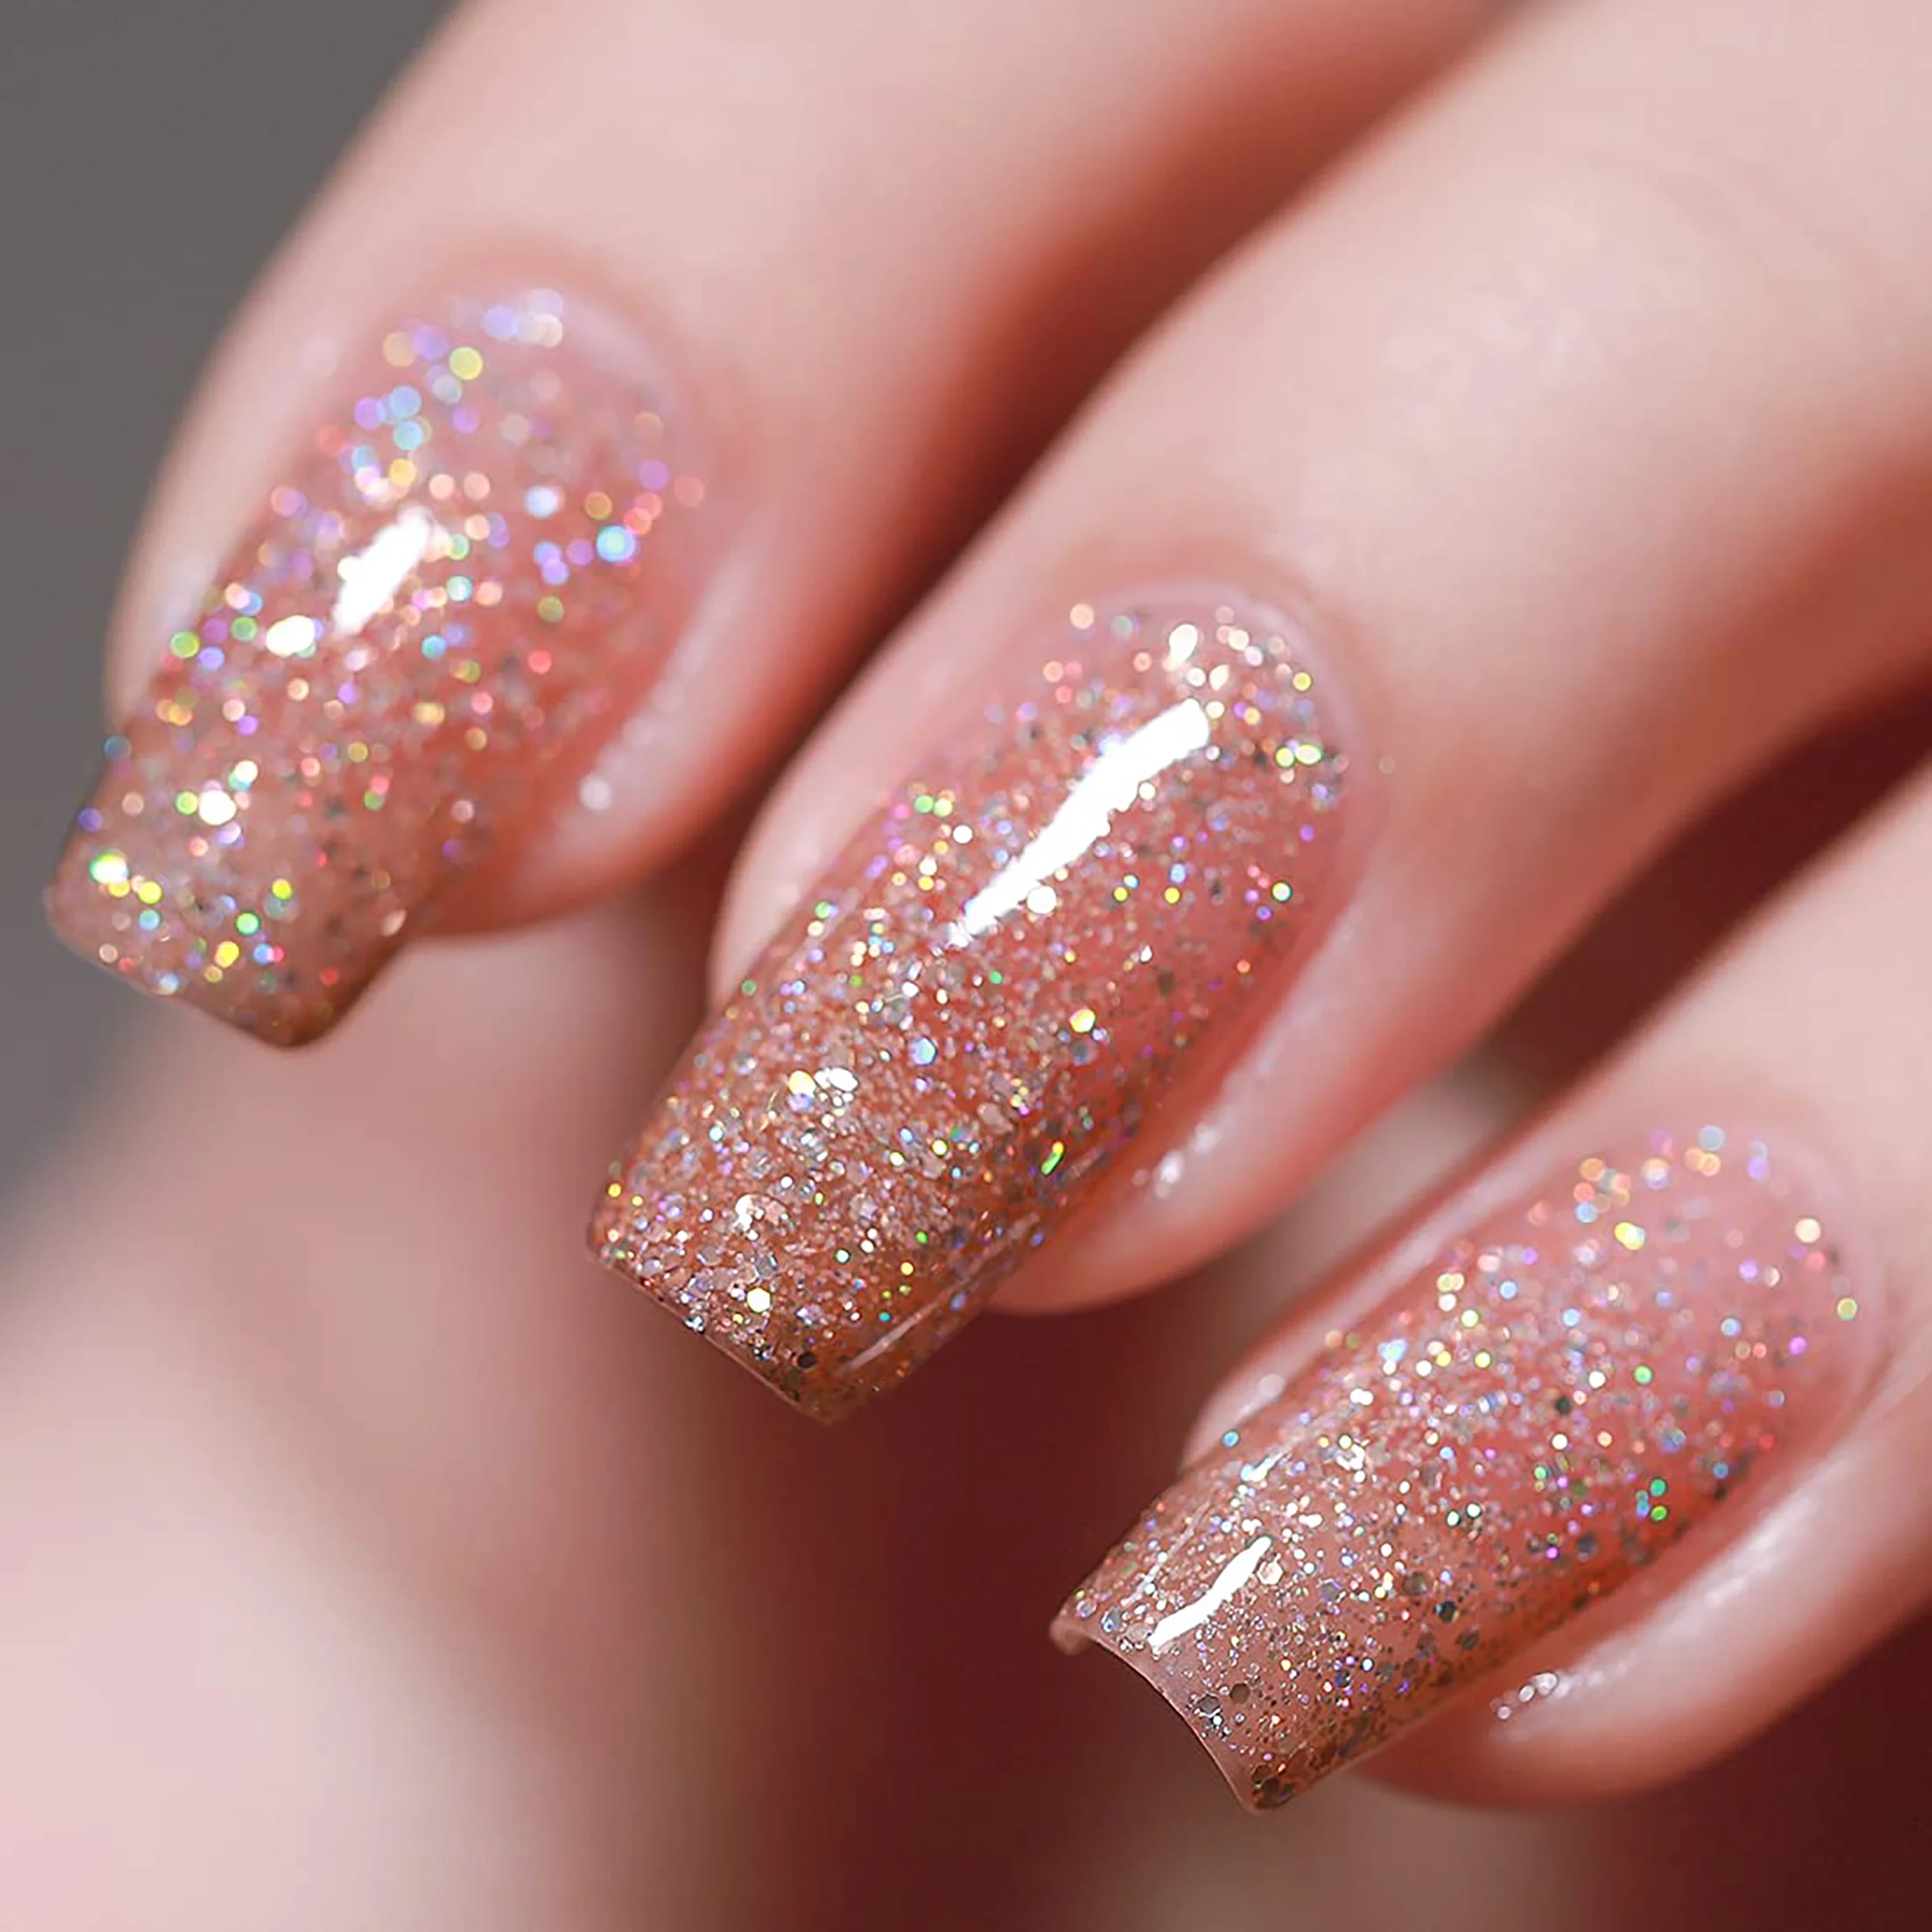
Removing gel nail polish might seem daunting, but with the right techniques, you can achieve beautiful, clean nails without causing damage. In this comprehensive guide, we will explore various methods on how to take off gel nail polish efficiently at home. Whether you’re a nail art enthusiast or simply want to switch up your look, understanding the proper removal process is essential for maintaining healthy nails.
 What You Need to Remove Gel Nail Polish
Removing gel nail polish at home requires some preparation. Having the right tools and setting up a clean workspace are essential. This ensures safe and effective removal with minimal damage to your nails.
Essential Tools and Supplies
To remove gel nail polish, gather these essential items:
- Acetone: Use 100% pure acetone for effective results.
- Cotton balls or pads: These help apply acetone to your nails.
- Aluminum foil: Wrap it around your nails for better absorption.
- Nail file or buffer: Gently roughen the gel surface for easier removal.
- Cuticle pusher: Use it to lift and scrape off softened polish.
- Nail clips (optional): These hold cotton pads in place as an alternative to foil.
- Moisturizer or cuticle oil: Rehydrate your nails after the removal process.
Make sure all these tools are ready before you begin.
Preparing Your Workspace
Setting up a proper workspace can make the process easier and cleaner. Follow these steps to prepare:
- Choose a well-ventilated area: Acetone smells strong, so ensure fresh airflow.
- Use a flat surface: A table or desk gives you a stable spot to work.
- Protect surfaces: Place a towel, paper, or plastic sheet to shield surfaces from spills.
- Have tissues handy: Use them to clean up any messes or spills.
- Good lighting: Ensure the area is well-lit to avoid mistakes.
Taking these steps not only simplifies the process but also ensures a safe and clean environment for nail care.
The Acetone Method for Removing Gel Nail Polish
How to take off gel nail polish? Acetone is a popular choice for removing gel nail polish at home. It works by breaking down the gel, making it easier to lift off your nails. Follow the steps below for safe and effective removal, and learn how to minimize any potential damage to your nails.
Step-by-Step Guide
- Buff the top layer: Use a nail file to gently remove the shiny top coat. This helps acetone penetrate.
- Soak cotton pads: Dampen cotton balls or pads with 100% acetone. Ensure they are fully saturated.
- Apply to nails: Place the soaked cotton on each nail, covering the entire nail bed.
- Wrap with foil: Secure the cotton with aluminum foil to keep it firmly in place.
- Wait patiently: Allow the acetone to work for 10-15 minutes. Avoid removing the foil early.
- Check progress: After soaking, test one nail to see if the gel is soft. Leave longer if needed.
- Lift gel off: Use a cuticle pusher to scrape off the softened gel gently. Start from the cuticle area.
- Buff remaining residue: Lightly buff your nails to remove any leftover polish. Work gently to avoid damage.
- Wash and hydrate: Wash your hands thoroughly and apply moisturizer or cuticle oil immediately.
Tips for Minimizing Acetone Damage
- Avoid extended soaking: Do not leave your nails soaked longer than necessary to prevent excessive dryness.
- Use cuticle oil beforehand: Apply oil around your nails before wrapping to protect skin from acetone.
- Hydrate after removal: Rehydrate nails and cuticles immediately to restore moisture.
- Avoid frequent use: Limit acetone use to once every few weeks to prevent brittle nails.
- Use pure acetone only: Avoid diluted versions for quicker results and less soaking time.
By following these steps and tips, you can safely remove gel nail polish while protecting your nails from damage.
 Alternatives to Acetone Removal
When removing gel nail polish, acetone isn’t your only option. While acetone is effective, its strong formula can dry out nails and skin. Luckily, several alternative methods can safely and effectively remove gel polish.
Soaking with Non-Acetone Products
Non-acetone nail polish removers provide a gentler way to take off gel nail polish. These removers use solvents like ethyl acetate or propylene carbonate, which are less harsh than acetone. Follow these steps to use non-acetone products:
- Buff the top coat: Lightly file the shiny layer to help the remover work better.
- Drench cotton pads: Soak cotton balls or pads with non-acetone remover.
- Apply to nails: Place the drenched cotton on each nail.
- Secure with foil: Wrap nails with foil to keep remover in place.
- Wait patiently: Let it sit for 20-30 minutes, as non-acetone products act slowly.
- Scrape off polish: Use a cuticle pusher to lift off softened gel gently.
Non-acetone removers may need more time, but they are ideal for sensitive skin.
Using a Gel Polish Remover Kit
Gel polish remover kits are convenient and designed specifically for removing gel nail polish. They typically include tools like pre-soaked wipes, clips, and cuticle pushers. Here’s how to use these kits:
- Read instructions: Follow the kit’s guidelines for proper usage.
- Buff nails: Slightly roughen the top coat using a nail file.
- Apply pre-soaked wipes: Wrap each nail with the provided wipes.
- Use clips: Secure the wipes with nail clips for better adhesion.
- Wait patiently: Allow the solution to break down the gel polish.
- Remove gel polish: Use the included tools to gently scrape off loosened polish.
Gel polish remover kits simplify the process, making them great for beginners or quick solutions.
By using these acetone alternatives, you can safely remove gel nail polish while keeping your nails healthy.
Manual Removal Techniques
Sometimes, manual techniques can be used to remove gel nail polish. These methods do not require chemical products but demand patience and care. Follow these steps for safer results and avoid actions that may harm your nails.
Safely Filing Off Gel Nail Polish
Filing off gel nail polish is an effective manual method. It requires careful and gradual filing to prevent damage.
- Start with a gentle nail file: Choose a fine-grit file for better control.
- Buff the shiny top layer: Lightly file the gel’s surface to break its seal.
- File in one direction: Work smoothly without applying too much pressure.
- Avoid filing your natural nail: Stop when you reach the base layer.
- Check nails frequently: Ensure you don’t over-file or harm your nails.
- Wash and moisturize: Clean your nails thoroughly, then hydrate them afterward.
Filing off gel polish is safer if done slowly and carefully. Rushing increases the risk of nail damages.
Peeling: Why You Should Avoid It
Peeling gel nail polish might seem tempting, but it can cause harm to your nails.
- Weakens the nail surface: Peeling strips layers from your natural nails.
- Leads to breakage: It often causes cracks and weakened edges.
- Encourages dryness: Nails lose essential moisture during peeling.
- Creates uneven texture: Post-peeling nails may feel rough or patchy.
Even if peeling gel polish seems quick, avoid it at all costs. Damaged nails take time to recover, and proper removal techniques can minimize harm.
 How to Care for Your Nails After Removal
Removing gel nail polish can leave your nails dry and vulnerable. Proper care helps restore their health. By following a simple post-removal routine, you can keep your nails strong and hydrated.
Rehydrating Your Nails and Cuticles
Moisturizing is essential after gel polish removal to replenish lost hydration. Follow these steps:
- Apply cuticle oil: Massage oil onto nails and cuticles to restore moisture and softness.
- Use hand cream: Spread hydrating cream over hands and nails, focusing on the nail beds.
- Try a nail-strengthening treatment: Use products designed to rejuvenate damaged nails.
- Hydrate regularly: Make a daily habit of moisturizing to keep nails healthy.
- Drink water: Staying hydrated internally helps improve nail strength and elasticity.
Taking these steps immediately after removal prevents brittleness and dryness from worsening.
Signs of Nail Damage to Watch For
Improper removal or harsh chemicals can harm your nails. Look for these warning signs:
- White spots: These may indicate dryness or over-buffing during removal.
- Brittle nails: Watch for nails that split or crack easily.
- Thinned nails: Excess filing or peeling gel polish often leads to thin nail plates.
- Uneven texture: Rough or bumpy nails suggest damage and require extra care.
- Recurring breaks: Nails that consistently break can signal poor health.
If you notice these signs, stop applying polish temporarily. Focus on healing and strengthening your nails instead.
Proper nail care after gel polish removal ensures your nails stay strong and ready for your next style.
Common Mistakes and How to Avoid Them
Even with the best intentions, mistakes can happen when removing gel nail polish. Knowing common errors helps you avoid them and protect your nails from harm.
Over-Buffing Your Nails
Over-buffing is a frequent mistake during gel nail polish removal. Excessive buffing weakens your nails.
- Why it happens: People often buff too hard to try to speed up the process.
- Risks: Over-buffing thins your nails, making them prone to splitting.
- How to avoid it:
- Use a fine-grit nail file.
- Lightly buff the top coat only.
- Stop as soon as the shiny layer is removed.
- Check your nails frequently to prevent overdoing it.
Proper buffing ensures safe removal without damaging your natural nail.
Ignoring Proper Moisturization
Many people forget to hydrate their nails after gel removal. This leads to dryness and brittleness.
- Why it matters: Acetone and other removers strip natural oils from your nails and skin.
- Risks: Ignoring hydration can cause weak, peeling nails and dry cuticles.
- How to avoid it:
- Apply cuticle oil immediately after removing gel polish.
- Use a rich hand cream to lock in moisture.
- Drink plenty of water to stay hydrated.
- Make nail hydration part of your daily routine.
Moisturization helps restore nail health and prepares them for your next manicure.
By learning from these common mistakes, you can safely and effectively remove gel nail polish while maintaining strong, healthy nails.
 When to Seek Professional Help
Sometimes, removing gel nail polish at home may not be the best option. Persistent nail or skin issues can signal the need for professional assistance. Knowing when to seek help can save you from further damage and ensure healthier nails.
Recognizing Persistent Nail and Skin Issues
Certain signs indicate that it’s time to consult a professional. Pay attention to these indicators:
- Severe nail damage: If your nails are splitting, peeling, or extremely thin, seek professional care.
- Pain or discomfort: Persistent pain around your nails or cuticles should not be ignored.
- Skin irritation: Redness, swelling, or rashes near your nails can be signs of a reaction.
- Stubborn residue: If polish remains after repeated removal attempts, a salon specialist can help.
- Infections: Discoloration, unusual odors, or thickened nails may indicate a fungal infection.
Ignoring these issues can worsen nail health. Professionals can assess the problem and recommend solutions.
Benefits of Visiting a Nail Salon for Removal
Professional gel polish removal offers many advantages over at-home methods. Here’s why you should consider it:
- Expert care: Technicians minimize the risk of damage using proven techniques.
- Specialized tools: Salons use advanced tools specifically designed for gel polish removal.
- Time-efficient: Professional removal is faster and more thorough than DIY methods.
- Customized solutions: Technicians can address unique nail concerns and provide tailored aftercare tips.
- Relaxing experience: Enjoy a pampering session while ensuring your nails are safely treated.
While at-home removal can be convenient, seeking professional help guarantees the best results. It ensures your nails remain healthy and ready for your next manicure.
The Environmental Impact of Gel Polish Removal
Proper Disposal of Acetone
Acetone is a volatile organic compound that can be harmful to the environment if not disposed of correctly. Always pour used acetone into a sealable container and dispose of it at designated hazardous waste facilities.
Choosing Eco-Friendly Products
Consider using eco-friendly gel nail polishes and removers that are free from harsh chemicals. These products are better for both your nails and the environment.
Exploring Alternative Nail Styling Options
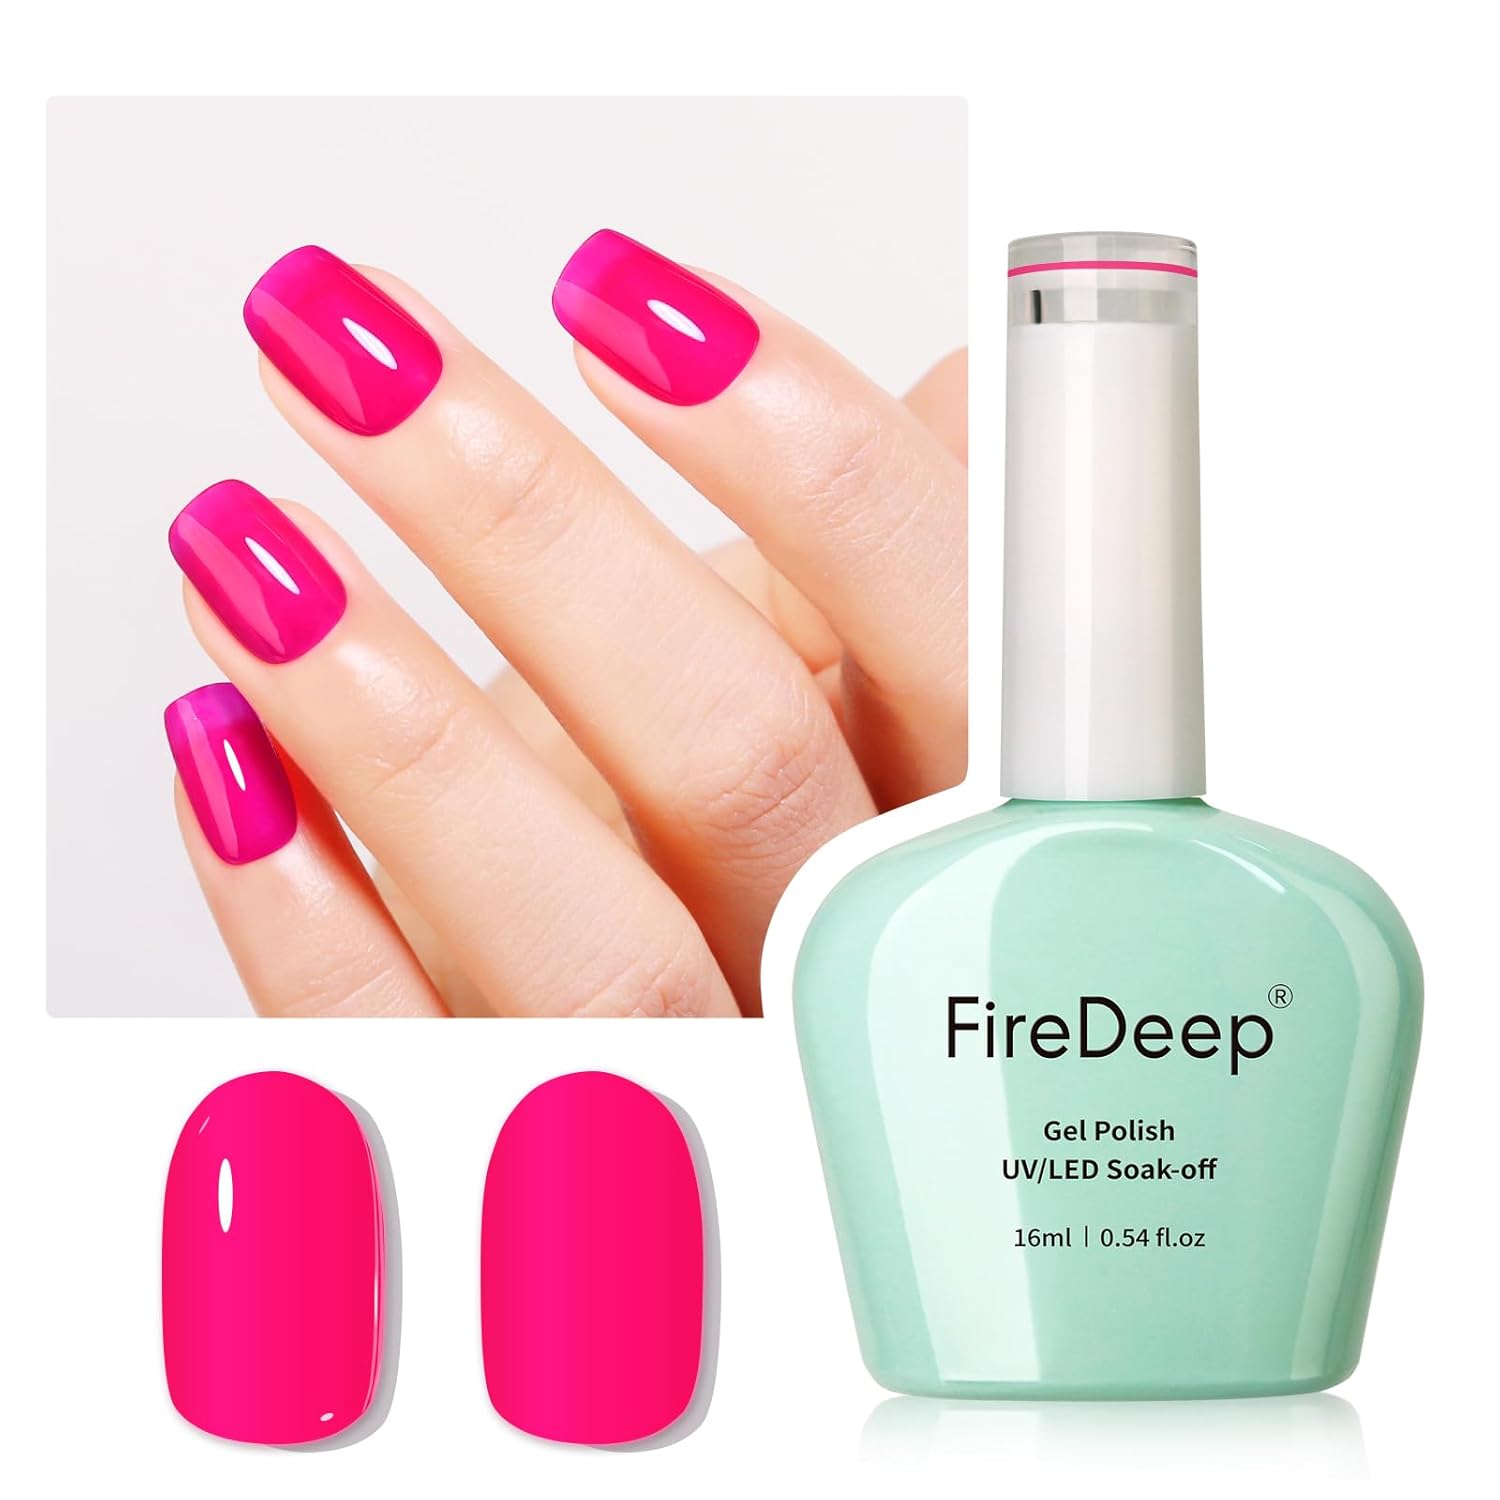
Non-Gelled Nail Polishes
If you frequently remove gel polish, consider switching to long-lasting non-gel nail polishes. These alternatives can offer durability without the need for harsh removers.
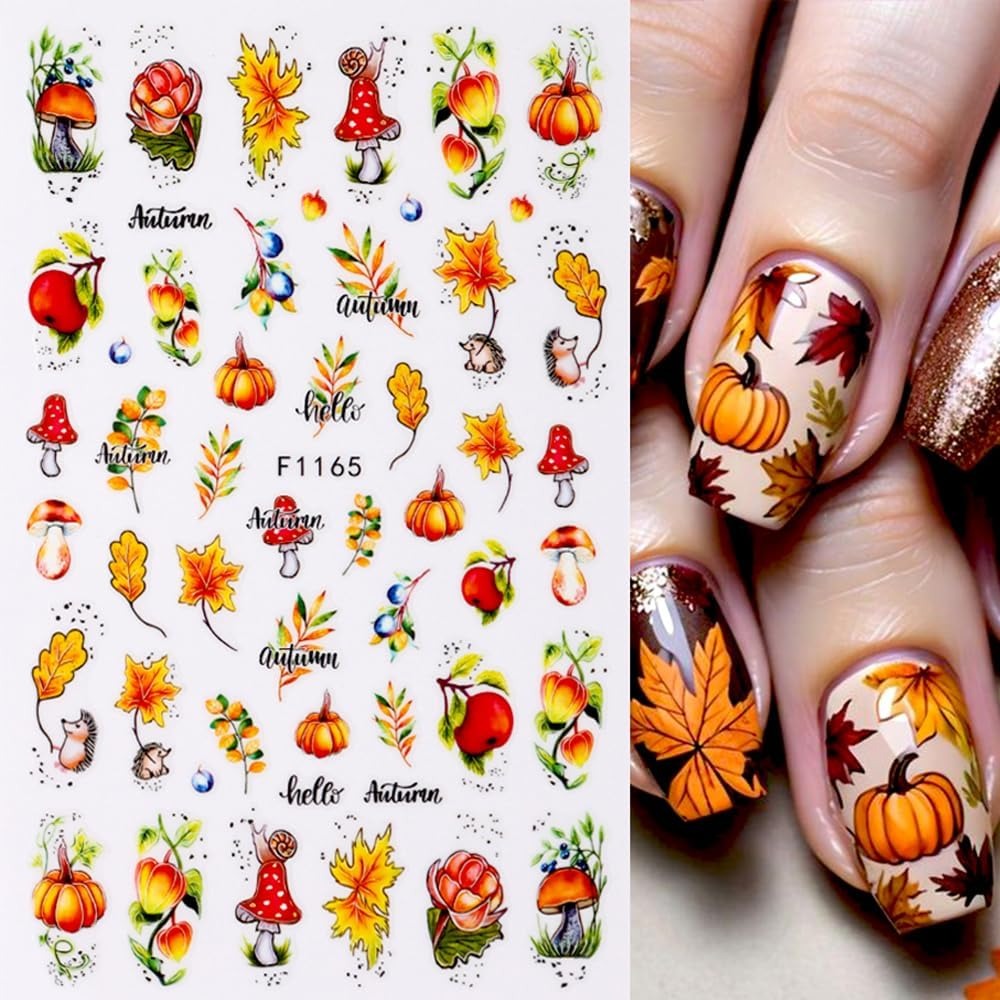
Nail Wraps and Stickers
Nail wraps and stickers are another excellent way to achieve stylish nails without the commitment of gel polish. They are easy to apply and remove, making them a convenient option for frequent changes.
Dip Powder Nails
Dip powder nails provide a long-lasting manicure similar to gel nails but use a different application process. Exploring dip powder options can give you a durable finish with potentially less damage to your nails.
 Conclusion: Mastering How to Take Off Gel Nail Polish
Knowing how to take off gel nail polish is essential for maintaining healthy nails and ensuring a smooth transition between manicures. By following the steps outlined in this guide, you can remove gel polish safely and effectively at home. Remember to prioritize nail health by moisturizing regularly and giving your nails a break between applications. Whether you choose the foil wrap method, soaking in acetone, or using a gel polish remover kit, the key is to be gentle and patient throughout the process. With these tips and techniques, you’ll be able to enjoy beautiful nails without compromising their strength and health.