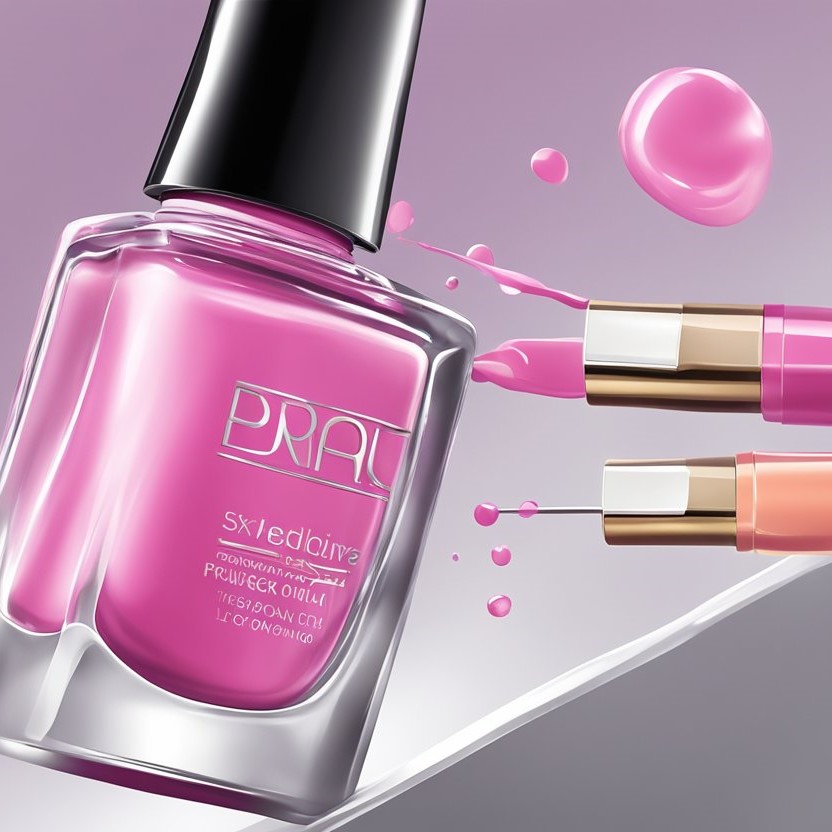
Achieving a flawless nail polish application often hinges on the consistency of the polish itself. One common challenge many face is dealing with thick nail polish that is difficult to apply smoothly. Understanding how to thin nail polish can transform your manicure routine, making it easier to create professional-looking nails at home. This guide delves into the safest and most effective methods to thin your nail polish, ensuring every swipe is perfect.
 How to Thin Nail Polish Safely: Step-by-Step Guide for Perfect Application
Thinning nail polish safely is crucial to maintain its quality and ensure a smooth application. Follow these steps to achieve the perfect consistency:
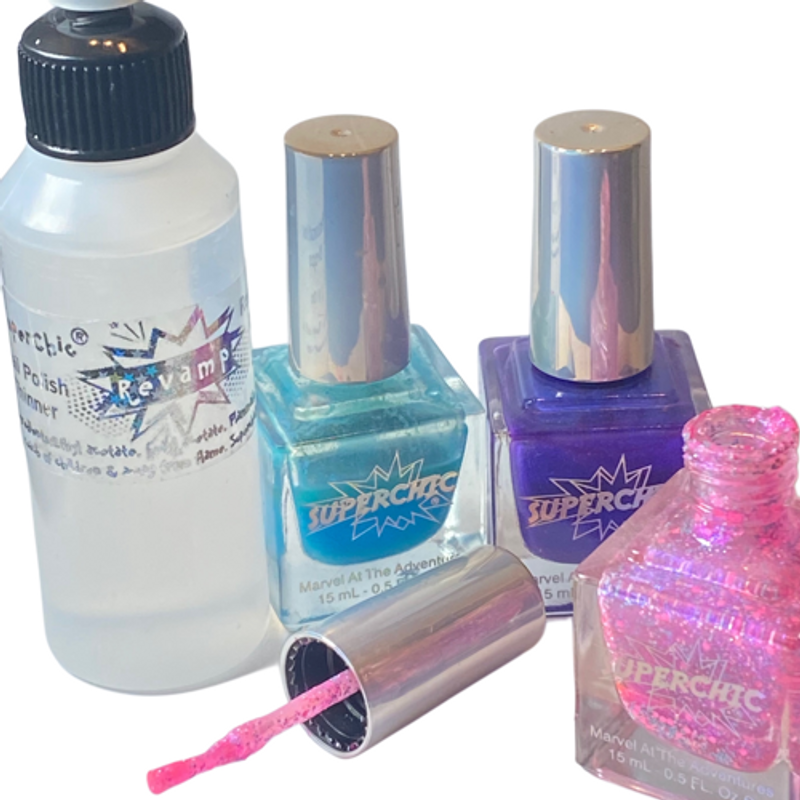
- Choose the Right Thinner
- Opt for nail polish thinner rather than cheaper alternatives like acetone, which can damage the polish’s formula.
- Add Thinner in Small Amounts
- Start by adding a few drops of thinner to the polish bottle. This controlled approach prevents over-thinning.
- Shake Gently
- After adding the thinner, close the bottle tightly and shake it gently. Vigorous shaking can introduce bubbles, affecting the polish’s application.
- Test the Consistency
- Apply a small amount on a nail to check the consistency. If it’s still too thick, add a few more drops of thinner and repeat the process.
- Store Properly
- Once thinned, store the polish in a cool, dark place to preserve its integrity for future use.
By following these steps, you can effectively thin your nail polish, ensuring a smooth and even application every time.
 The Best Tools for Thinning Nail Polish: Essential Accessories You Need
Having the right tools makes the process of thinning nail polish more efficient and effective. Here are the essential accessories you need:
Nail Polish Thinners
- Purpose: Specifically formulated to adjust the consistency of nail polish without altering its color or finish.
- Recommendation: Look for thinners that are compatible with your nail polish brand for optimal results.
Mixing Rods or Bamboo Sticks
- Purpose: To stir the polish and thinner mixture thoroughly, ensuring an even consistency.
- Tip: Use disposable mixing sticks to avoid contaminating your polish collection.
Funnels or Small Droppers
- Purpose: To add the thinner precisely without spilling, keeping your workspace clean.
- Benefit: Funnels and droppers allow for controlled addition, which is essential for achieving the right thinness.
Nail Polish Shades Corrector
- Purpose: In case you over-thin your polish, shade correctors can help restore the original color and consistency.
- Use: Follow the manufacturer’s instructions to add the corrector gradually.
Storage Containers
- Purpose: To store your thinned nail polish properly, preventing it from thickening again.
- Suggestion: Use airtight containers to maintain the polish’s consistency over time.
Equipping yourself with these tools ensures that thinning your nail polish is a seamless part of your manicure routine.
Creative Ways to Thin Nail Polish for Nail Art Creations
Thinned nail polish opens up a world of possibilities for creative nail art. Here are some innovative techniques to explore:
Creating Smooth Gradient Effects
- Technique: Use a thinner to achieve a fluid consistency that blends colors seamlessly.
- Application: Apply different shades while the polish is still wet to create a gradient effect on your nails.
Designing Intricate Patterns
- Method: Thin your polish to a runny consistency, making it easier to draw detailed lines and shapes.
- Tools: Utilize fine brushes or nail art pens for precision.
Achieving a “No-Base” Manicure
- Concept: Skip the base coat by thinning your polish sufficiently, allowing it to adhere directly to the nail.
- Benefit: This method can save time and resources while still providing a smooth finish.
Creating Marbled Nails
- Process: Mix different colored thinned polishes on your nail surface to create a marbled effect.
- Tip: Use a dotting tool to swirl the polishes together gently.
Enhancing Glitter Application
- Advantage: Thinning nail polish makes it easier to apply glitter, ensuring it sticks evenly.
- Technique: Dip a thinly applied polish base into glitter, allowing excess to fall away for a sparkling finish.
By experimenting with these creative techniques, you can elevate your nail art to new heights using properly thinned nail polish.
 How to Thin Nail Polish with Natural Ingredients: Eco-Friendly Methods
For those who prefer eco-friendly solutions, thinning nail polish with natural ingredients is a sustainable alternative. Here’s how to do it:
Using Lemon Juice
- Procedure: Add a few drops of fresh lemon juice to your nail polish and shake gently.
- Benefit: Lemon juice acts as a natural thinner without the harsh chemicals found in traditional thinners.
Incorporating Witch Hazel
- Method: Mix a small amount of witch hazel with your nail polish to achieve the desired consistency.
- Advantage: Witch hazel not only thins the polish but also adds a subtle, pleasant scent.
Utilizing Vegetable Glycerin
- Steps: Add a few drops of vegetable glycerin to your polish and stir until smooth.
- Benefit: Glycerin helps in thinning the polish while maintaining its glossy finish.
Applying Aloe Vera Gel
- Technique: Mix a tiny amount of aloe vera gel into the polish for a thinner consistency.
- Advantage: Aloe vera provides a natural, skin-friendly option for thinning your nail polish.
Opting for Corn Syrup
- Procedure: Add a few drops of corn syrup to your nail polish and mix well.
- Benefit: Corn syrup serves as an effective natural thinner, enhancing the polish’s application.
These natural methods offer a safer and more environmentally friendly way to thin your nail polish, aligning with sustainable beauty practices.
Avoid Mistakes: Common Problems When Thinning Nail Polish
Thinning nail polish can sometimes lead to issues if not done correctly. Here are common mistakes and how to avoid them:
Over-Thinning the Polish
- Problem: Excessively thinned polish can lose its color intensity and durability.
- Solution: Add thinner incrementally and test the consistency frequently to prevent over-thinning.
Introducing Bubbles
- Issue: Shaking the bottle vigorously can create bubbles, resulting in an uneven finish.
- Fix: Shake gently and allow the polish to settle before application to minimize air bubbles.
Using the Wrong Thinner
- Consequences: Incompatible thinners can alter the polish’s color and texture permanently.
- Prevention: Always use a thinner recommended by the nail polish manufacturer to maintain quality.
Contaminating the Bottle
- Risk: Using nails or dirty tools to stir the polish can introduce debris and bacteria.
- Solution: Employ clean, disposable mixing tools to keep the polish pure.
Inconsistent Mixing
- Problem: Inadequate mixing leads to uneven consistency, affecting application.
- Solution: Stir thoroughly with a mixing rod or bamboo stick until the polish and thinner are fully integrated.
By being aware of these common mistakes, you can ensure that your experience with thinning nail polish remains positive and productive.
 Thinning Acrylic vs Regular Nail Polish: Key Differences Explained
Understanding the differences between thinning acrylic and regular nail polish is essential for achieving the desired results. Here’s a breakdown:
Composition Differences
- Acrylic Nail Polish: Often contains a higher concentration of monomers and polymers, making it thicker and more durable.
- Regular Nail Polish: Typically has a more balanced mix of solvents, pigments, and film-formers, resulting in a smoother finish.
Thinning Requirements
- Acrylic: Requires stronger thinners or specific acrylic solvents to achieve the right consistency.
- Regular: Needs gentle thinners like nail polish thinner or eco-friendly alternatives to maintain its formula.
Application Techniques
- Acrylic: Used primarily for creating extensions and overlays, where a thicker consistency is beneficial.
- Regular: Ideal for everyday manicures and detailed nail art, benefiting from a more fluid texture.
Drying Time
- Acrylic: Takes longer to dry due to its thick composition.
- Regular: Dries faster, allowing for quicker application and layering.
Compatibility with Nail Products
- Acrylic: May not mix well with regular nail polishes, potentially causing clumping or separation.
- Regular: More versatile and mixes easily with a variety of nail products and thinners.
By recognizing these key differences, you can choose the appropriate thinning method for your specific nail polish type, ensuring optimal application results.
How to Thin Nail Polish for Ombre Effects: Gradient Tutorial
Creating beautiful ombre nails requires the right consistency of nail polish. Here’s how to thin nail polish for stunning gradient effects:
Select Your Colors
- Choice: Pick at least two colors that blend well together for the ombre effect.
- Tip: Choose colors that transition smoothly, such as light pink to dark red.
Thin the Base Colors
- Process: Add a few drops of nail polish thinner to each color. Shake gently to achieve a runnier consistency.
- Advantage: Thinned polish allows the colors to blend seamlessly on the nail.
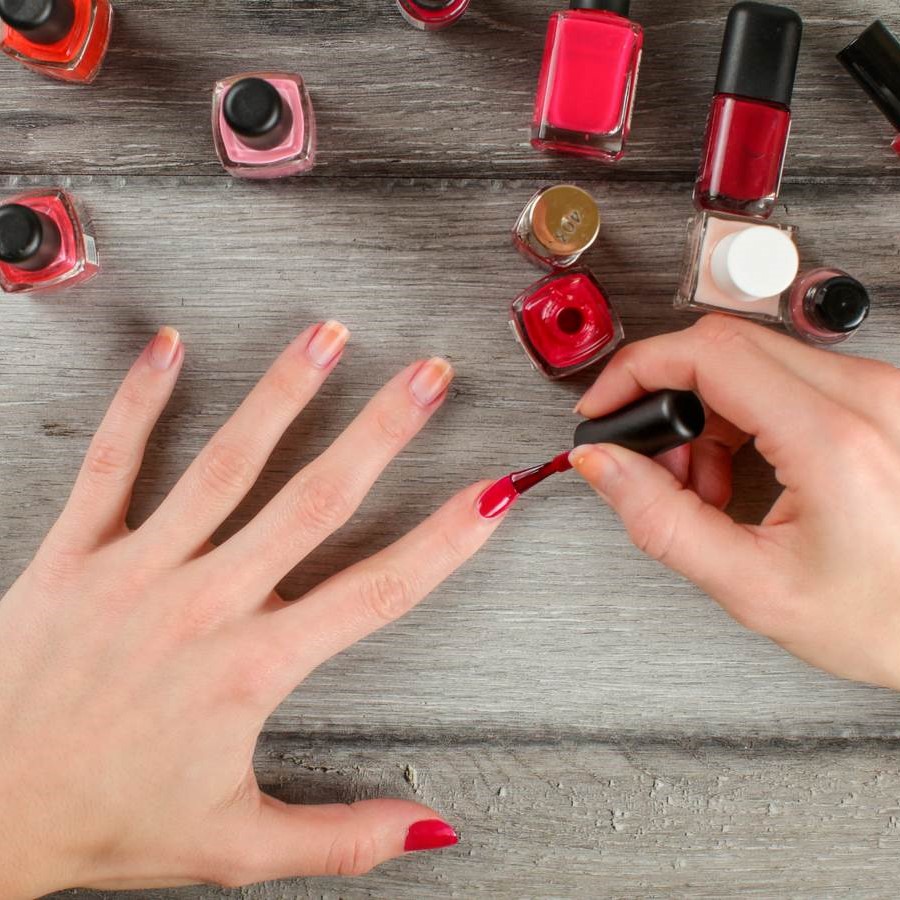
Apply the First Layer
- Method: Start by applying the lighter color to the base of the nail.
- Tip: Ensure the layer is thin to allow for easy blending with the second color.
Blend the Colors
- Technique: While the first color is still wet, apply the second, darker color, focusing on the area where the two colors will meet.
- Tool: Use a makeup sponge or a clean brush to blend the two shades together gently.
Seal the Ombre Effect
- Final Step: Once the gradient is achieved, apply a clear topcoat to seal and protect the ombre design.
- Benefit: The topcoat ensures longevity and a smooth finish.
By thinning your nail polish correctly, you can create flawless ombre nails that display a beautiful gradient from one color to another.
Professional Tips for Thinning Nail Polish: Techniques Used by Nail Artists
Learning from the pros can elevate your nail polish thinning technique. Here are some expert tips:
Measure Precisely
- Advice: Use a dropper or pipette to add thinner in controlled amounts.
- Benefit: This precision prevents over-thinning and maintains polish quality.
Strain the Polish
- Technique: Pour the thinned polish through a fine mesh strainer to remove any impurities or clumps.
- Result: A smooth, flawless polish ready for application.
Avoid Contamination
- Tip: Always cap the bottle tightly after each use and avoid dipping tools into the main bottle.
- Reason: Prevents the introduction of debris and prolongs the polish’s shelf life.
Use a Nail Polish Dryer
- Method: Invest in a nail polish dryer to help the thinner integrate more quickly and evenly.
- Outcome: Faster drying times and improved polish consistency.
Keep a Clean Workspace
- Practice: Organize your tools and work area before thinning polish to avoid accidental spills or contamination.
- Advantage: Ensures a smooth and efficient thinning process.
Experiment with Ratios
- Strategy: Adjust the thinner-to-polish ratio based on the desired consistency and the specific nail art technique.
- Tip: Take notes of successful ratios for future reference to replicate perfect results.
These professional techniques can help you thin nail polish effectively, ensuring your manicure looks as polished as a salon-quality finish.
 Conclusion
In conclusion, knowing how to thin nail polish is a valuable skill that enhances your nail care routine. Whether you’re aiming for a flawless base, intricate nail art, or creative ombre designs, properly thinned polish ensures a smooth and professional finish. By following this comprehensive guide, utilizing the best tools, and adopting eco-friendly methods when preferred, you can achieve beautiful and long-lasting manicures. Remember to avoid common mistakes, understand the differences between acrylic and regular polish thinning, and incorporate professional tips for optimal results. Embrace these techniques to elevate your nail game and enjoy stunning manicures every time you paint your nails.