Nail polish stickers have revolutionized the way we approach manicures, offering a quick and creative solution for stunning nail designs. Whether you’re a beginner or a seasoned nail art enthusiast, nail polish stickers provide an effortless way to achieve professional-looking nails without the hassle. In this comprehensive guide, we will explore everything you need to know about nail polish stickers, from application techniques to creative design ideas, ensuring your nails always make a statement.
 How to Apply Polish Stickers Perfectly: Step-by-Step Guide
Applying nail polish stickers can seem daunting at first, but with the right steps, you can achieve flawless results every time. Follow this guide to master the art of applying nail polish stickers perfectly.
Step 1: Prepare Your Nails
Start by removing any existing nail polish. Trim and shape your nails as desired, then push back your cuticles gently. Clean your nails thoroughly to remove oils and residues, ensuring the stickers adhere properly.
Step 2: Apply a Base Coat
A clear base coat not only protects your nails but also provides a smooth surface for the stickers. Apply a thin layer and let it dry completely before proceeding.
Step 3: Choose Your Sticker Design
Select the nail polish stickers that match your desired look. Whether you prefer simple patterns or intricate designs, having your stickers ready will make the application process smoother.
Step 4: Cut the Stickers to Size
For the best fit, trim the stickers to match the shape and size of your nails. This step helps prevent lifting and ensures that the design looks neat and professional.
Step 5: Apply the Stickers
Carefully place the stickers onto your nails, starting from the cuticle and moving towards the tip. Use a fine-tip tweezers or a small spatula to position them accurately. Once in place, press down gently to secure the sticker and remove any air bubbles.
Step 6: Seal with Top Coat
To enhance the durability of your manicure, apply a clear top coat over the stickers. This layer not only protects the design but also adds a beautiful shine, making your nails look polished and complete.
Step 7: Clean Up Edges
Use a small brush dipped in nail polish remover to clean any excess adhesive around your nails. This step ensures a professional and tidy finish, free from unwanted residue.
By following these steps, you can apply nail polish stickers perfectly, achieving a stunning manicure with minimal effort.
Creative Polish Sticker Designs for Bold Statement Nails
Nail polish stickers open up a world of creative possibilities, allowing you to experiment with bold and unique designs. Here are some inspiring ideas to help you make a statement with your nails.
Geometric Patterns
Geometric designs are perfect for those who love clean lines and modern aesthetics. Choose stickers with triangles, squares, or abstract shapes to create a striking look.
- Combination of Colors: Mix different colors to add depth and interest to your geometric patterns.
- Symmetry: Ensure that the patterns are symmetrical for a balanced and professional appearance.
Floral Motifs
Floral designs bring a touch of femininity and elegance to your nails. Select stickers with intricate flower patterns to achieve a beautiful and sophisticated look.
- Pastel Shades: Soft colors like pinks and lavenders enhance the delicate nature of floral designs.
- Accent Nails: Consider using floral stickers on a few accent nails paired with solid colors for a chic contrast.
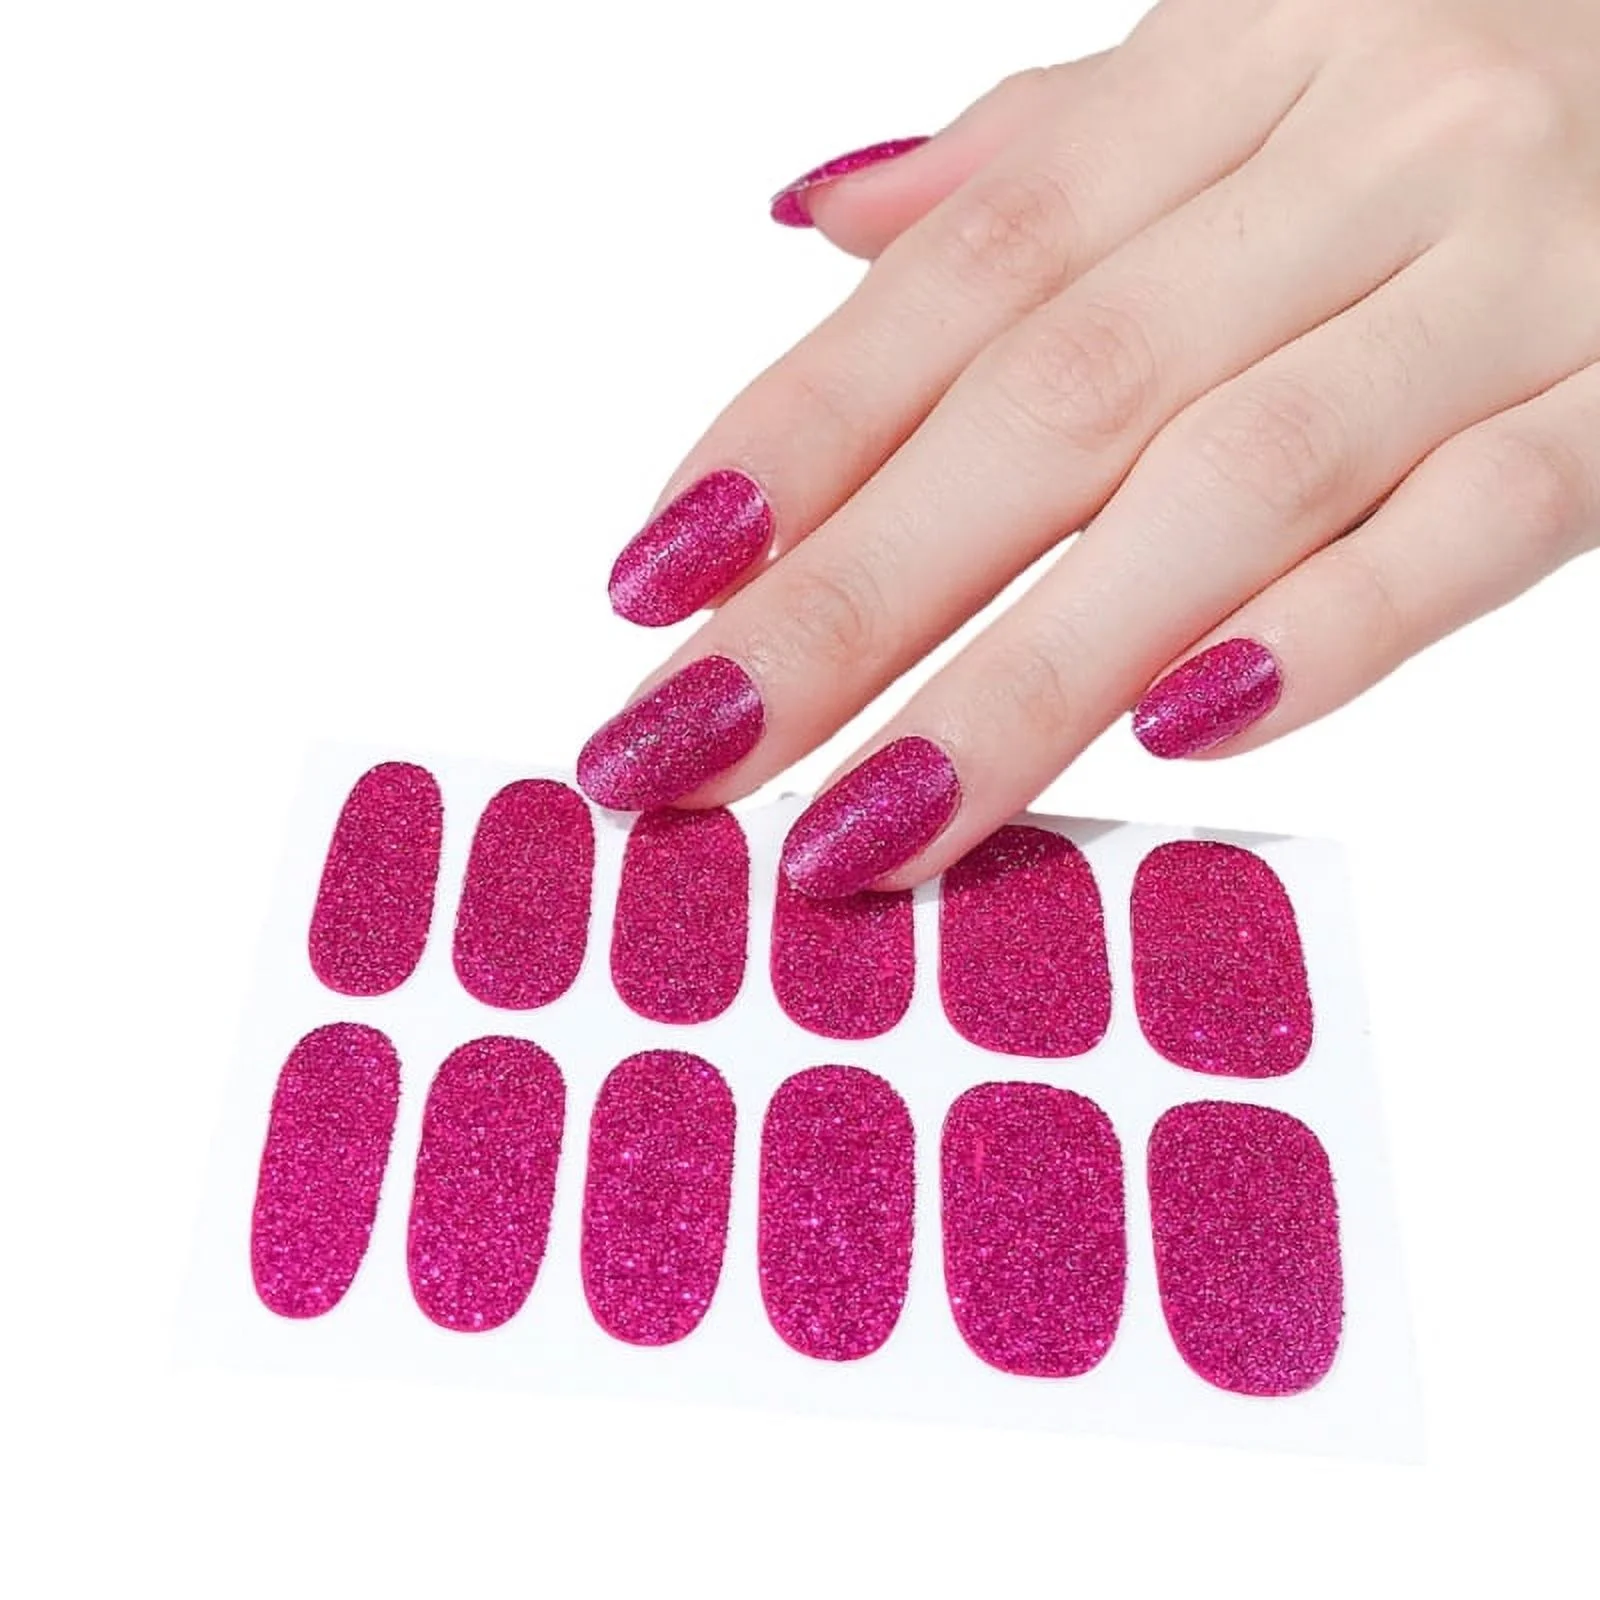
Metallic Accents
Metallic nail polish stickers add a glamorous and edgy touch to your manicure. Opt for gold, silver, or rose gold designs to make your nails stand out.
- Mix with Matte Finishes: Combine metallic stickers with matte polish for a trendy and balanced look.
- Layering Techniques: Layer metallic stickers over dark base colors to create a bold and dynamic effect.
Animal Prints
Animal print stickers are perfect for those who want to add a wild and adventurous flair to their nails. Leopard spots, zebra stripes, and snake patterns are popular choices.
- Contrast Colors: Use high-contrast colors like black and white to make the animal patterns pop.
- Mix with Neutrals: Pair animal print stickers with neutral polish to keep the look sophisticated and stylish.
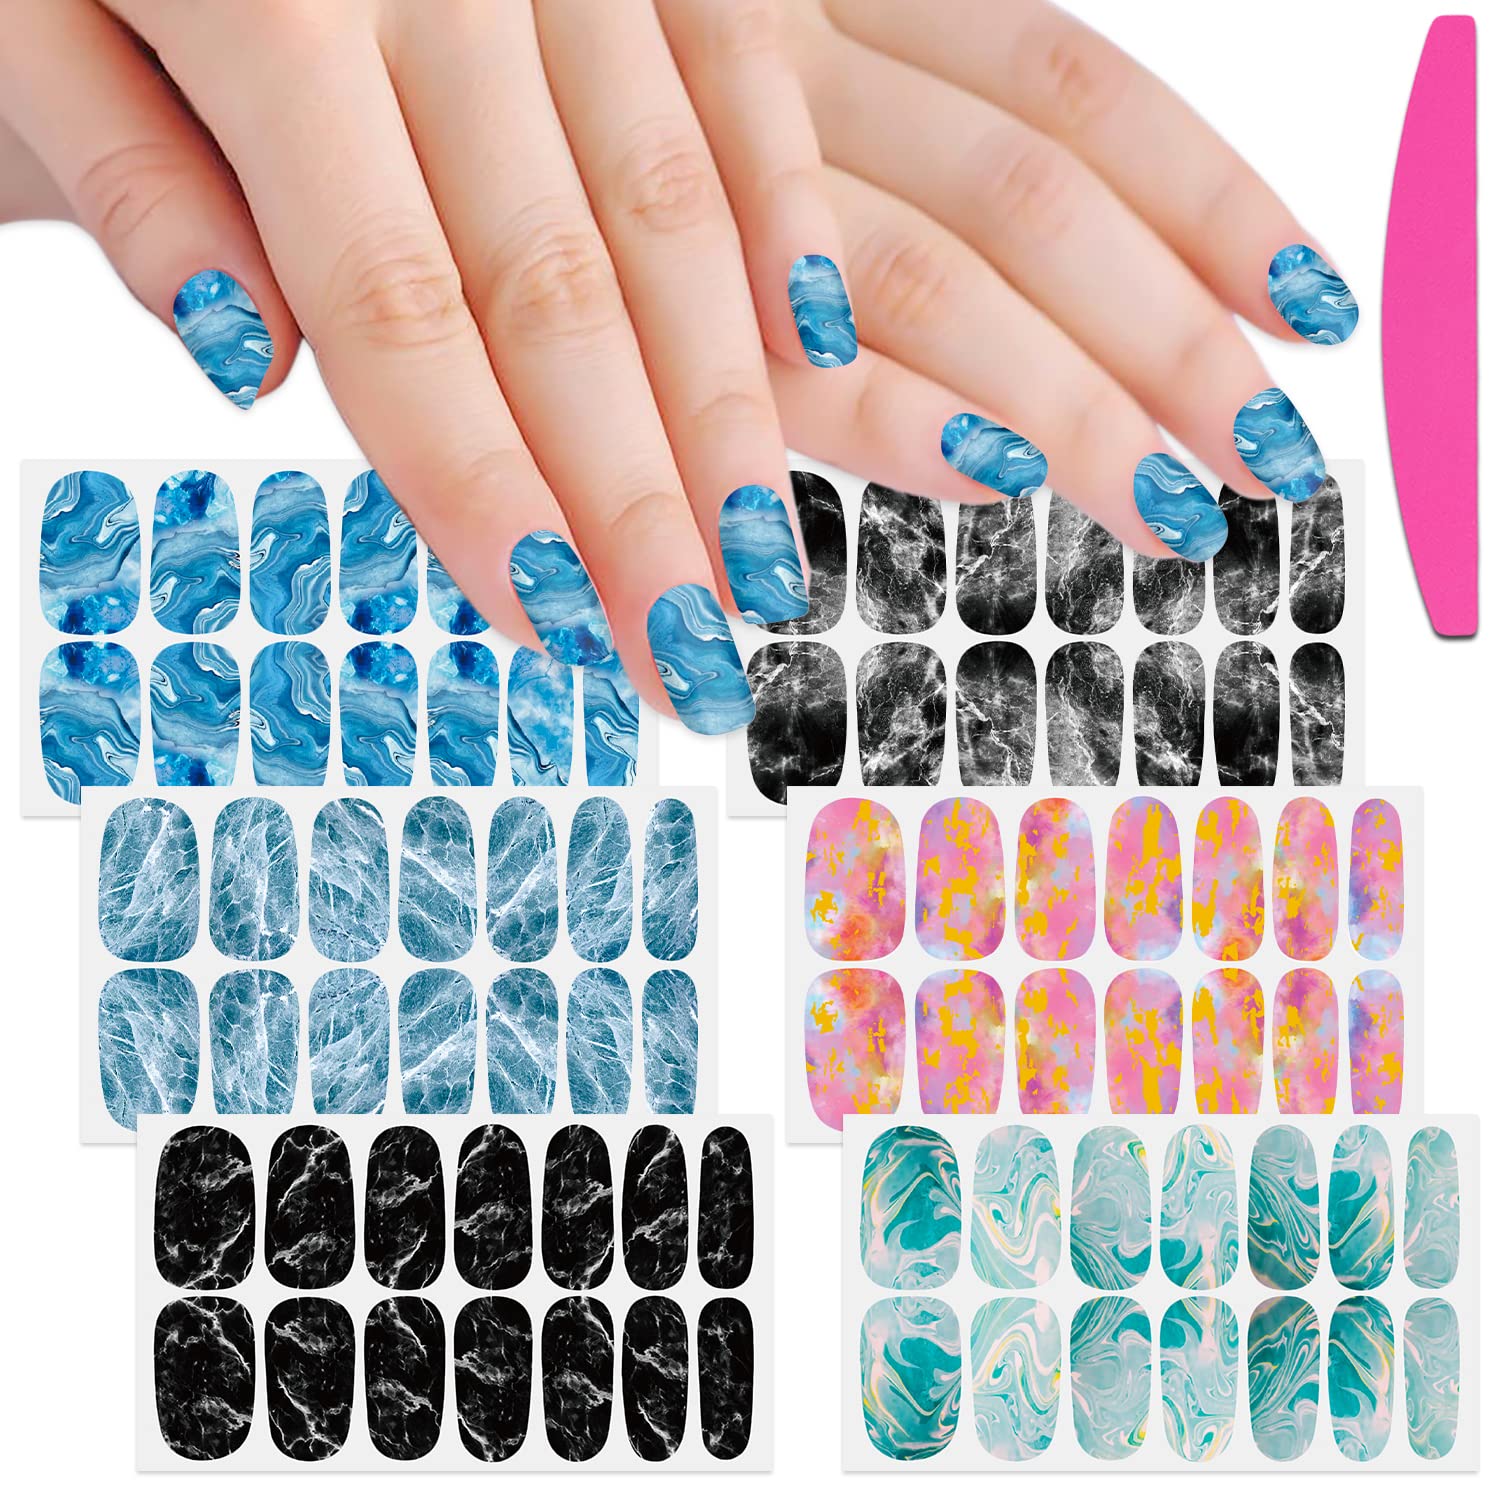
Abstract Art
For a truly unique manicure, opt for abstract nail polish stickers. These designs often feature unconventional shapes and vibrant colors, allowing you to express your creativity freely.
- Color Blocking: Use bold color blocking to highlight the abstract patterns and make each nail a work of art.
- Minimalist Approach: Combine abstract stickers with simple base colors for a modern and minimalist aesthetic.
Exploring these creative nail polish sticker designs can help you achieve bold and eye-catching manis that reflect your personal style.
 How to Pair Polish Stickers with Outfits: Fashion Tips
Pairing your nail polish stickers with your outfits can elevate your overall look and showcase your fashion-forward mindset. Here are some tips to help you coordinate your nails with your wardrobe effectively.
Match with Color Accents
Identify the main colors in your outfit and choose nail polish stickers that complement or match these hues. This coordination creates a cohesive and harmonious appearance.
- Complementary Colors: Use colors that are opposite on the color wheel to create a striking contrast.
- Analogous Colors: Select colors that are next to each other on the color wheel for a more subtle and unified look.
Seasonal Coordination
Align your nail polish sticker designs with the seasons for a timely and relevant manicure.
- Spring/Summer: Choose bright and vibrant designs with floral or tropical motifs.
- Fall/Winter: Opt for richer colors and intricate designs that complement the cozy and festive vibes of these seasons.
Theme-Based Outfits
When dressing for specific occasions or themes, let your nails reflect the same aesthetic.
- Casual Outings: Go for playful and fun sticker designs that add a pop of color without being too bold.
- Formal Events: Choose elegant and sophisticated designs that enhance your polished and refined ensemble.
Minimalist Style
If your wardrobe leans towards minimalist fashion, select simple and understated nail polish stickers that align with your clean and chic style.
- Neutral Tones: Stick to neutral colors and subtle patterns that blend seamlessly with your outfit.
- Simple Shapes: Opt for minimalist designs like thin lines or small geometric shapes to maintain an elegant look.
Bold and Statement Pieces
For those who love to make a strong fashion statement, daring nail polish sticker designs can complement your bold outfits perfectly.
- Graphic Prints: Choose eye-catching patterns that stand out and draw attention.
- Unique Shapes: Experiment with unconventional shapes and designs to add an element of surprise to your look.
By thoughtfully pairing your nail polish stickers with your outfits, you can enhance your overall style and create a well-coordinated and fashionable appearance.
 DIY Custom Polish Stickers: Make Your Own Unique Designs
Creating your own nail polish stickers allows you to showcase your creativity and personalize your manicure. Here’s how to make your own unique designs at home.
Materials Needed
- Nail Stickers Base: Purchase blank nail stickers or use transparent nail strips.
- Permanent Markers or Nail Pens: For drawing your custom designs.
- Fine-Tip Brushes: Ideal for intricate and detailed artwork.
- Clear Top Coat: To seal and protect your custom stickers.
- Scissors or Craft Knife: For cutting the stickers to size.
Step 1: Design Your Pattern
Start by sketching your desired pattern on a piece of paper. Whether it’s floral, abstract, or geometric, having a clear design in mind is essential.
- Templates: Use stencils or tape to create precise and clean lines if needed.
- Inspiration: Look for inspiration from nature, art, or fashion to create unique and trendy designs.
Step 2: Transfer the Design
Carefully transfer your design onto the nail stickers using a permanent marker or nail pen. Ensure that your lines are smooth and consistent for a professional look.
- Steady Hand: Take your time to maintain control and accuracy while drawing.
- Layers: If your design requires multiple layers, wait for each layer to dry before adding the next to prevent smudging.
Step 3: Seal the Design
Once your design is complete, apply a clear top coat over the stickers. This step protects your artwork and adds a glossy finish, making the colors more vibrant.
- Even Application: Apply the top coat evenly to prevent streaks and ensure full coverage.
- Drying Time: Allow the top coat to dry completely before proceeding to the next step.
Step 4: Cut and Apply
Trim the custom nail polish stickers to match the shape and size of your nails. Use scissors or a craft knife for precise cuts.
- Perfect Fit: Ensure that each sticker fits snugly on your nail without overlapping the cuticle or free edge.
- Application: Follow the step-by-step guide mentioned earlier to apply your custom stickers seamlessly.
Step 5: Store for Future Use
Store your DIY custom nail polish stickers in an airtight container to keep them in pristine condition for future applications.
- Organization: Keep your stickers organized by design or color for easy access during your next manicure session.
- Preservation: Proper storage prevents damage and maintains the quality of your custom designs.
Creating your own nail polish stickers not only allows for personalized nail art but also adds a unique touch to your manicure routine. Enjoy the creative process and showcase your individuality with custom designs.
 2025’s Trendiest Nail Polish Sticker Patterns: Must-Try Looks
Stay ahead of the fashion curve by exploring the trendiest nail polish sticker patterns for 2025. These must-try looks will keep your nails stylish and up-to-date with the latest trends.
Minimalist Lines and Dots
Minimalist designs continue to dominate the nail art scene, offering sleek and sophisticated looks.
- Lines: Thin and clean lines in various orientations create a modern and understated design.
- Dots: Small dots in strategic placements add a playful yet refined touch to your manicure.
Abstract Art
Abstract patterns offer a bold and artistic flair, perfect for those who want to make a statement.
- Shapes and Swirls: Combine different shapes and swirls to create a dynamic and eye-catching look.
- Color Blocking: Use contrasting colors within the abstract design to enhance visual interest.
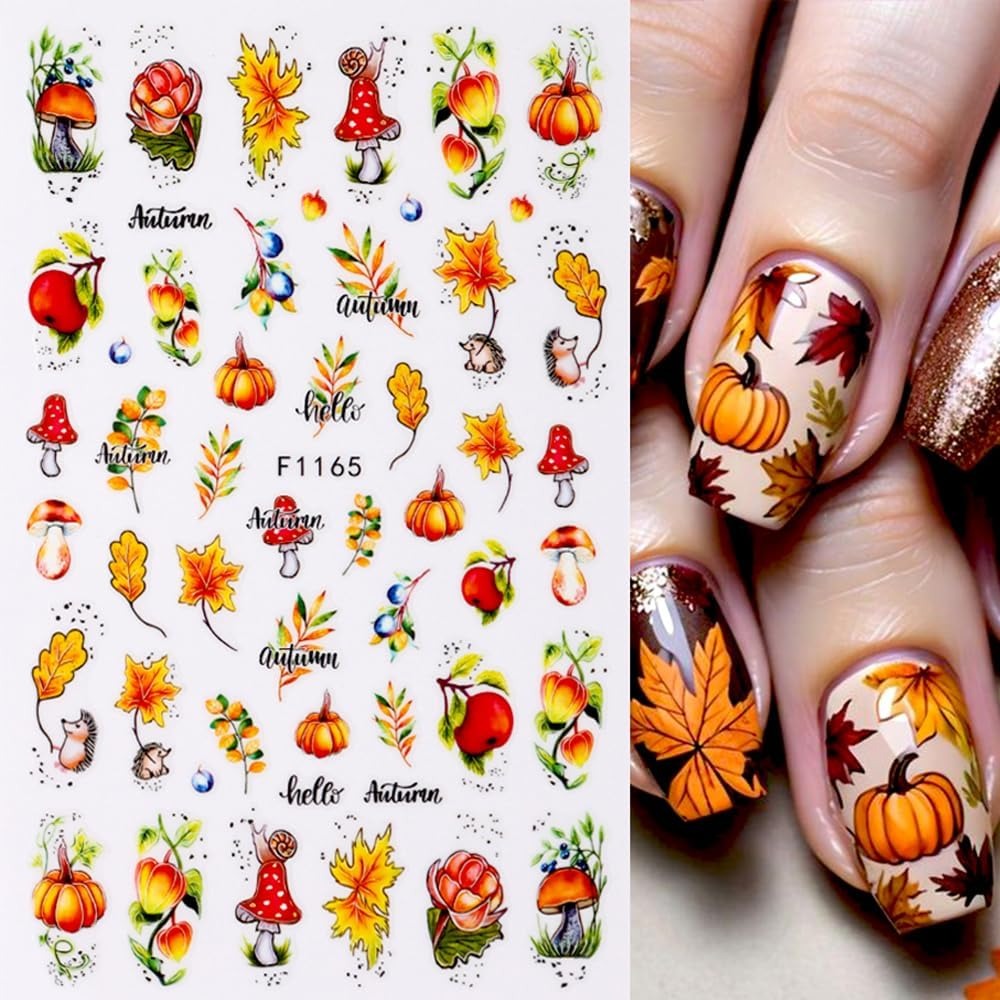
Nature-Inspired Motifs
Nature-inspired patterns bring a fresh and organic element to nail polish stickers.
- Leaves and Branches: Intricate leaf and branch designs add a touch of elegance and sophistication.
- Floral Patterns: Bold and vibrant flowers make your nails look lively and beautiful.
Metallic and Chrome Finishes
Metallic and chrome finishes offer a futuristic and glamorous look that’s perfect for special occasions.
- Silver and Gold: Classic metallic colors add a luxurious shine to your nails.
- Chrome Effects: Achieve a mirror-like finish with chrome nail polish stickers for a high-impact look.
Holographic Designs
Holographic nail polish stickers create a mesmerizing and multi-dimensional effect.
- Iridescent Colors: Utilize holographic shades that change color with the light for a magical appearance.
- 3D Elements: Incorporate layerable holographic stickers to add depth and dimension to your manicure.
Geometric and Mandala Patterns
Complex geometric and mandala patterns offer intricate and detailed designs that are both captivating and stylish.
- Symmetry: Ensure that the patterns are symmetrical to maintain a balanced and harmonious look.
- Detailing: Use fine lines and precise shapes to enhance the complexity and beauty of the design.
Gradient and Ombre Effects
Gradient and ombre patterns blend two or more colors seamlessly, creating a smooth transition that is both elegant and trendy.
- Color Choices: Select colors that transition smoothly from light to dark or complimentary hues.
- Application Technique: Layer the stickers in a way that enhances the gradient effect, creating a fluid and harmonious look.
Embracing these trendy nail polish sticker patterns for 2025 will keep your nails fashionable and stylish, ensuring you always have the latest and most admired manicure looks.
Polish Stickers for Work: Professional Yet Fun Options
Maintaining a professional appearance at work is important, but that doesn’t mean your nails have to be boring. Nail polish stickers offer a way to add a touch of fun while keeping your look polished and appropriate. Here are some professional yet fun options for work-appropriate nail polish stickers.
Subtle Geometric Designs
Geometric patterns in neutral or muted colors provide a sophisticated look without being overly flashy.
- Simple Shapes: Use small triangles, lines, or squares to keep the design understated.
- Neutral Colors: Opt for shades like nude, gray, or soft pastels to maintain a professional appearance.
Minimalistic Accents
Add a simple accent to one or two nails to create visual interest without overwhelming your look.
- Single Accent Nail: Choose one nail per hand to feature a subtle sticker design, such as a small dot or a single line.
- Complementary Colors: Select stickers that complement your base polish for a cohesive look.
Elegant Florals
Delicate floral patterns can add a feminine and elegant touch to your manicure, perfect for a professional setting.
- Small Flowers: Opt for small, scattered flowers rather than large, bold patterns.
- Soft Colors: Choose pastel or muted floral stickers to keep the look refined and tasteful.
Metallic Strips
Metallic nail polish stickers in subtle shades can add a hint of glamour to your nails without being too bold.
- Thin Strips: Use thin metallic strips to create a sleek and modern look.
- Balance: Pair metallic accents with a neutral base to maintain professionalism.
Classic French Tips
Modernize the classic French manicure with nail polish stickers that add a subtle twist.
- Colored Tips: Instead of white, use nude or light pink stickers for a more understated look.
- Minimal Design: Keep the tips simple and clean, avoiding excessive embellishments.
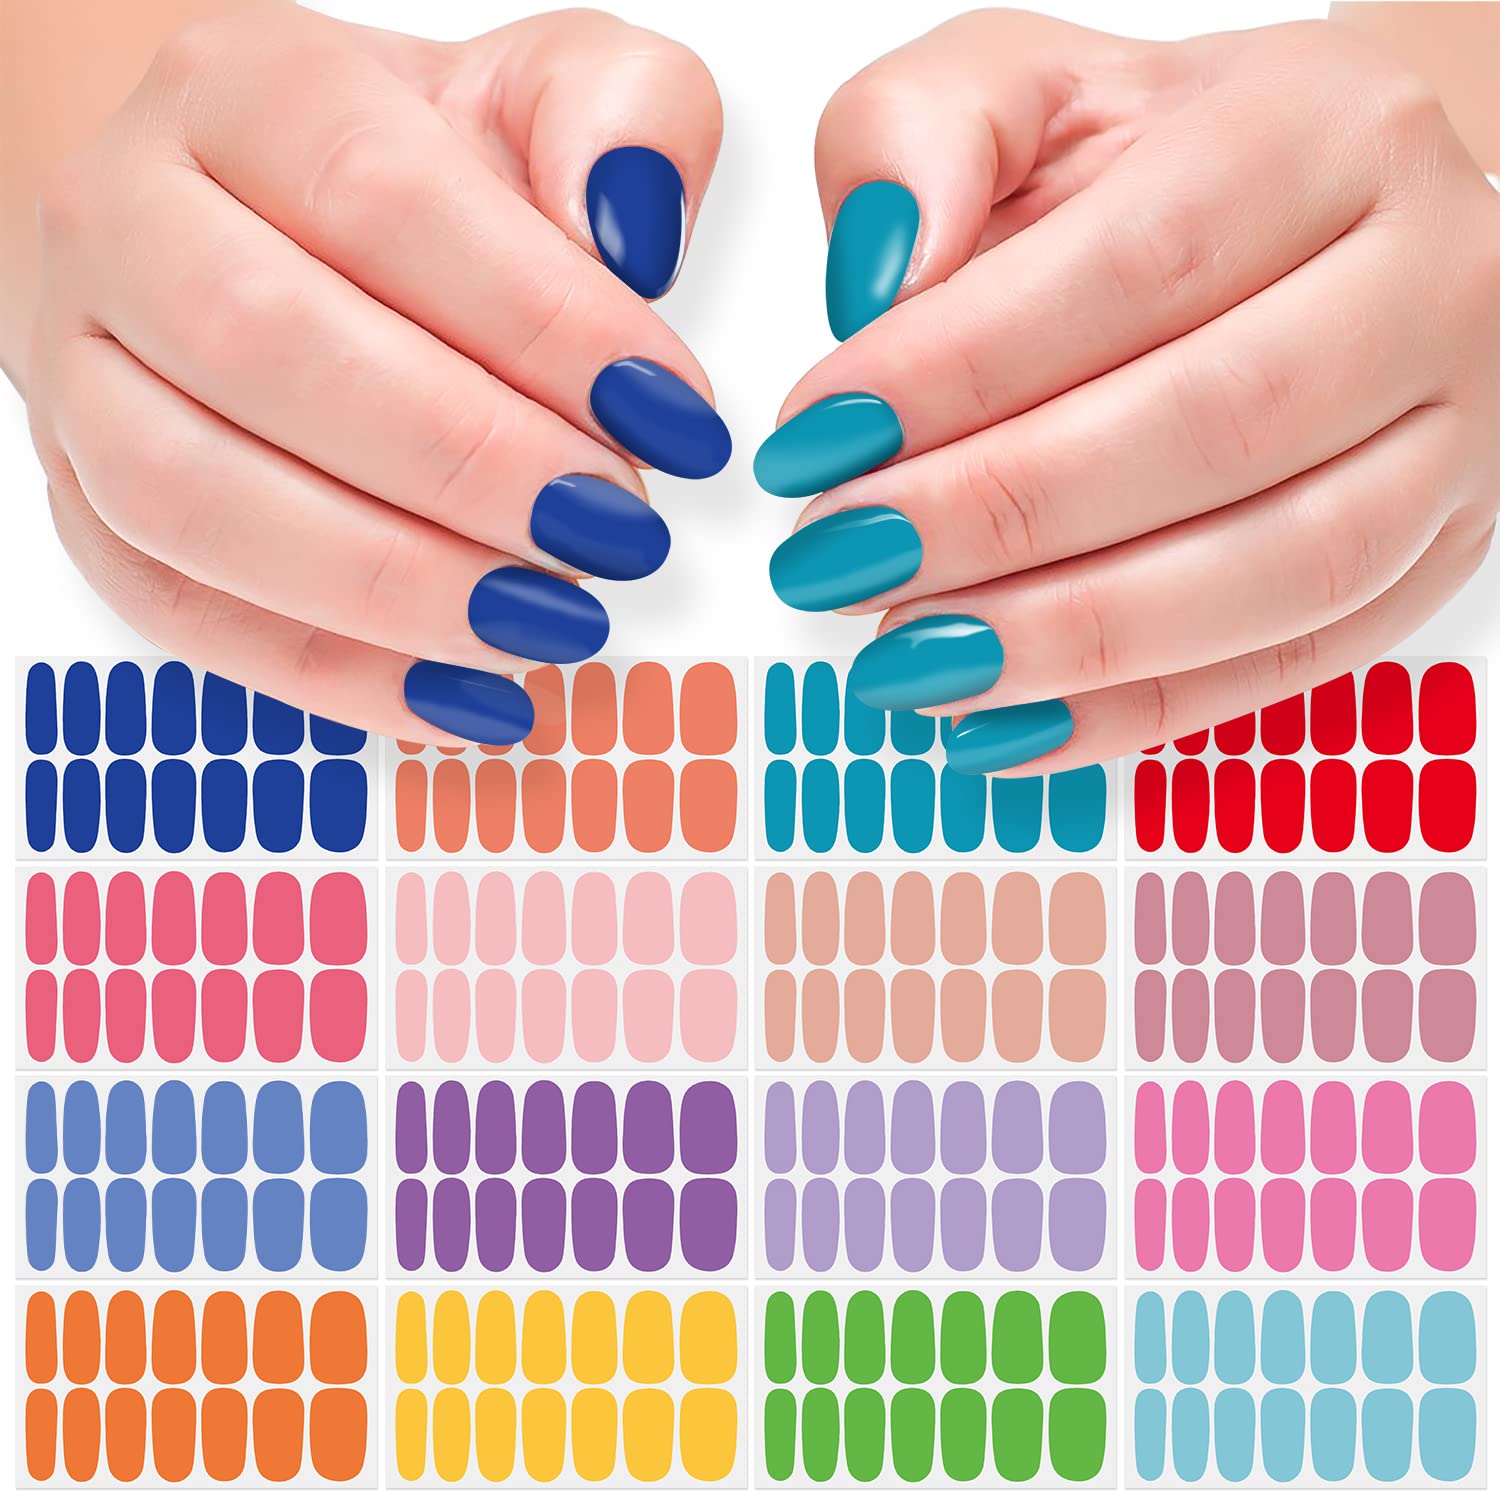
Monochrome Patterns
Using monochrome designs in black, white, or gray can create a stylish and professional manicure.
- Stripes or Dots: Simple black and white stripes or dots add a chic element to your nails.
- Minimalist Approach: Ensure that the patterns are kept simple to maintain a professional vibe.
By selecting work-appropriate nail polish stickers, you can enjoy fun and creative designs while keeping your nails polished and suitable for the office environment.
 Holiday Nail Polish Sticker Ideas: Festive Designs for Summer
Festive holidays provide the perfect opportunity to experiment with vibrant and themed nail polish sticker designs. Here are some creative ideas to celebrate summer holidays with your nails.
Beach Vibes
Embrace the summer spirit with beach-inspired nail polish stickers that evoke the feeling of sun, sand, and sea.
- Shells and Starfish: Add shell or starfish stickers to enhance the beach theme.
- Ocean Colors: Use shades of blue, turquoise, and sandy beige to reflect the colors of the beach.
Tropical Flowers
Tropical floral patterns bring a lively and colorful touch to your manicure, perfect for summer festivities.
- Bright Florals: Choose vibrant flowers in colors like pink, orange, and yellow for a bold look.
- Leafy Accents: Incorporate green leaf stickers to complete the tropical vibe.
Fireworks Display
Celebrate summer holidays with nail polish stickers that mimic a fireworks display, adding sparkle and excitement to your nails.
- Glitter Accents: Use glittery stickers to represent the sparkles of fireworks.
- Bold Colors: Select bright and contrasting colors to recreate the dynamic look of fireworks in the sky.
Sun and Moon
Sun and moon designs are perfect for capturing the essence of summer days and nights.
- Day and Night: Combine sun motifs on one hand and moon motifs on the other for a balanced look.
- Celestial Patterns: Add stars and clouds to enhance the celestial theme.
Ice Cream and Fruits
Sweet and fun ice cream or fruit-themed stickers add a playful touch to your summer manicure.
- Ice Cream Cones: Use stickers shaped like ice cream cones or popsicles for a whimsical look.
- Fruits: Incorporate fruit shapes like pineapples, watermelons, or strawberries for a fresh and vibrant design.
Beach Balls and Umbrellas
Beach balls and umbrellas symbolize summer fun and relaxation, making them perfect for festive nail designs.
- Colorful Patterns: Choose brightly colored stickers to represent the fun and lively nature of beach accessories.
- Simple Shapes: Keep the designs simple to maintain a clean and stylish manicure.
Sunset Gradients
Capture the beauty of summer sunsets with gradient nail polish stickers that blend warm colors seamlessly.
- Color Transition: Use stickers that transition from orange to pink to purple, mimicking the colors of a sunset.
- Smooth Finish: Ensure the gradient is smooth and even for a realistic and beautiful effect.
These holiday-inspired nail polish sticker ideas allow you to celebrate summer in style, adding festive and vibrant designs to your manicure.
Conclusion
Nail polish stickers offer a versatile and creative way to enhance your manicure, allowing you to achieve stunning designs with ease. Whether you’re applying them perfectly using our step-by-step guide, exploring bold statement designs, or experimenting with DIY custom patterns, nail polish stickers can transform your nails into works of art. Moreover, by pairing them with your outfits and staying updated with the latest trends, you can ensure your nails always complement your style. Don’t let common issues like peeling or bubbles hold you back—use our troubleshooting tips to maintain flawless results. Embrace the endless possibilities of nail polish stickers to elevate your manicure and showcase your unique personality with every application.