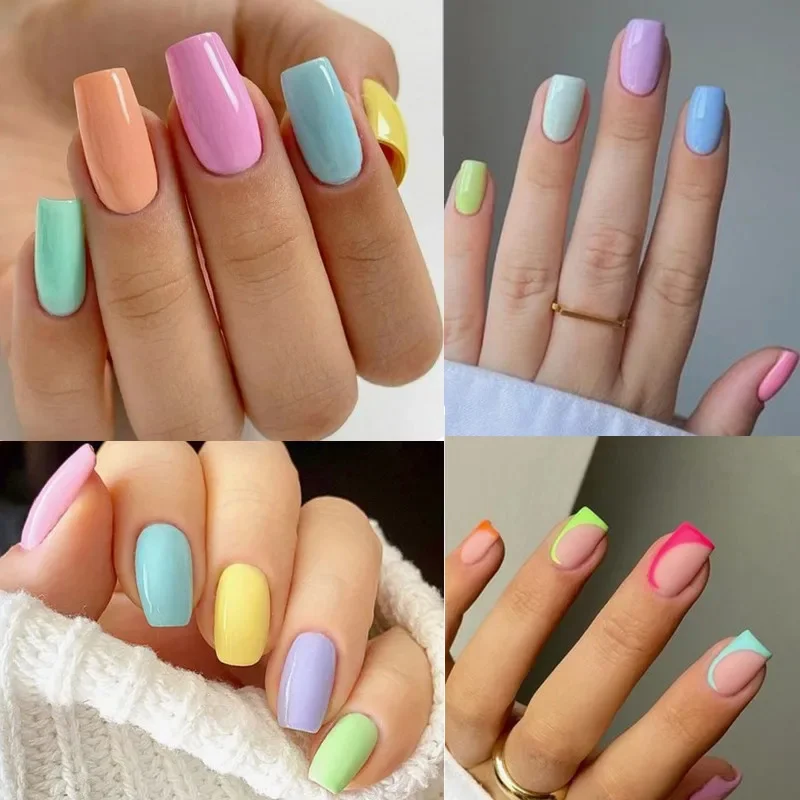
Gel nail polish kits have revolutionized the way we approach manicures. With a gel nail polish kit, you can achieve salon-quality nails without leaving your home. These kits offer convenience, durability, and a wide range of colors to express your personal style. Whether you’re a nail art enthusiast or a beginner, understanding how to use and choose the right kit can make all the difference. This comprehensive guide explores everything you need to know about gel nail polish kits, ensuring your nails look perfect every time.
 How to Use a Gel Polish Kit at Home: Step-by-Step Tutorial
Using a gel nail polish kit at home is easier than you might think. Follow these steps to achieve a flawless manicure.
Preparing Your Nails
Start by cleaning your nails thoroughly. Remove any old polish and shape your nails using a file. Soak your hands in warm, soapy water for a few minutes to soften the cuticles. Gently push back the cuticles using a cuticle pusher. This preparation ensures a smooth surface for the gel polish.
Applying the Base Coat
Apply a thin layer of the base coat from your gel nail polish kit. Ensure you cover the entire nail surface, including the edges. Cure the base coat under a UV or LED lamp as per the kit’s instructions. This step helps the polish adhere better and prevents chipping.
Adding Color
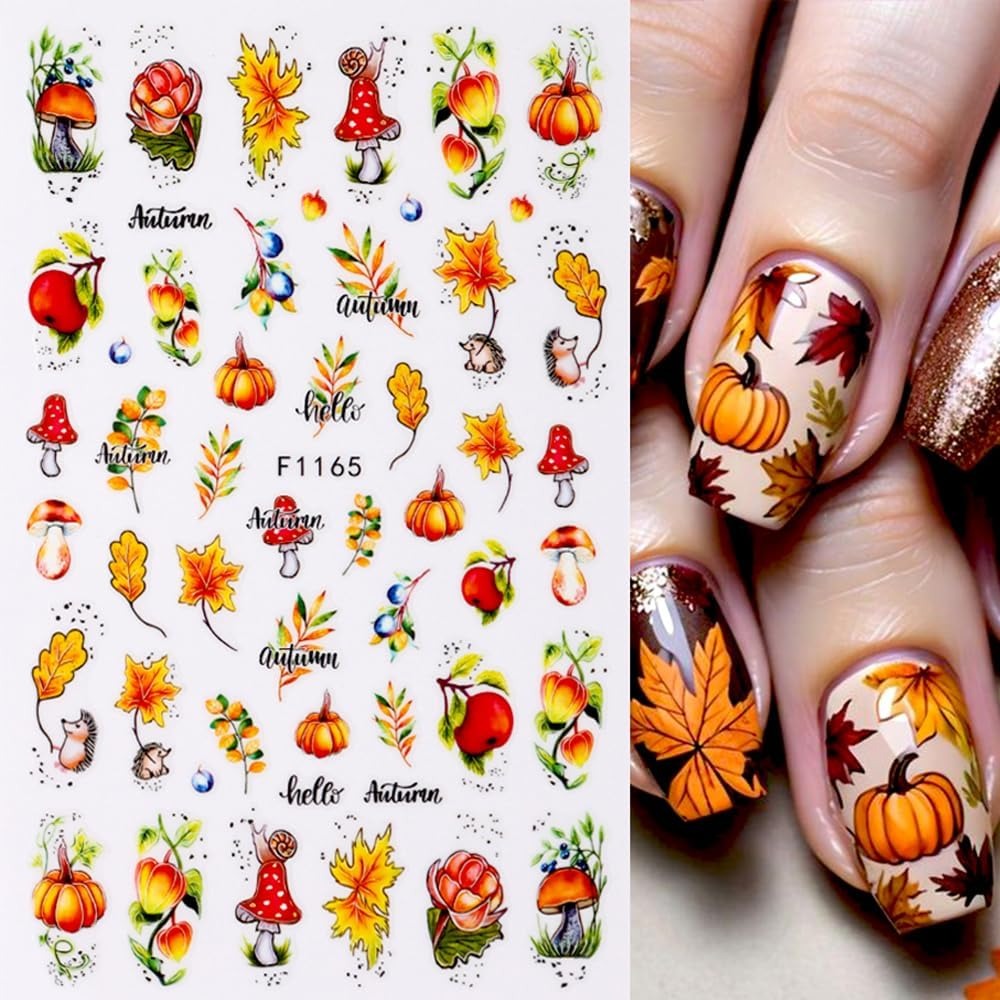
Choose your favorite color from the gel polish selection. Apply a thin, even layer of the gel polish. Be careful to avoid the skin around your nails to prevent lifting. Cure each layer under the lamp. Typically, two coats of color provide the best opacity and vibrancy.
Sealing with Top Coat
Once you’re satisfied with the color, apply a top coat to seal the polish. This layer adds shine and protects your manicure. Cure the top coat under the lamp for the recommended time. A well-applied top coat can extend the life of your manicure by several days.
Final Touches
After curing the top coat, wipe your nails with a lint-free cloth soaked in rubbing alcohol or the provided cleanser. This removes any sticky residue, leaving your nails smooth and shiny. Apply cuticle oil to keep your nails and cuticles hydrated.
The Ultimate Gel Polish Kit Comparison: Brands vs. Budget-Friendly Options
Choosing the right gel nail polish kit can be overwhelming with so many options available. Let’s compare premium brands with budget-friendly alternatives to help you make an informed decision.
Premium Brands
Premium brands like OPI, CND Shellac, and Gelish offer high-quality gel polishes. These kits typically include a wide range of colors, high-performance base and top coats, and reliable curing lamps. The polish formulas are long-lasting, chip-resistant, and provide a glossy finish. Additionally, premium kits often come with excellent customer support and extensive tutorials.
Budget-Friendly Options
If you’re looking to save money, budget-friendly brands like Essence, Revlon, and Sinful Colors provide great value. These kits offer a good selection of colors and essential tools needed for a basic gel manicure. While they may not have as extensive a color palette or as durable formulas as premium brands, they are perfect for occasional use and beginners experimenting with gel nails.
Key Differences
- Price: Premium kits are more expensive but offer superior quality. Budget kits are affordable and suitable for casual use.
- Quality: Premium brands provide more durable and high-shine polishes. Budget options may require more frequent touch-ups.
- Variety: Premium kits usually have a broader color range and additional nail art tools. Budget kits offer essential colors and basic tools.
Making Your Choice
Consider how often you do your nails and your budget. If you frequently use gel polish and seek professional results, a premium kit is worth the investment. For occasional use or trying out gel nails for the first time, a budget-friendly kit is a practical choice.
 Gel Polish Kit Safety Guide: Are DIY Kits Safe for Your Nails?
Safety is a key concern when using a gel nail polish kit. Let’s explore how to use these kits safely to protect your nails.
Choosing Non-Toxic Products
Opt for gel nail polish kits that are labeled as non-toxic and free from harmful chemicals like toluene, formaldehyde, and DBP (dibutyl phthalate). These safer formulations reduce the risk of allergic reactions and nail damage.
Proper Application Techniques
Avoid applying thick layers of polish, as this can cause the polish to lift and damage your nails. Use thin, even coats instead. Always follow the manufacturer’s instructions for applying and curing the polish to ensure the best results and minimize nail stress.
Avoiding Overuse
Frequent use of gel nail polish can weaken your nails. Give your nails breaks between manicures to allow them to breathe and recover. Use cuticle oil regularly to maintain nail health and prevent dryness.
Removing Gel Polish Correctly
Improper removal can cause significant damage to your nails. Do not peel off the gel polish, as this can strip layers from your nails. Instead, soak your nails in acetone-based remover or follow the kit’s recommended removal process. Gently push off the softened polish with a tool, being careful not to scrape or peel.
Maintaining Nail Health
Keep your nails strong by moisturizing them regularly and avoiding harsh chemicals. Incorporate a nail strengthener into your routine to support nail growth and resilience.
Gel Polish Kit Travel Hacks: How to Pack & Use It on the Go
Traveling with your gel nail polish kit can be convenient if you follow these hacks.
Compact Kits
Choose a compact gel nail polish kit designed for travel. These kits are lightweight and include only the essential items, making them easy to pack in your carry-on or suitcase.
Protecting Your Tools
Use a protective case to store your gel nail polish and tools. This prevents breakage and spills during transit. Double-bag your polish bottles in zip-lock bags for extra protection.
Portable Curing Lamps
Invest in a portable LED curing lamp. These small, battery-operated lamps are perfect for on-the-go use and fit easily in your travel bag.
Simplified Application
When traveling, simplify your manicure process. Opt for neutral or versatile colors that match multiple outfits. Carry a minimalist kit with just the base coat, two colors, and a top coat to save space.
Quick Drying Formulas
Choose quick-drying gel polishes to save time during your travels. These formulas reduce the need for prolonged curing, allowing you to complete your manicure faster.
Carry Essentials Separately
Keep essential items like nail files, cuticle pushers, and acetone remover in a separate compartment of your bag. This makes it easier to access them without rummaging through your entire kit.
 Gel Polish Kit Maintenance: 7 Tips to Keep Your Nails Perfect Longer
Maintaining your gel nail polish kit ensures your manicure stays flawless for an extended period. Here are seven tips to achieve that:
1. Keep Your Tools Clean
Regularly clean your brushes and tools to prevent the buildup of polish residue. Use gentle soap and water for brushes, and wipe down nail tools with alcohol.
2. Store Polishes Properly
Store your gel polishes in a cool, dark place to prevent fading and thickening. Avoid exposure to direct sunlight or extreme temperatures, which can alter the consistency of the polish.
3. Replace Old Polishes
Gel polishes can dry out over time. Replace old polishes with fresh ones to ensure smooth application and optimal curing.
4. Use High-Quality Brushes
Invest in quality brushes that provide better control and a more even application. High-quality brushes can also extend the life of your polishes by reducing waste.
5. Follow Curing Times
Always adhere to the recommended curing times for each layer. Under-curing can lead to smudging and premature chipping, while over-curing may cause the polish to become brittle.
6. Protect Your Nails
Apply a base coat before the color and a top coat after to protect your nails from staining and to enhance the longevity of your manicure.
7. Regular Maintenance
Check your nails regularly for any signs of lifting or chipping. Touch up your manicure promptly to prevent further damage and maintain a professional look.
Gel Polish Kit for Pregnancy: Safe Options & Application Tips
Pregnancy requires special care, especially when it comes to nail care. Here’s how to safely use a gel nail polish kit during pregnancy.
Choosing Safe Products
Select gel nail polish kits that are free from toxic chemicals such as toluene, formaldehyde, and DBP. Look for brands that prioritize non-toxic, vegan, and cruelty-free formulas to ensure safety for both you and your baby.
Ventilation
Ensure you work in a well-ventilated area when applying gel polish. Proper ventilation reduces inhalation of fumes and keeps the air fresh.
Minimizing Exposure
Limit the use of acetone-based removers, as excessive exposure can dry out your nails and skin. Consider using gentler, non-acetone removers to protect your nails and overall health.
Gentle Application
Apply thin layers of polish to reduce the need for prolonged curing. Thick layers can increase exposure to chemicals and make removal more difficult.
Nail Health
Maintain strong, healthy nails by using cuticle oil and moisturizing regularly. Healthy nails are less likely to break or chip, reducing the need for frequent manicures.
Professional Help
If you prefer, seek assistance from a professional nail technician who follows safe practices. Ensure they use non-toxic products and maintain a clean working environment.
Regular Breaks
Give your nails regular breaks from gel polish to allow them to breathe and recover. This practice prevents nail damage and promotes overall nail health.
 FAQ: Everything You Need to Know
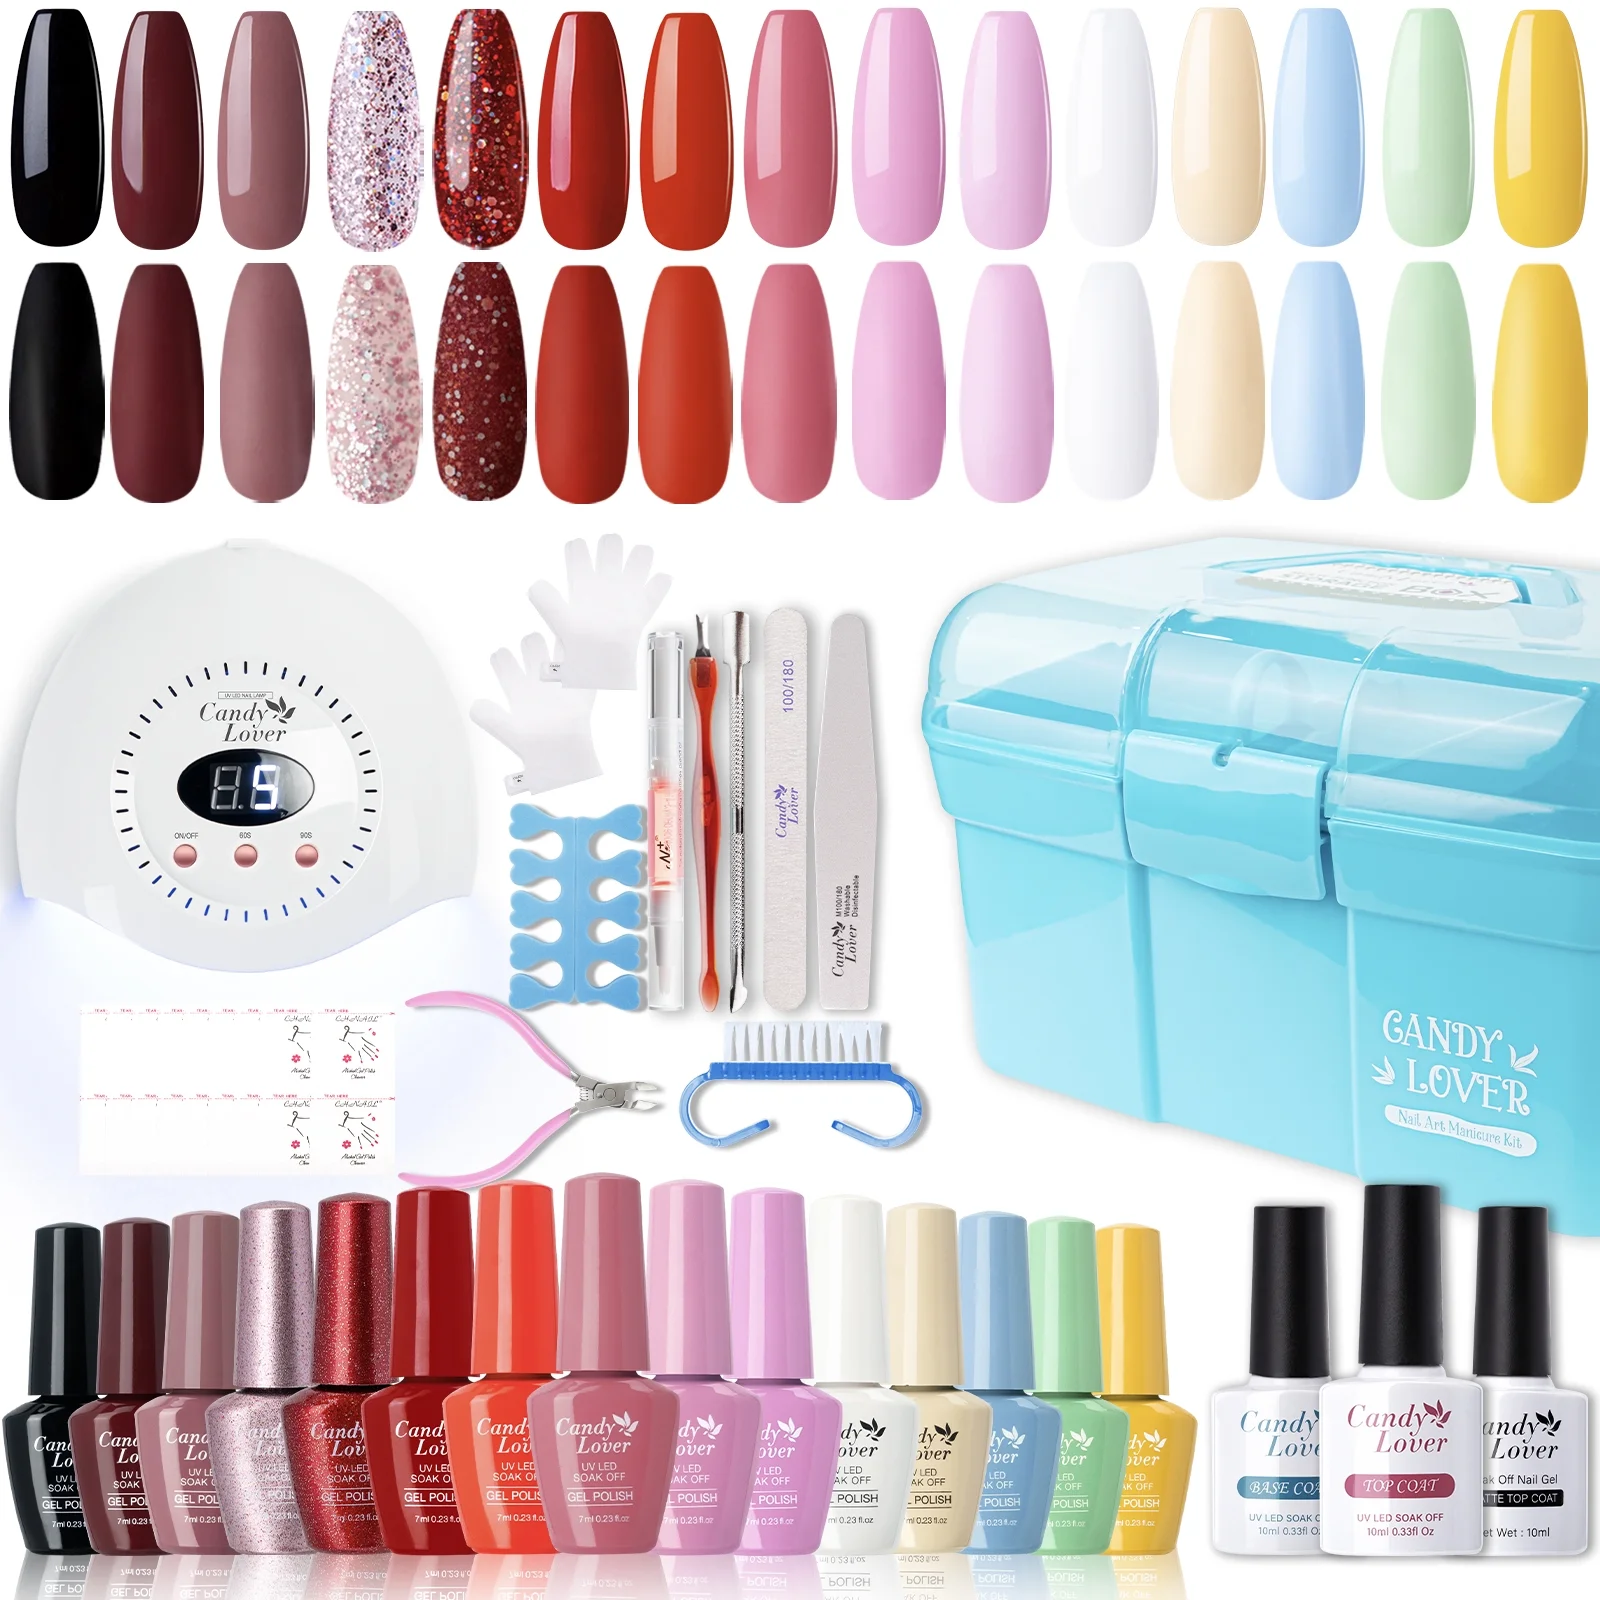
What Is Included in a Gel Nail Polish Kit?
A standard **gel
nail polish kit** typically includes:
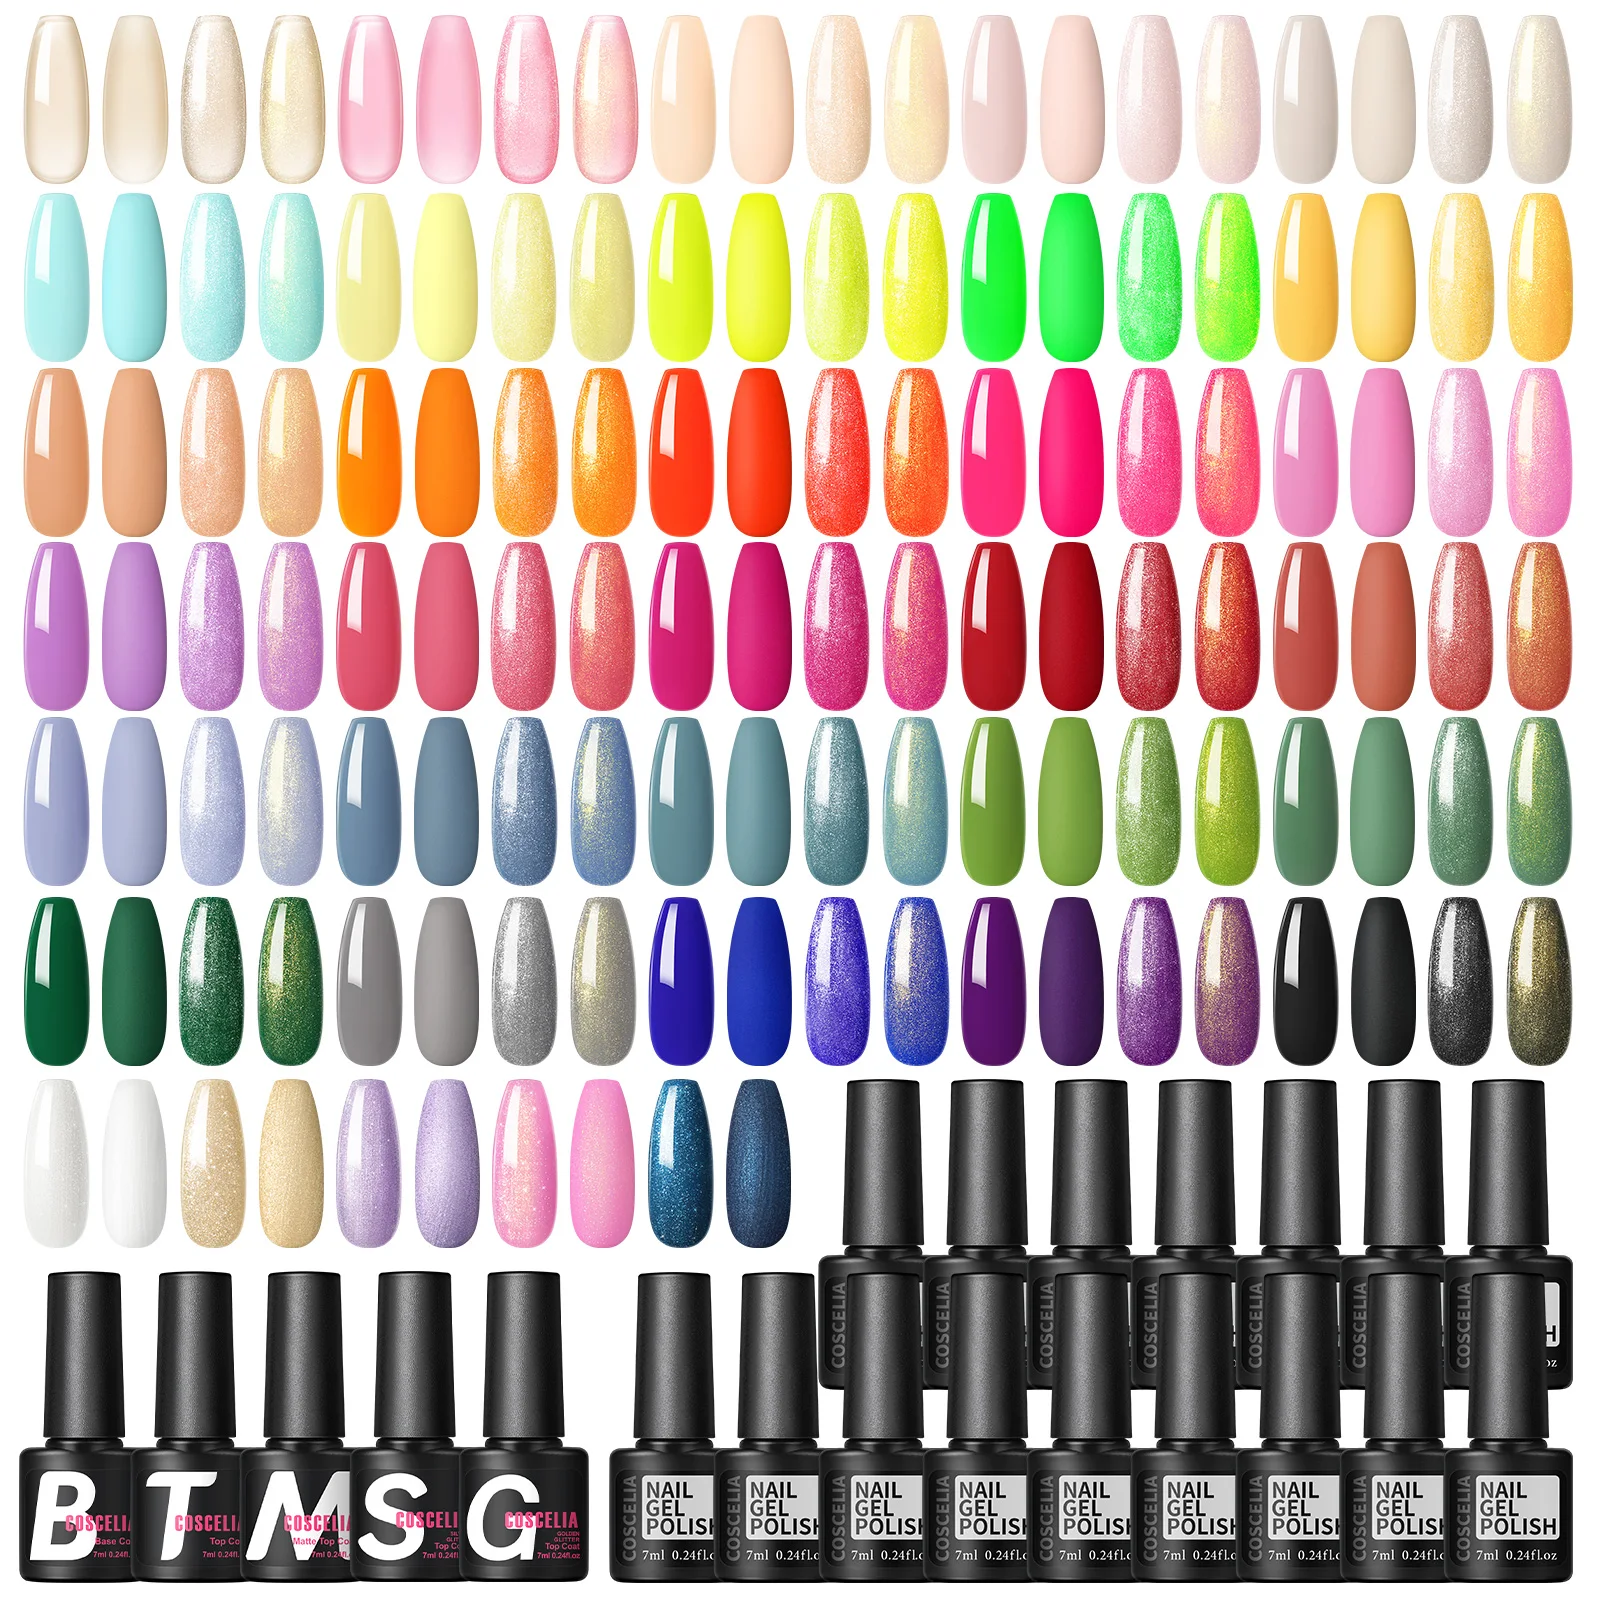
- Gel polishes: A selection of colors.
- Base coat: Prepares your nails for color.
- Top coat: Seals and adds shine.
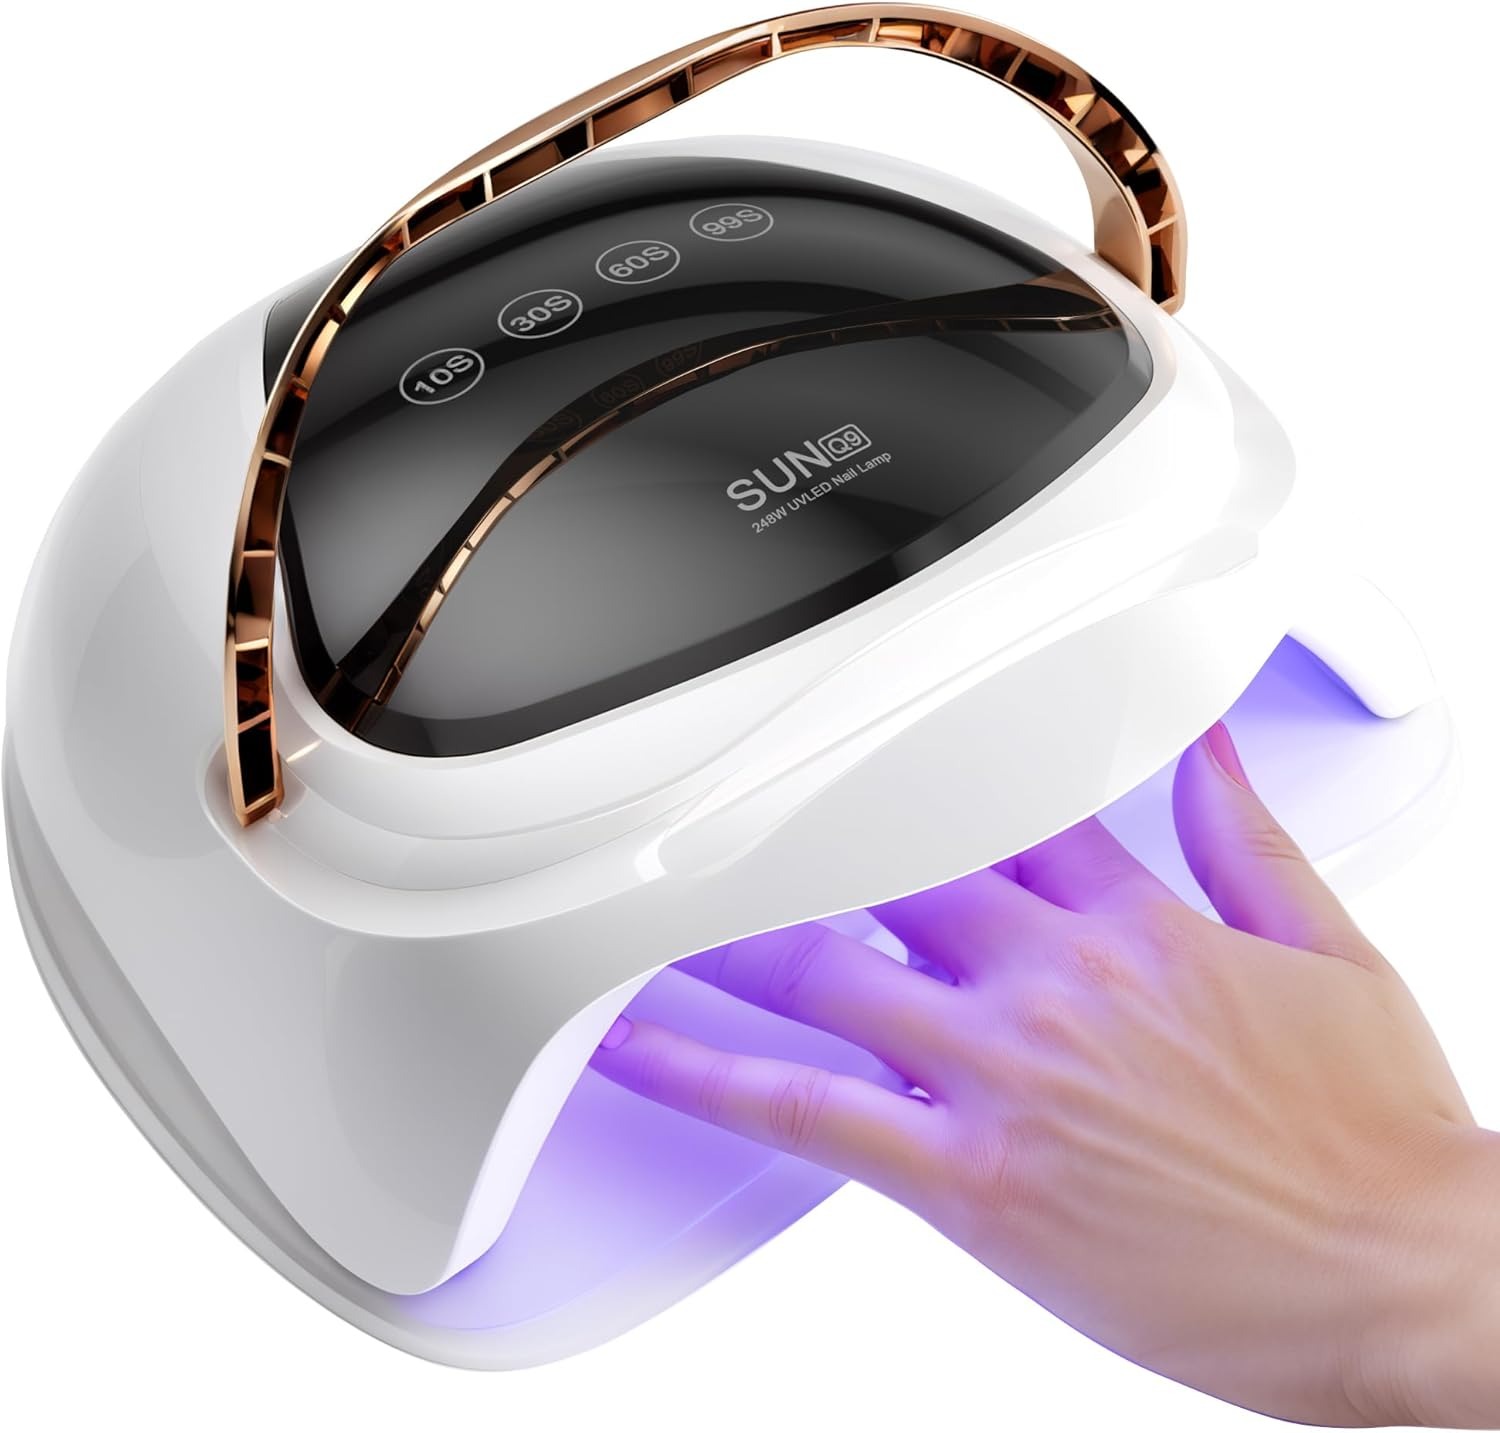
- Curing lamp: UV or LED lamp to harden the polish.
- Tools: Cuticle pushers, nail files, and buffers.
- Remover: Acetone or non-acetone polish remover for removal.
How Long Does a Gel Manicure Last?
A gel manicure can last up to two weeks without chipping or peeling, thanks to the durable formula and proper application.
Can I Remove Gel Polish at Home?
Yes, you can remove gel polish at home using an acetone-based remover or the remover provided in your kit. Follow the removal steps carefully to avoid damaging your nails.
Do I Need a Special Lamp for a Gel Nail Polish Kit?
Yes, gel nail polish kits require a UV or LED lamp to cure the polish. Ensure you have a compatible lamp included in your kit or purchase one separately.
Are Gel Nail Polishes Safe for My Nails?
When used correctly, gel nail polishes are safe. However, improper application or frequent use without breaks can weaken your nails. Always follow safety guidelines and give your nails time to breathe.
Can I Use a Gel Nail Polish Kit Without a Lamp?
No, a gel nail polish kit requires a UV or LED lamp to cure the polish. Without curing the polish under a lamp, it will not harden properly and will not last as long.
What Are the Benefits of Using a Gel Nail Polish Kit?
Gel nail polish kits offer several benefits:
- Long-lasting: Up to two weeks without chipping.
- High shine: Maintains a glossy finish longer than regular polish.
- Quick drying: Cures quickly under a lamp.
- Professional look: Achieves salon-quality results at home.
How Do I Choose the Right Gel Nail Polish Kit?
Consider the following when choosing a gel nail polish kit:
- Quality of polishes: Look for highly pigmented and long-lasting colors.
- Included tools: Ensure the kit has all necessary tools for application and removal.
- Lamp type: Decide between UV and LED lamps based on curing time and compatibility.
- Price: Choose a kit that fits your budget while meeting your quality expectations.
Can I Apply Gel Nail Polish Over Regular Polish?
Yes, you can apply gel nail polish over regular polish. However, it’s best to remove the regular polish first and start with a clean, smooth base for optimal adhesion and durability.
How Often Should I Use a Gel Nail Polish Kit?
To maintain healthy nails, limit the use of gel manicure to once every two weeks. This allows your nails to recover and prevents damage from prolonged use.
What Are Some Common Mistakes to Avoid?
- Applying thick layers of polish: This can cause lifting and chipping.
- Skipping the base coat: The base coat is essential for adhesion and preventing stains.
- Not curing each layer properly: Inadequate curing can lead to smudging and reduced durability.
- Peeling off polish: Always remove gel polish correctly to avoid damaging your nails.
 Conclusion
Choosing the right gel nail polish kit can transform your manicure routine. With a variety of options available, you can find a kit that suits your budget, style, and safety preferences. By following the step-by-step tutorial, comparing different brands, and adhering to safety guidelines, you can enjoy beautiful, long-lasting nails from the comfort of your home. Whether you’re a beginner or a seasoned nail artist, a gel nail polish kit offers the tools you need to achieve professional results. Invest in a quality kit today and let your nails shine with vibrant, durable color.