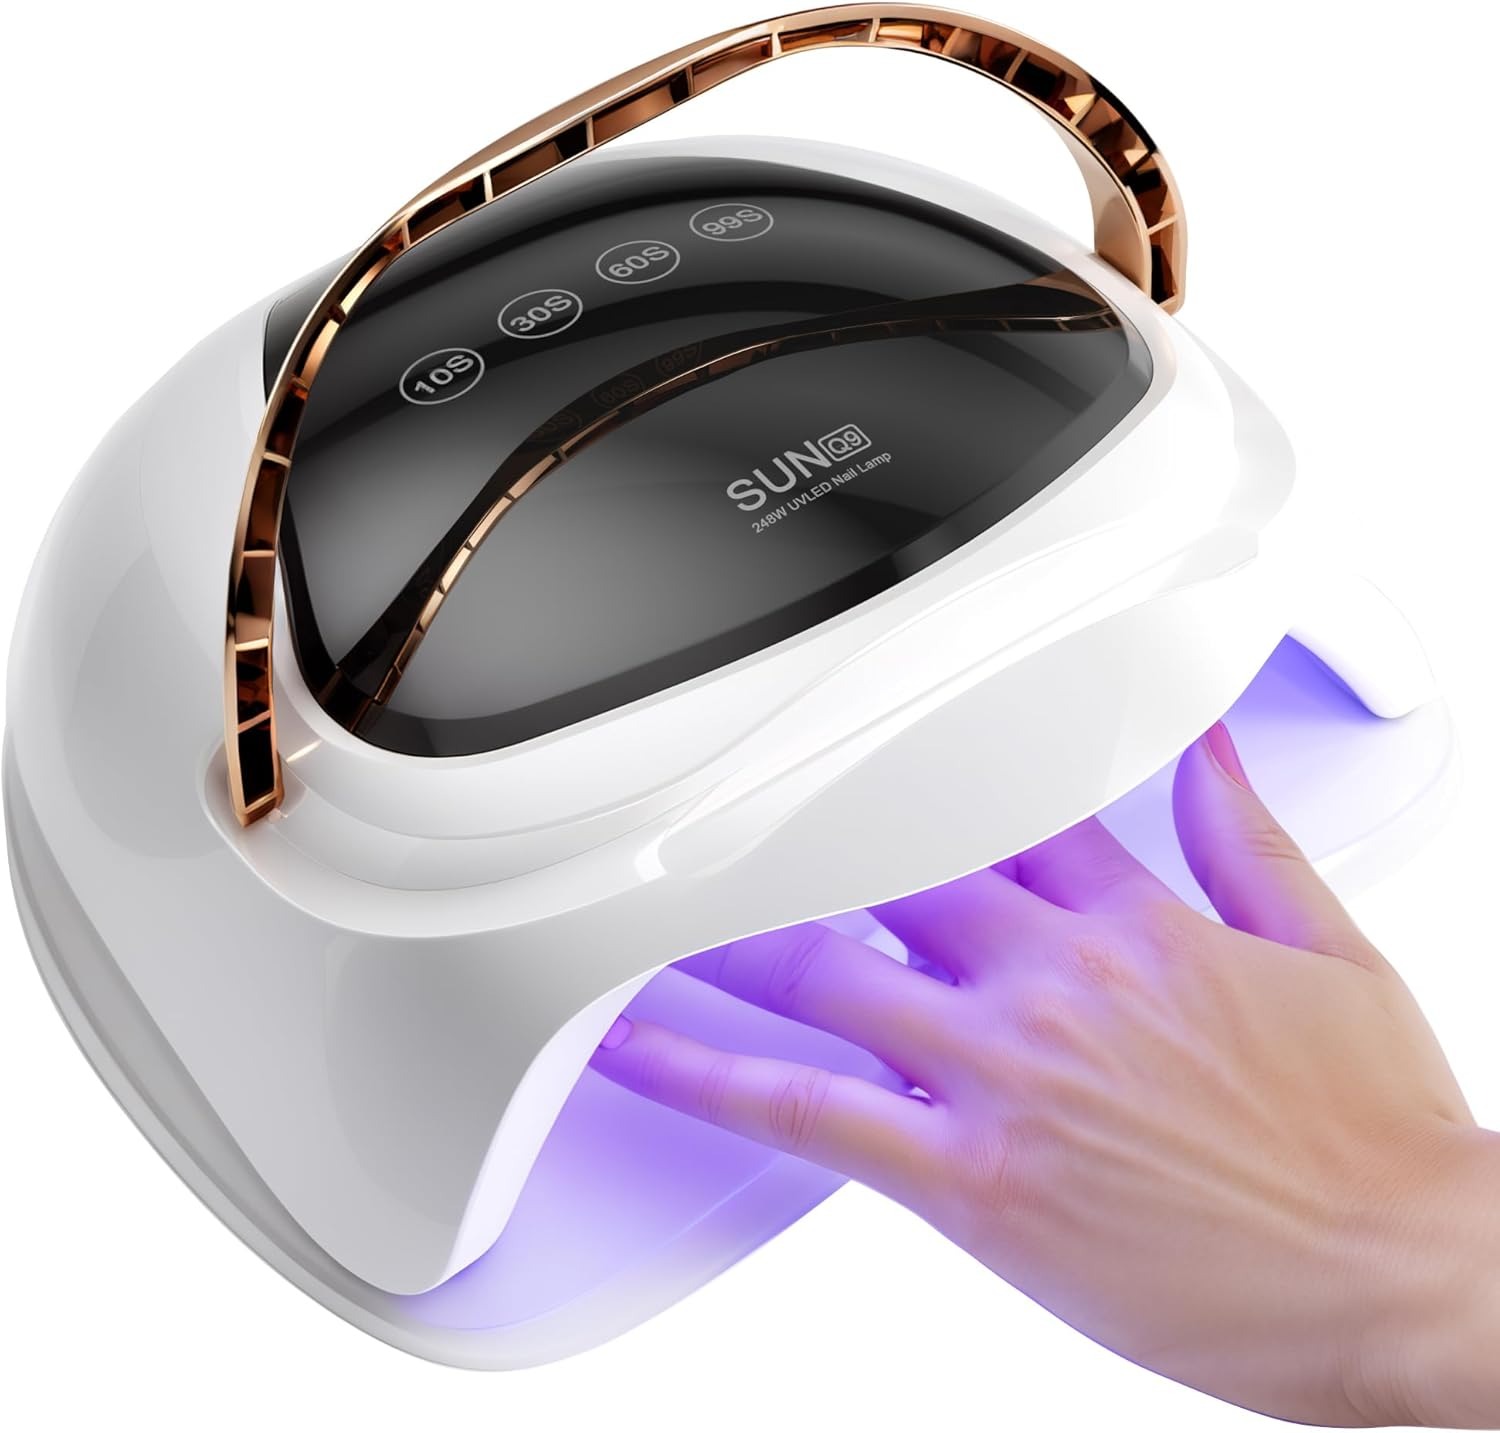
Introduction to LED Nail Lamps
LED nail lamps are specialized devices that use ultraviolet light-emitting diodes (UV-LEDs) to cure gel, acrylic, or fiber nail polish rapidly and safely. Unlike traditional UV lamps, these lamps emit a precise wavelength (typically 365–395 nm) that hardens gel polish in as little as 30 seconds per coat, reducing session times by up to 70%. The lower heat output protects nails from drying out while delivering a durable, glossy finish that lasts 2–3 weeks. Ideal for both home enthusiasts and professional salons, LED nail lamps are essential for achieving salon-quality manicures without damaging natural nails.
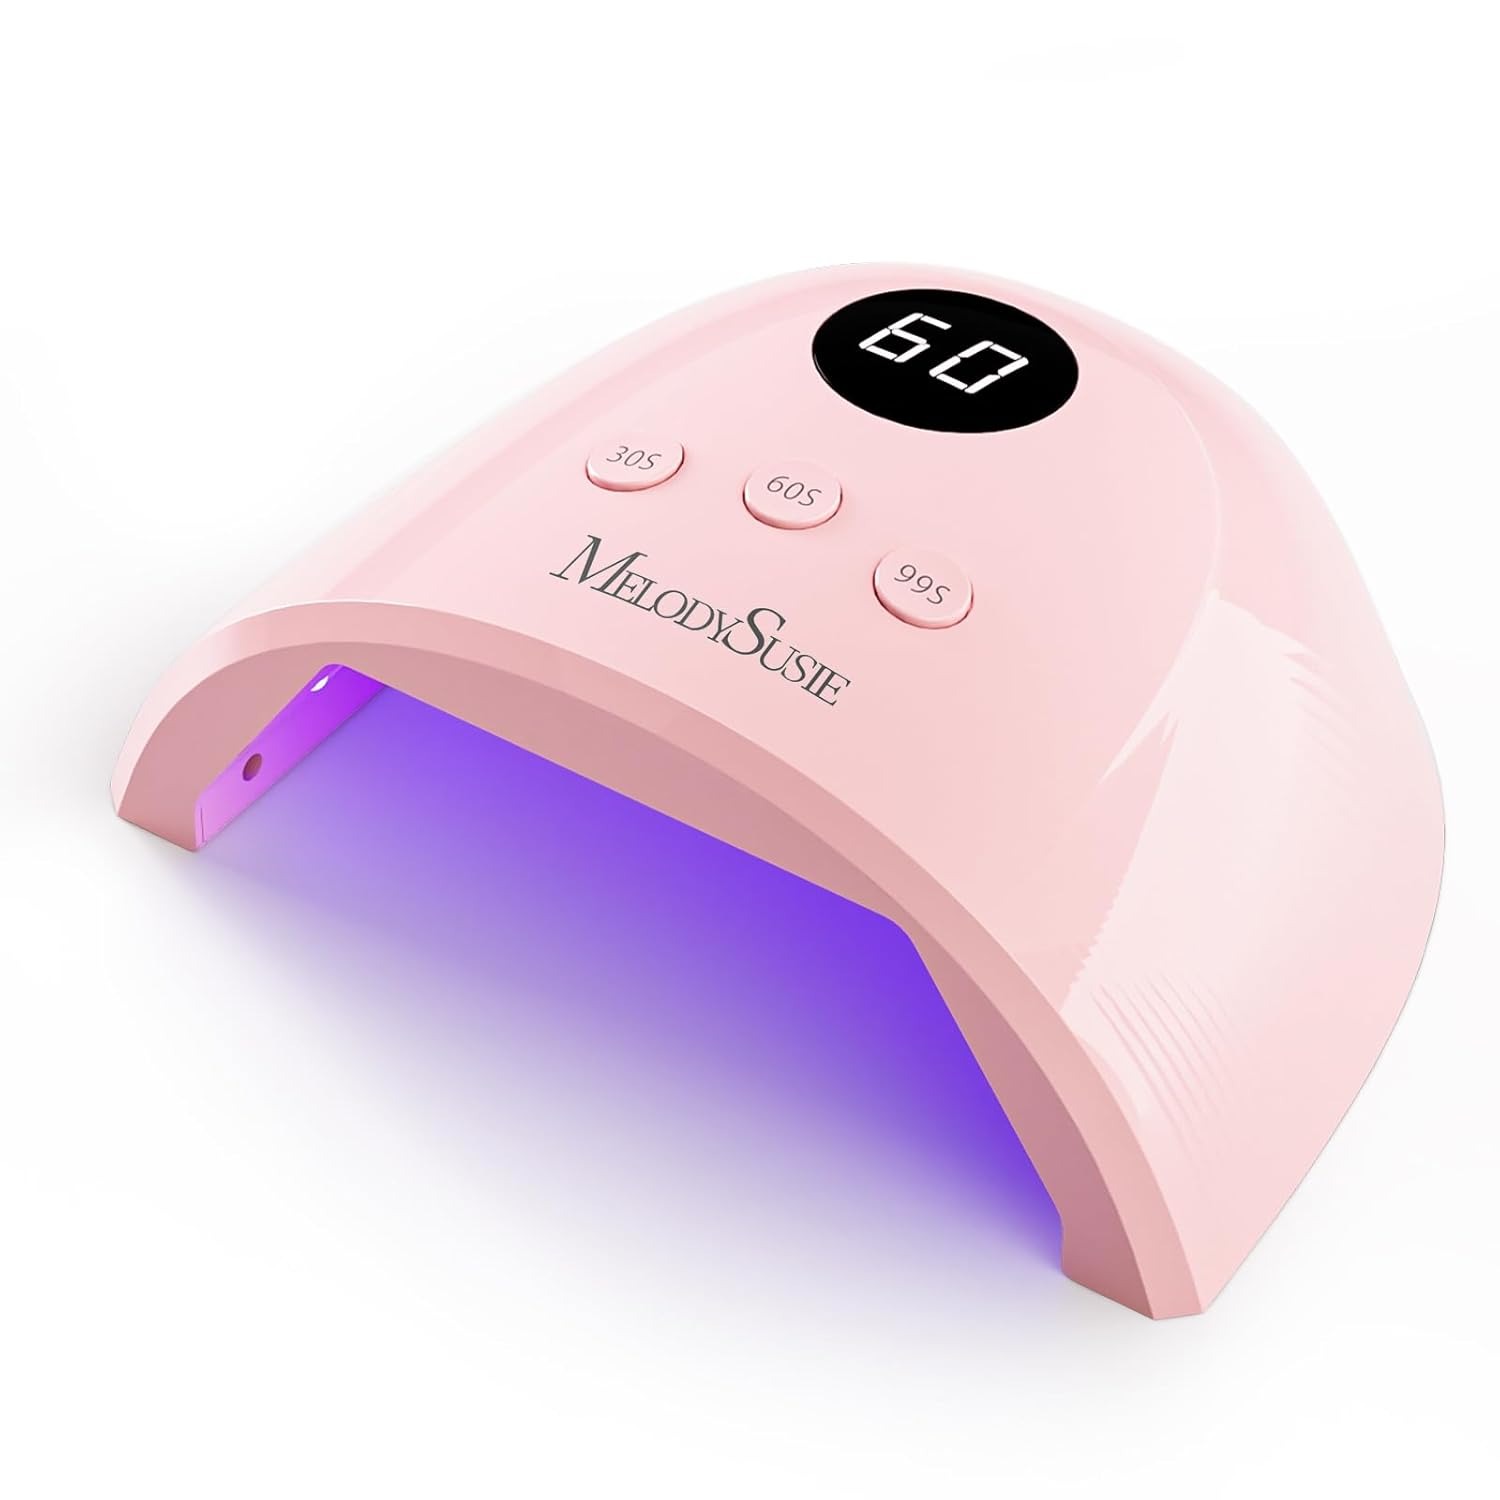
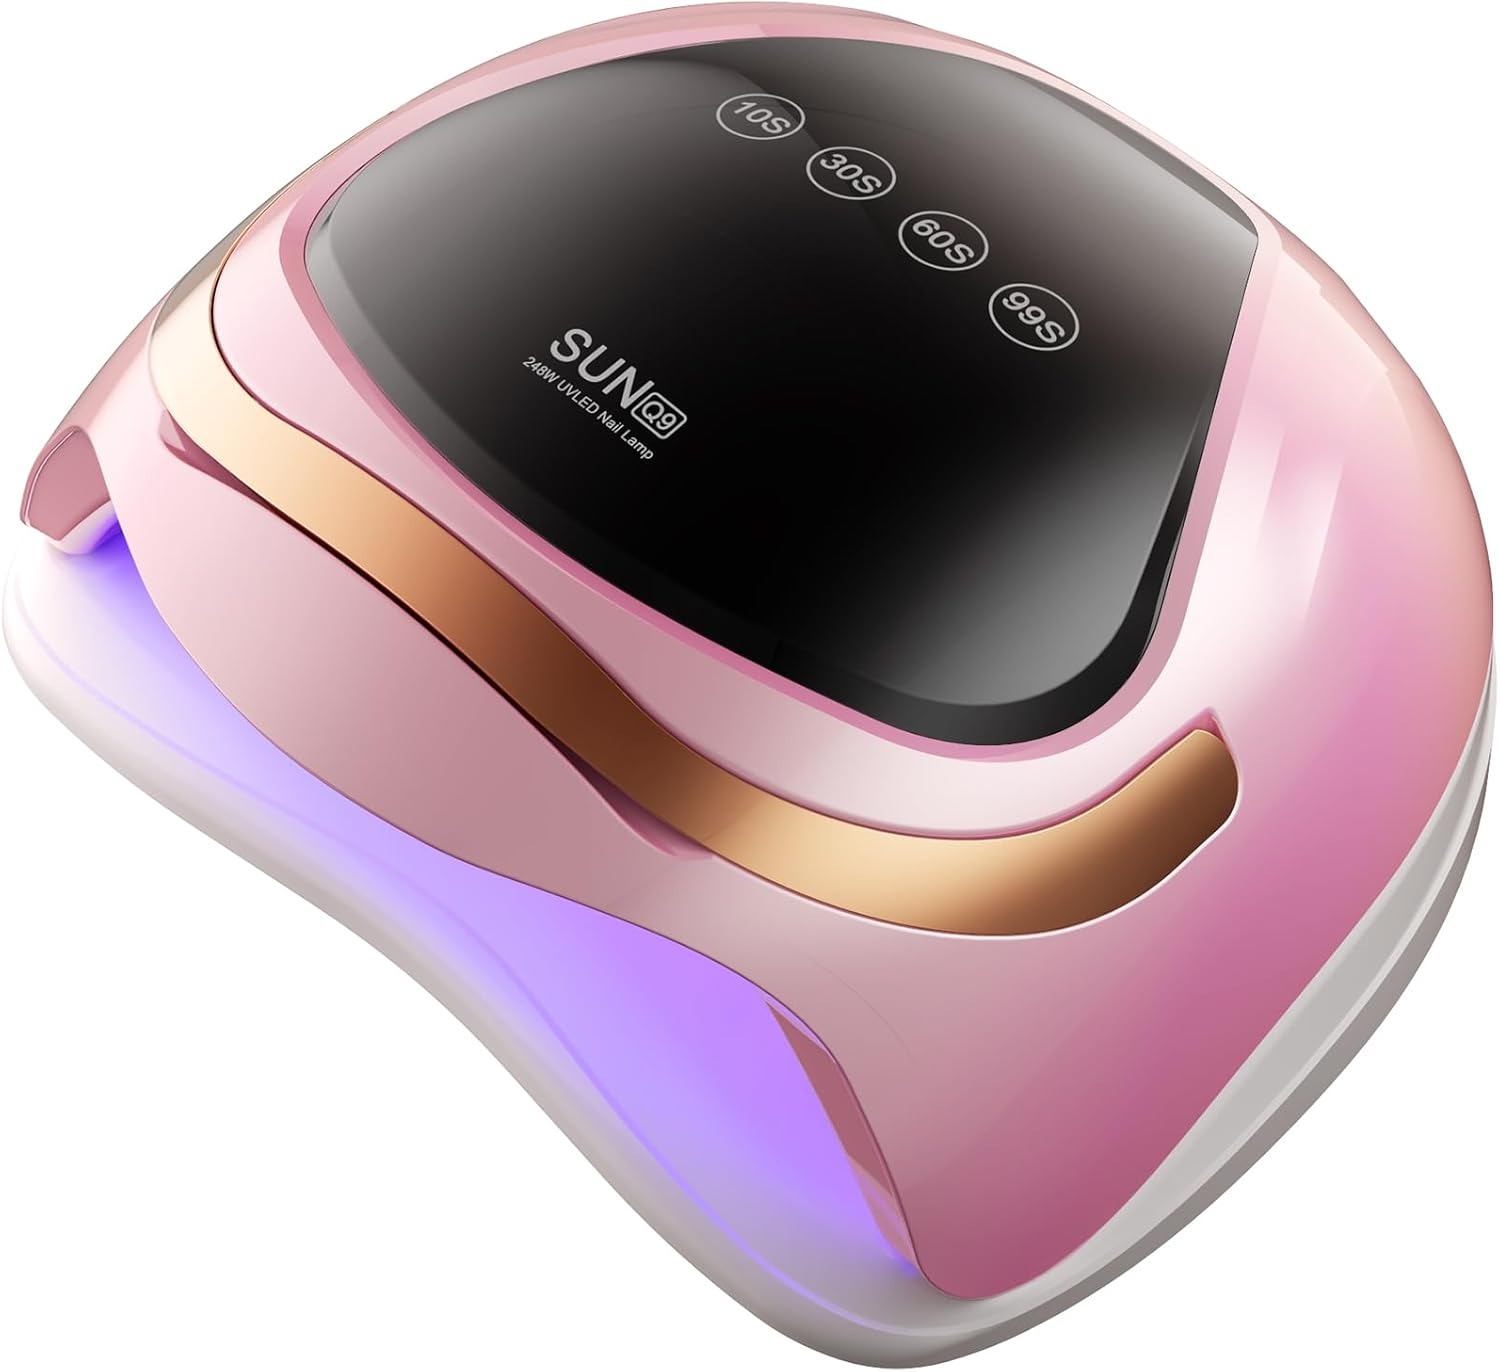
Key features include adjustable timers, UV-free safety, and customizable curing durations for different gel formulas. By selecting a lamp with optimal intensity and coverage, users can enjoy flawless, chip-resistant nails effortlessly—making them a game-changer in at-home nail care.
Key Features to Look for in an LED Nail Lamp
Selecting the right LED nail lamp requires evaluating features that ensure effectiveness, safety, and durability. Here are the critical factors to prioritize:
- Wavelength and Intensity
- Opt for lamps emitting 365–395 nm UV-LED light, the ideal range for curing most gel polishes.
- Higher intensity (measured in mW/cm²) accelerates curing. Aim for ≥36 mW/cm² for professional-grade performance.
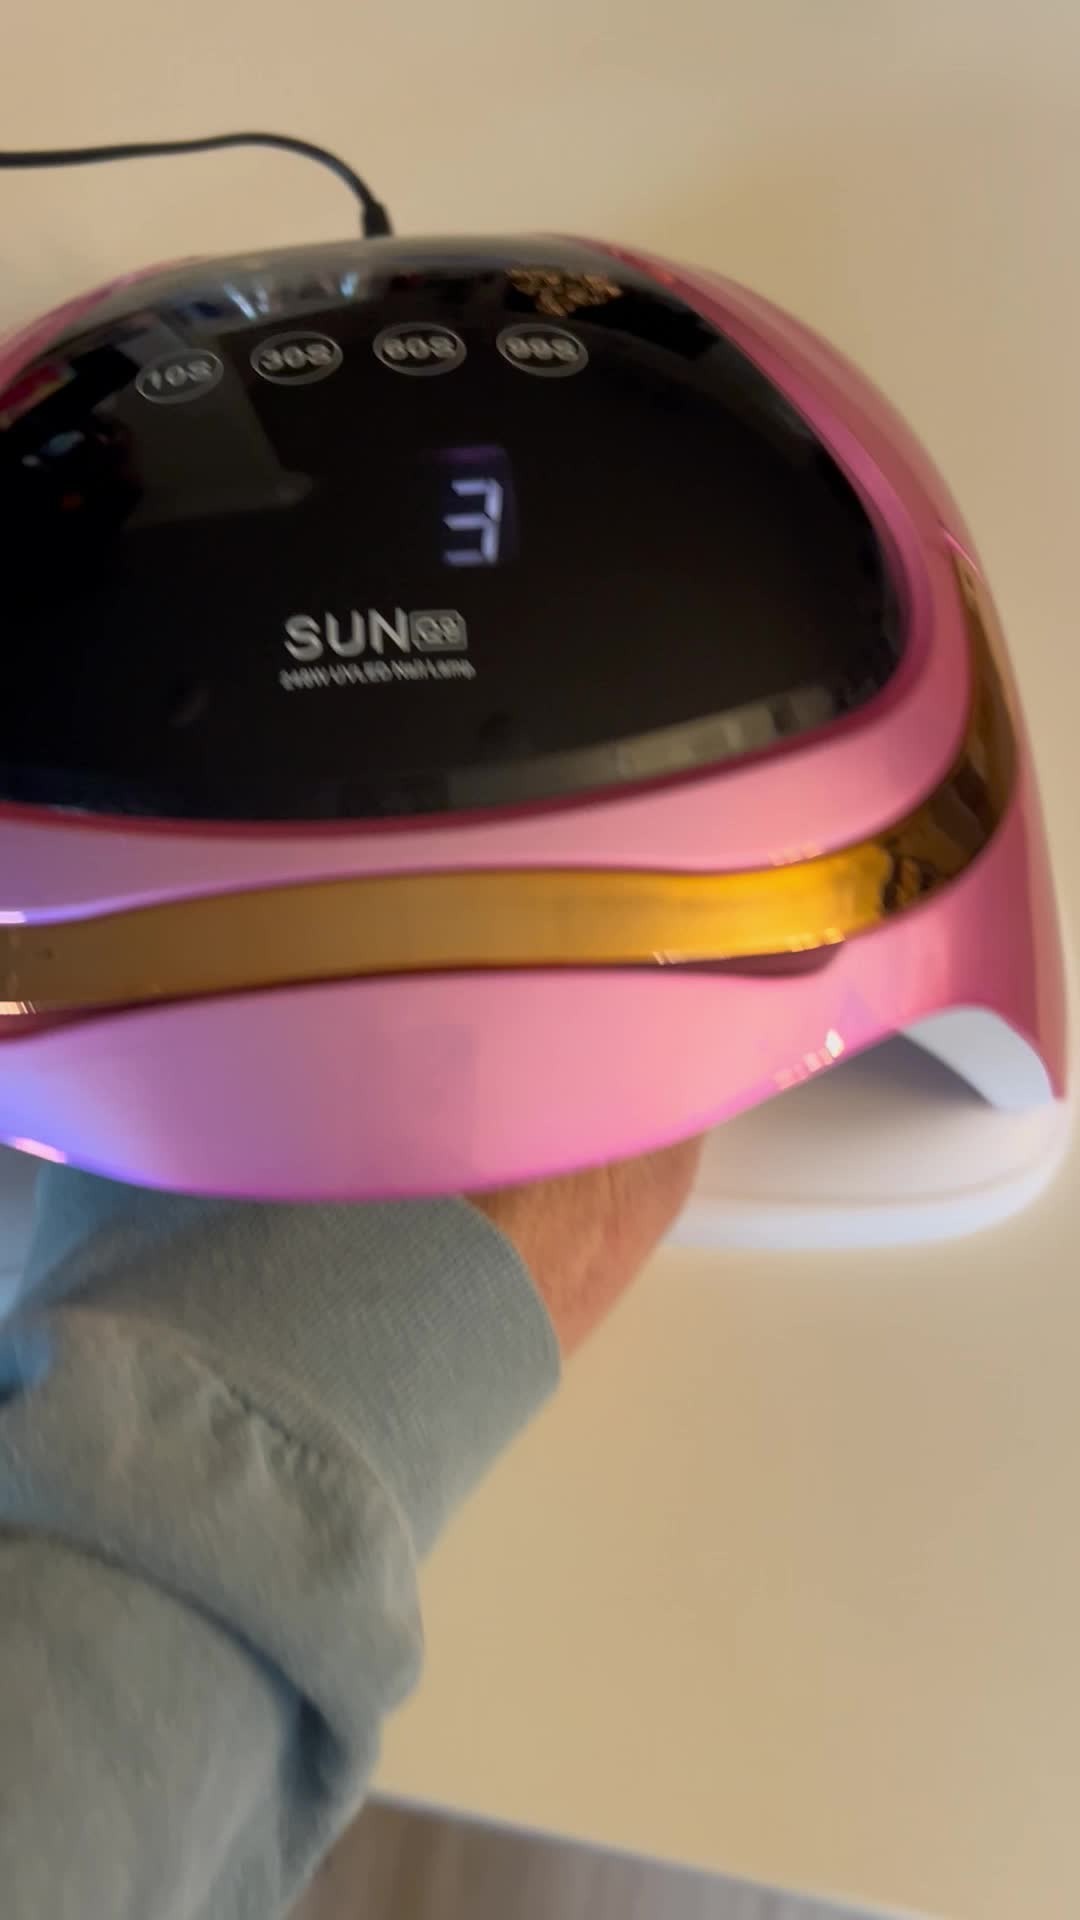
- Adjustable Timing Settings
- A digital timer with customizable durations accommodates different gel types.
- Some models offer preset programs for LED-specific, hybrid, or fiber gels to avoid under/over-curing.
- Light Coverage and Panel Quality
- Ensure even curing with full-coverage LED panels that span the entire nail bed. Avoid lamps with uneven light distribution.
- High-density LED arrays deliver consistent results, while low-quality panels may leave streaks or weak spots.
- Safety and UV Protection
- Look for UV-free LED lamps that minimize skin exposure to harmful UV rays.
- A transparent lid allows visibility without interrupting the curing process, reducing accidental exposure.
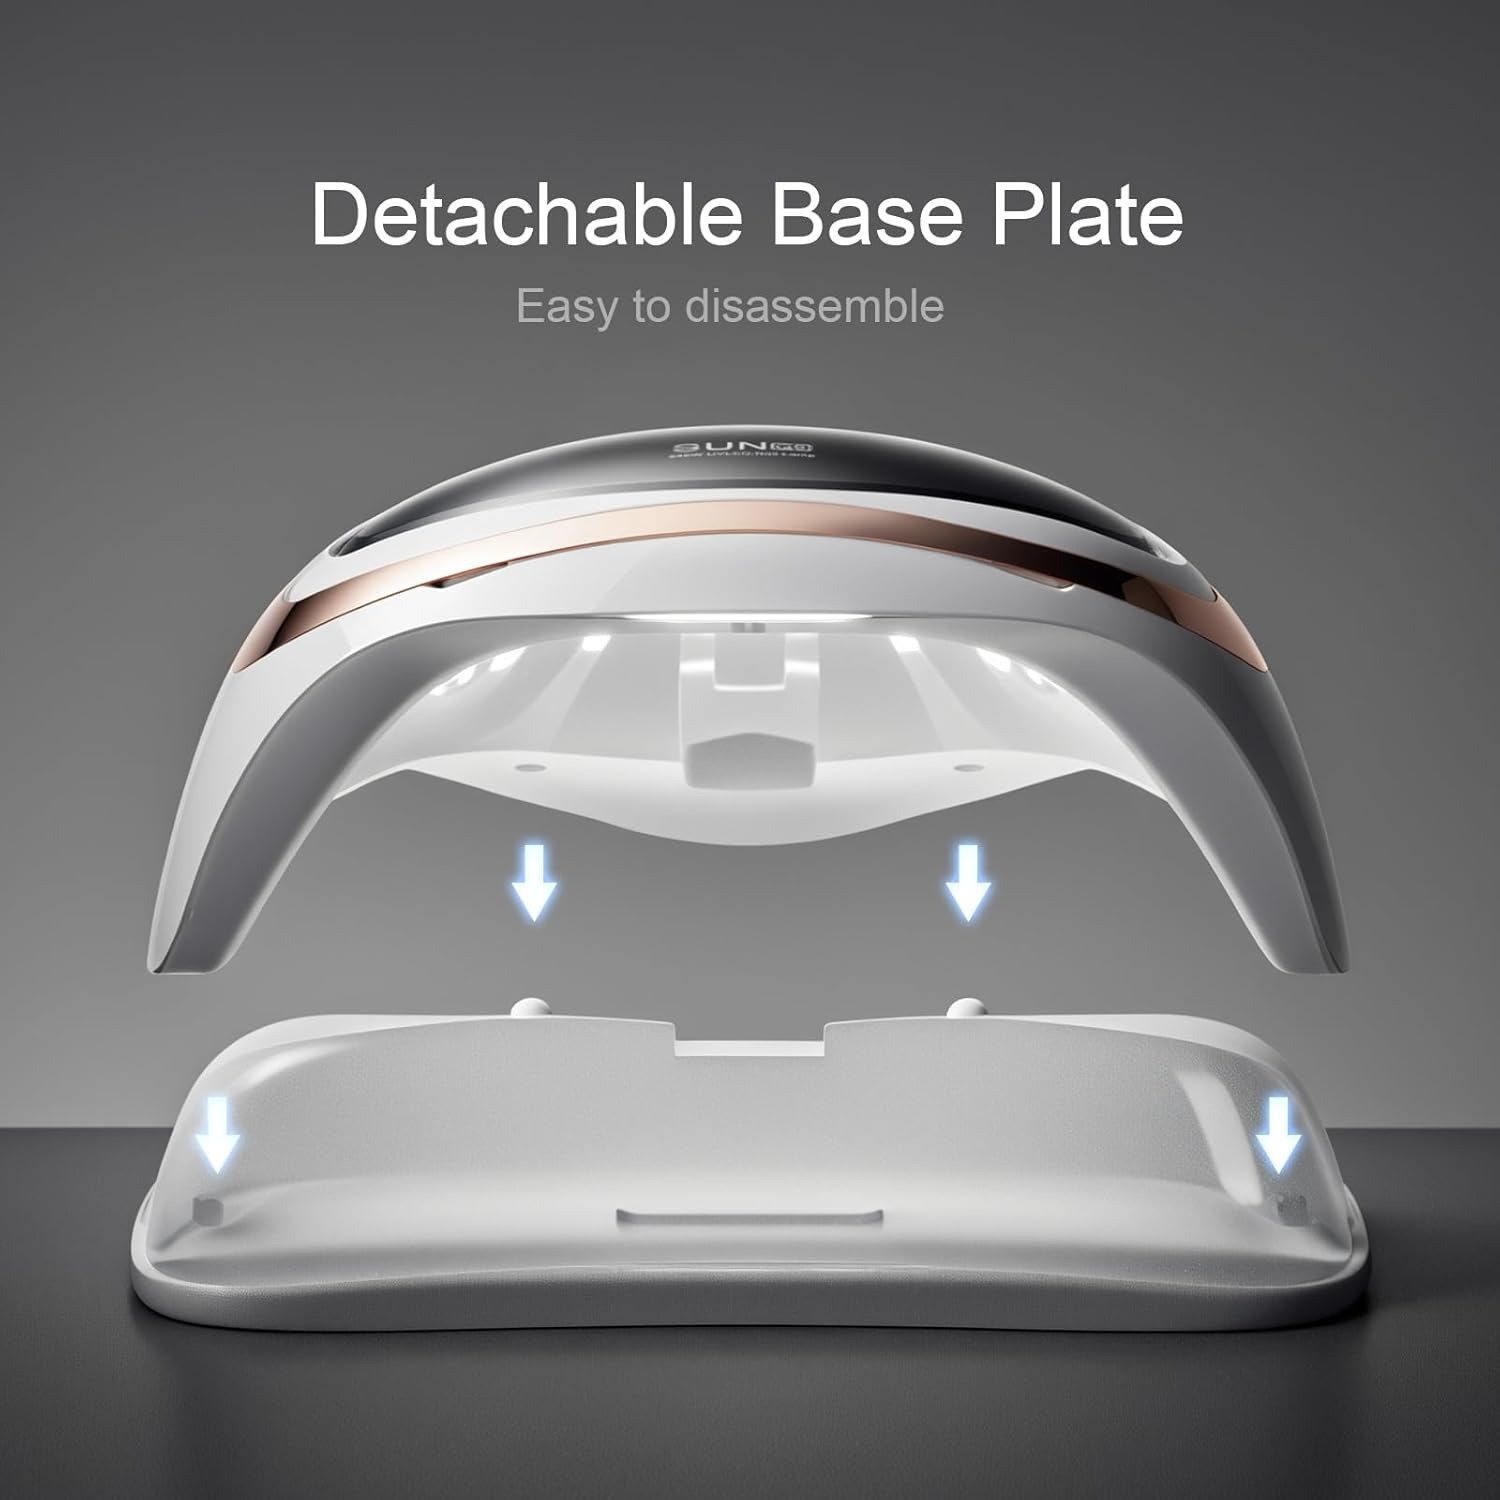
- Ergonomics and Portability
- A tilting or adjustable design accommodates different hand sizes and angles.
- Compact, lightweight models suit home users, while larger units cater to salons.
- Durability and Maintenance
- Choose lamps with scratch-resistant acrylic panels and easy-to-clean trays.
- Models with interior mirrors simplify positioning fingers for precise curing.
Avoid Cheapskate Options: Low-cost lamps often skimp on intensity, panel quality, or safety features, leading to brittle nails or uneven manicures. Prioritize brands like Elite LED, Lacquer Beauty, or Gelish for reliable performance. By focusing on these features, you’ll invest in a lamp that delivers salon-quality results every time.
How LED Nail Lamps Work
LED nail lamps operate on a photochemical process called photopolymerization, using light energy to harden gel nail polish into a durable, glossy finish. Here’s a step-by-step breakdown of the science and mechanics behind this technology:
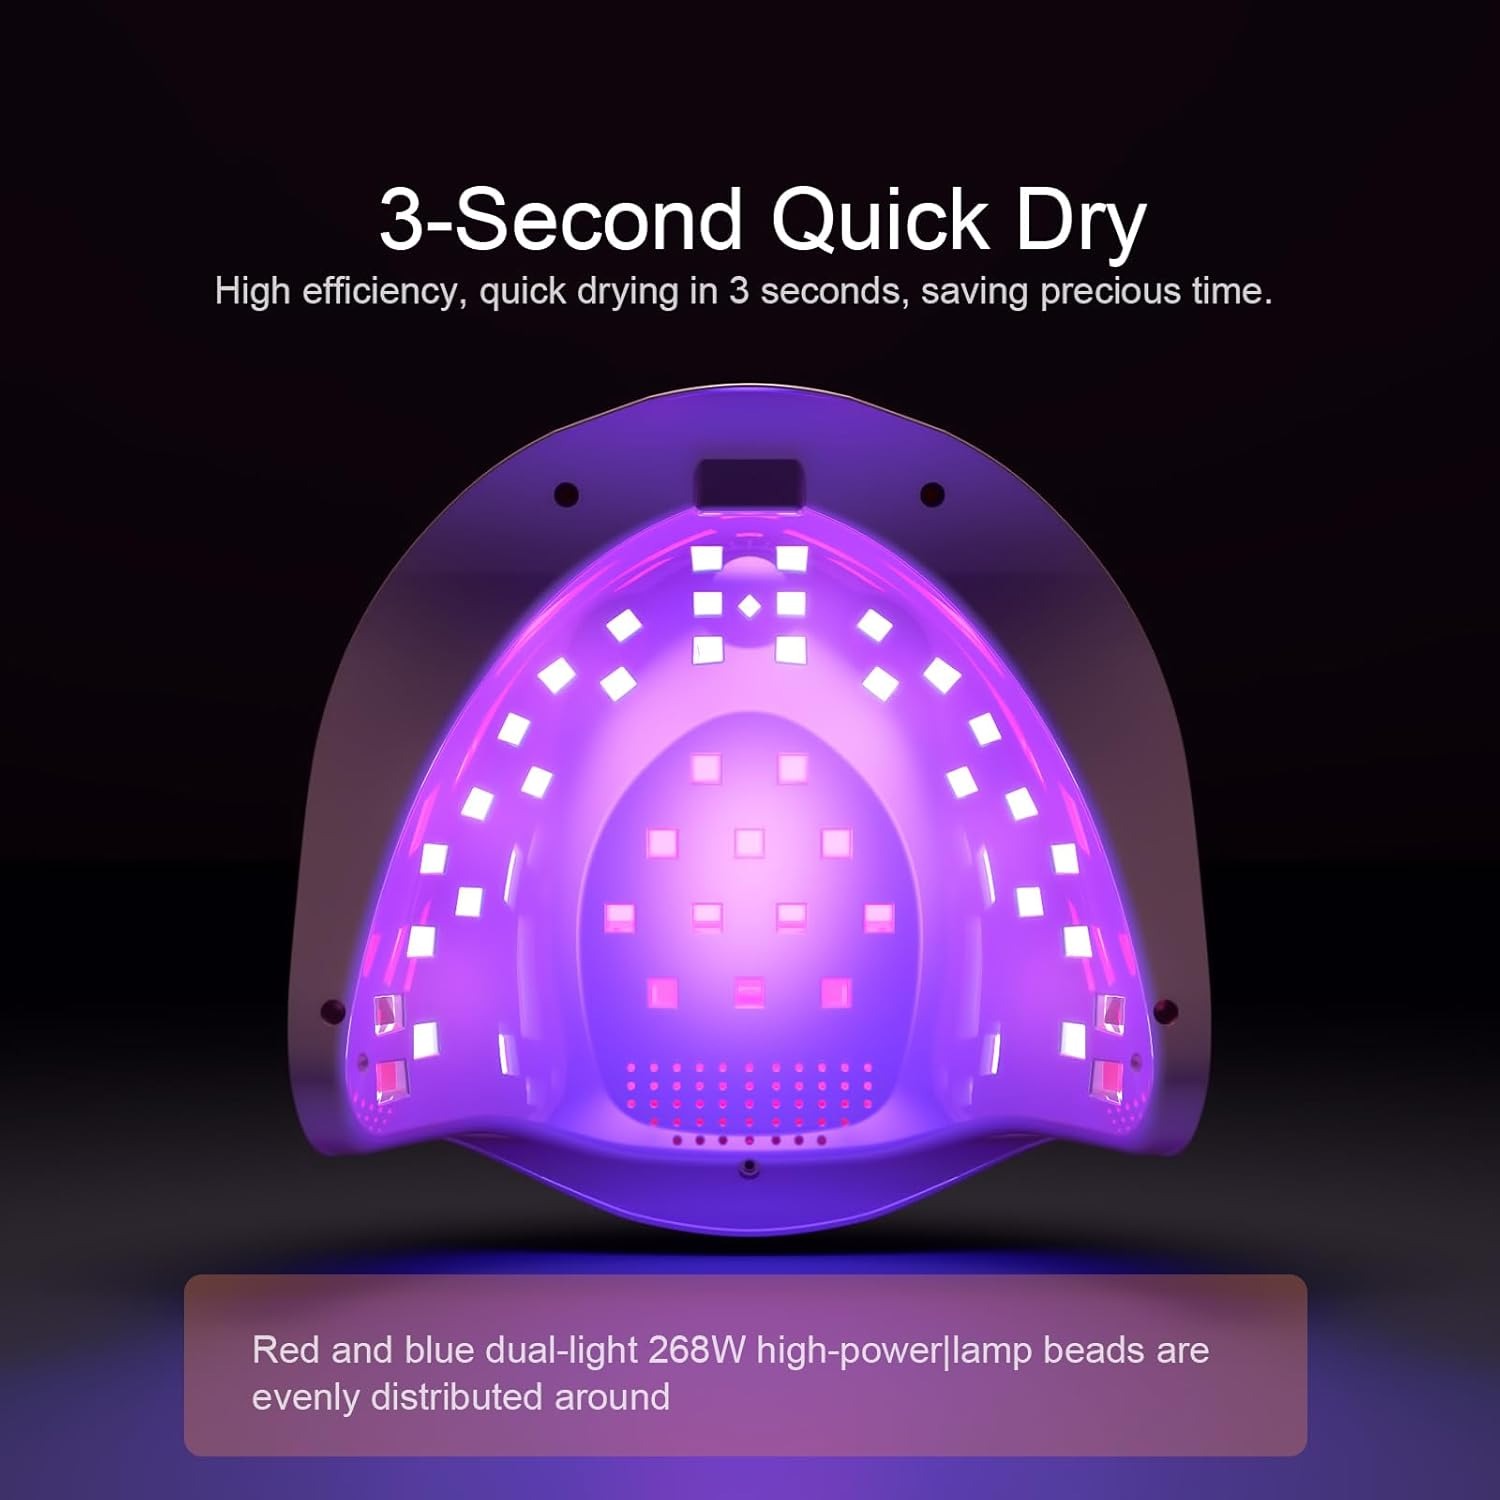
- Light Emission and Wavelength
LED nail lamps emit ultraviolet (UV) light at specific wavelengths (typically 365–395 nm) through arrays of light-emitting diodes (LEDs). These wavelengths are absorbed by photoinitiators in gel polish, triggering a chemical reaction. Traditional UV lamps use broader-spectrum UV light, which generates more heat and requires longer curing times. - The Photopolymerization Process
When gel polish is exposed to the LED lamp’s light:- Photoinitiators in the polish absorb UV energy, breaking into free radicals.
- These radicals initiate a chain reaction, bonding polymer molecules to form a solid, cross-linked matrix.
- The result? A hardened, chip-resistant finish in as little as 30 seconds per coat—far faster than UV lamps (which take 2–10 minutes).
- Heat and Safety Advantages
LEDs emit minimal heat compared to traditional UV bulbs, reducing the risk of nail dehydration or skin irritation. This makes LED lamps safer for sensitive users and prolongs the natural flexibility of nails. - Curing Parameters
- Curing Time: Adjusted via the lamp’s timer (e.g., 30 seconds for LED-specific gels, 2 minutes for hybrid formulas).
- Coverage: Even light distribution across all nails ensures uniform curing—critical for avoiding weak spots or yellowing.
- Compatibility: Always match the lamp’s wavelength to your gel’s requirements (e.g., 365 nm for classic gels, 405 nm for some fiber treatments).
- Post-Curing Care
After removing nails from the lamp, allow an additional 10–15 minutes for the polish to fully harden. Proper curing prevents peeling and maximizes wear time (typically 2–3 weeks).
Choosing the Best LED Nail Lamp for Your Needs
Selecting the ideal LED nail lamp depends on your usage, budget, and priorities. Follow these criteria to find the perfect match for your needs:
- Usage Scenario
- Home Hobbyists: Opt for compact, budget-friendly models like the Lacquer Beauty LED Lamp (under $50) with preset timers and basic features.
- Professionals: Invest in high-intensity lamps like the Elite LED UV Lamp Pro (150–200) with adjustable wavelengths and durable designs for daily salon use.
- Budget Considerations
- Entry-level lamps (30–80) suffice for occasional use but may lack advanced features.
- Mid-range (100–150) models offer adjustable timing and better UV intensity.
- Premium lamps ($200+) ensure long-term durability and consistent performance.
- Wavelength Compatibility
- Ensure the lamp’s wavelength matches your gel polish type:
- 365 nm: Ideal for classic gel polishes.
- 385–395 nm: Works with LED-specific or fiber gels.
- 405 nm: Required for some specialty gels (e.g., fiber tips).
- Ensure the lamp’s wavelength matches your gel polish type:
- Timing and Customization
- Choose models with adjustable timers (e.g., 10–120 seconds) to accommodate different gel types.
- Preset programs simplify use (e.g., “LED Gel” or “Hybrid” modes).
- Light Coverage and Design
- A large curing chamber (≥6.5 inches wide) accommodates all fingers and toes comfortably.
- Tilt-adjustable trays help position hands for even curing on thumbnails and pinkies.
- Safety and Ease of Use
- UV-free lamps minimize skin exposure (look for transparent lids).
- Models with auto-shutoff prevent accidental overexposure.
Final Tip: Read reviews to gauge reliability—avoid lamps with flickering LEDs or inconsistent timing. Always test compatibility with your favorite gel brands before committing.
Step-by-Step Guide to Using an LED Nail Lamp
Achieving flawless gel nails with an LED nail lamp requires precision and proper technique. Follow this step-by-step guide for optimal results:
- Prepare Your Workspace
- Clean nails thoroughly with acetone-free polish remover to remove oils or residue.
- Lay down a towel or mat to protect surfaces from polish drips.
- Apply Base Coat
- Paint a thin, even layer of LED-compatible base coat.
- Cure under the lamp for the recommended time (typically 30–60 seconds).
- Apply Color Coat
- Use a steady hand to apply gel polish in two thin layers (avoid pooling).
- Cure each layer separately for 30–60 seconds. Thick layers may under-cure and chip.
- Apply Top Coat
- Brush on a top coat to seal the color and enhance shine.
- Cure for the full duration (often 60 seconds) to ensure durability.
- Position Hands Properly
- Center fingers under the LED panels, ensuring all nails (including thumbnails) are fully exposed.
- Avoid tilting hands too far forward/backward to maintain even light distribution.
- Set the Timer and Cure
- Use the lamp’s preset timer or manually set durations based on your gel’s instructions.
- Never exceed recommended times to prevent yellowing or brittleness.
- Post-Curing Care
- Allow nails to rest for 10–15 minutes after removal to fully harden.
- Wipe the lamp’s interior and tray with alcohol wipes to remove polish residue.
Common Pitfalls to Avoid:
- Skipping base/top coats weakens durability.
- Overlapping layers without curing causes uneven results.
- Failing to clean the lamp leads to buildup and uneven curing.
By following these steps, your LED nail lamp delivers salon-quality manicures consistently. Always prioritize precision and patience for long-lasting, chip-resistant nails.
Maintenance and Care Tips for Longevity
Proper maintenance ensures your LED nail lamp remains effective for years. Follow these tips to maximize its lifespan and performance:
- Regular Cleaning
- Wipe the interior UV panels and tray with isopropyl alcohol and a lint-free cloth after each use to remove polish residue.
- Avoid abrasive materials that scratch surfaces—use only soft cloths or microfiber pads.
- Check LED Integrity
- Inspect bulbs periodically for flickering or dimness, signs of aging.
- Replace individual LEDs or entire panels if curing times slow significantly (typically every 1–2 years).
- Store Properly
- Keep the lamp in a cool, dry place away from humidity or dust.
- Use the original box or a protective case to prevent scratches during storage.
- Avoid Overuse
- Limit consecutive curing sessions to prevent overheating. Let the lamp cool between uses.
- Never place objects on top of the lamp while it’s on—this traps heat and reduces longevity.
- Handle with Care
- Lift the lamp gently by its base—avoid pulling cables or bending the lid.
- For travel models, secure loose parts (e.g., trays) to prevent jostling damage.
- Follow Manufacturer Guidelines
- Adhere to recommended curing times and gel compatibility to avoid overexposure stress on the lamp.
- Use only approved cleaning agents—acids or harsh chemicals corrode internal components.
Proactive Care Pays Off: Neglecting maintenance leads to uneven curing, reduced intensity, or premature failure. By investing time in upkeep, your LED nail lamp remains a reliable tool for achieving salon-quality manicures consistently.
Common Mistakes to Avoid
Even experienced users make errors that compromise results or damage equipment. Avoid these pitfalls to ensure flawless manicures and extend your LED nail lamp’s lifespan:
- Incorrect Curing Times
- Mistake: Over- or under-curing due to ignoring gel-specific instructions.
- Fix: Always match curing durations (e.g., 30 seconds for LED gels vs. 2 minutes for hybrid formulas).
- Overloading Polish Layers
- Mistake: Thick gel applications lead to uneven curing or cracking.
- Fix: Apply thin, even coats, curing each layer separately.
- Neglecting Post-Cure Waiting Time
- Mistake: Touching nails immediately post-curing causes smudging.
- Fix: Wait 10–15 minutes after removing nails to allow full hardening.
- Mixing Gel Types
- Mistake: Combining LED, UV, or hybrid gels under mismatched lamps.
- Fix: Use only one gel type per manicure and ensure lamp compatibility.
- Skipping Base/Top Coats
- Mistake: Omitting base coats weakens adhesion; no top coat reduces shine.
- Fix: Always apply base and top coats as they protect nails and prolong wear.
- Poor Lamp Maintenance
- Mistake: Ignoring residue buildup reduces curing efficiency.
- Fix: Clean panels and trays after every use to maintain light intensity.
- Improper Hand Placement
- Mistake: Fingers positioned too far from LEDs result in uneven curing.
- Fix: Center hands under the lamp and ensure thumbnails/pinkies are fully exposed.
- Overusing Without Breaks
- Mistake: Running multiple sessions without cooling overheats the lamp.
- Fix: Let the device rest for 10–15 minutes between uses to prevent damage.
Final Tip: Most mistakes stem from rushing or ignoring guidelines. Take your time, follow instructions, and prioritize consistency for perfect results every time.
Conclusion and Final Recommendations
LED nail lamps have revolutionized at-home manicures, offering salon-quality results with speed and safety. By understanding their science, selecting the right model, and practicing proper maintenance, you can achieve flawless, durable gel nails effortlessly. Here are final takeaways to guide your journey:
Key Takeaways:
- Prioritize Compatibility: Match your LED lamp’s wavelength (e.g., 365 nm for classic gels) to your polish type for optimal curing.
- Invest in Quality: Mid-to-high-end lamps (e.g., Elite LED Pro or Gelish LED) deliver consistent performance and durability.
- Follow Protocols: Adhere to curing times, layer thickness, and cleaning routines to avoid peeling or equipment failure.
Final Recommendations:
- Beginners: Start with a budget-friendly model like the Lacquer Beauty LED Lamp for basic needs.
- Professionals: Opt for durable, high-intensity lamps with adjustable settings for diverse client demands.
- Hygiene First: Clean your lamp after every use to maintain light output and prevent bacterial growth.
Embrace the Convenience: With proper care and technique, an LED nail lamp becomes an indispensable tool for maintaining polished, salon-ready nails between visits. Avoid common pitfalls, stay consistent, and enjoy the satisfaction of DIY perfection. Your nails—and your wallet—will thank you!
FAQs
Q: How long does an LED nail lamp last?
A: With proper care, LED bulbs typically last 10,000+ hours (about 2–3 years of regular use).
Q: Can I use an LED lamp for acrylic nails?
A: No—LED lamps cure gel polish only. Acrylics require no curing light.
Q: Are LED lamps safer than UV lamps?
A: Yes. LED lamps emit less UV radiation and heat, reducing skin and nail damage risks.
Q: How often should I replace my LED lamp bulbs?
A: Every 1–2 years or when curing times slow down significantly.