Removing gel nail polish can seem daunting, especially if you’re aiming to keep your nails healthy and undamaged. Whether you’re new to gel manicures or looking to refine your removal technique, understanding how do you remove gel nail polish effectively is essential. This guide provides detailed methods, tips, and answers to common questions, ensuring your nails stay strong and beautiful throughout the process.
 How Do You Remove Gel Nail Polish Safely Without Damaging Your Nails?
How do you remove gel nail polish? Safely removing gel nail polish is crucial to maintain the integrity of your natural nails. Here are some steps to follow to ensure a damage-free removal process:
1. Start by Filing the Top Layer
First, gently file the shiny topcoat of your gel polish. This step helps break the seal and allows the remover to penetrate more effectively. Use a fine-grit nail file and file in one direction to prevent splitting.
2. Soak Your Nails in Warm Water
Immerse your fingers in warm, soapy water for about 10 minutes. This softens the gel polish, making it easier to remove. Alternatively, you can use a bowl filled with warm water and a few drops of gentle soap.
3. Use Aluminum Foil and Cotton Balls
Cut small pieces of aluminum foil and soak cotton balls in acetone. Place the soaked cotton on each nail and wrap them tightly with the foil. This creates a snug environment for the acetone to work its magic.
4. Wait and Check
Allow your nails to soak for 10-15 minutes. After soaking, gently press and lift the foil to check if the gel polish is lifting. If it’s not coming off easily, rewrap and wait a few more minutes.
5. Gently Push Off the Residue
Once the gel polish has softened, use a wooden cuticle stick to gently push the residue off your nails. Avoid using excessive force to prevent damaging your nails.
6. Moisturize and Nourish
After removal, your nails and cuticles might feel dry. Apply a nourishing cuticle oil and moisturizer to restore moisture and keep your nails healthy.
By following these steps, you can remove gel nail polish safely without causing harm to your nails.
DIY Gel Polish Removal Kit: Essential Tools & Step-by-Step Guide
Creating your own gel polish removal kit at home ensures you have all the necessary tools for a smooth and effective removal process.
Essential Tools You Need
To assemble a DIY gel polish removal kit, gather the following items:
- Nail File: A fine-grit file to remove the topcoat.
- Acetone: A powerful remover that breaks down the gel polish.
- Cotton Balls or Pads: For soaking in acetone.
- Aluminum Foil: To wrap around your nails after applying the soaked cotton.
- Cuticle Pusher: A tool to gently push off the softened gel.
- Nail Buffer: To smooth out any remaining residue.
- Cuticle Oil and Moisturizer: For post-removal care.
- Optional: A UV or LED lamp if you prefer a more professional touch.
Step-by-Step Removal Process
Follow these steps to effectively remove gel polish using your DIY kit:
- Prepare Your Workspace: Ensure you have a clean, well-lit area to work in. Lay down some paper towels to protect surfaces from spills.
- File the Topcoat: Using the nail file, gently buff the shiny layer of your gel polish. This helps acetone penetrate the polish more effectively.
- Soak Cotton and Wrap Nails: Soak each cotton ball in acetone. Place the soaked cotton on your nail and wrap it with a piece of aluminum foil. Repeat for all nails.
- Wait for the Gel to Soften: Let your nails soak for 10-15 minutes. The acetone breaks down the gel polish, making it easier to remove.
- Remove the Foil and Cotton: Unwrap one nail at a time. Use a wooden cuticle stick to gently push the softened gel polish off your nail.
- Buff and Smooth: After removing the gel, gently buff your nails to remove any remaining residue. Be careful not to over-buff, as this can thin your nails.
- Moisturize and Nourish: Apply cuticle oil and moisturizer to replenish moisture lost during the removal process.
This step-by-step guide ensures you remove gel polish effectively while keeping your nails healthy.
The Best Ways to Remove Gel Nail Polish at Home Without a UV Light
Not everyone has access to a UV light for gel polish removal. Fortunately, there are effective methods to remove gel nail polish at home without needing one.
1. Traditional Acetone Soak
The most common method involves soaking your nails in acetone. Follow these steps:
- File the Topcoat: Buff the top layer to break the seal.
- Soak Cotton in Acetone: Place soaked cotton on each nail.
- Wrap with Foil: Secure the cotton with aluminum foil.
- Wait and Remove: Let it sit for 10-15 minutes before gently pushing off the polish.
2. Hot Water and Soap Method
For those who prefer a less harsh approach:
- Soak in Warm, Soapy Water: Immerse your nails in warm water with soap for 15-20 minutes.
- Gently Peel Off Gel: Use a cuticle stick to lift the softened polish carefully.
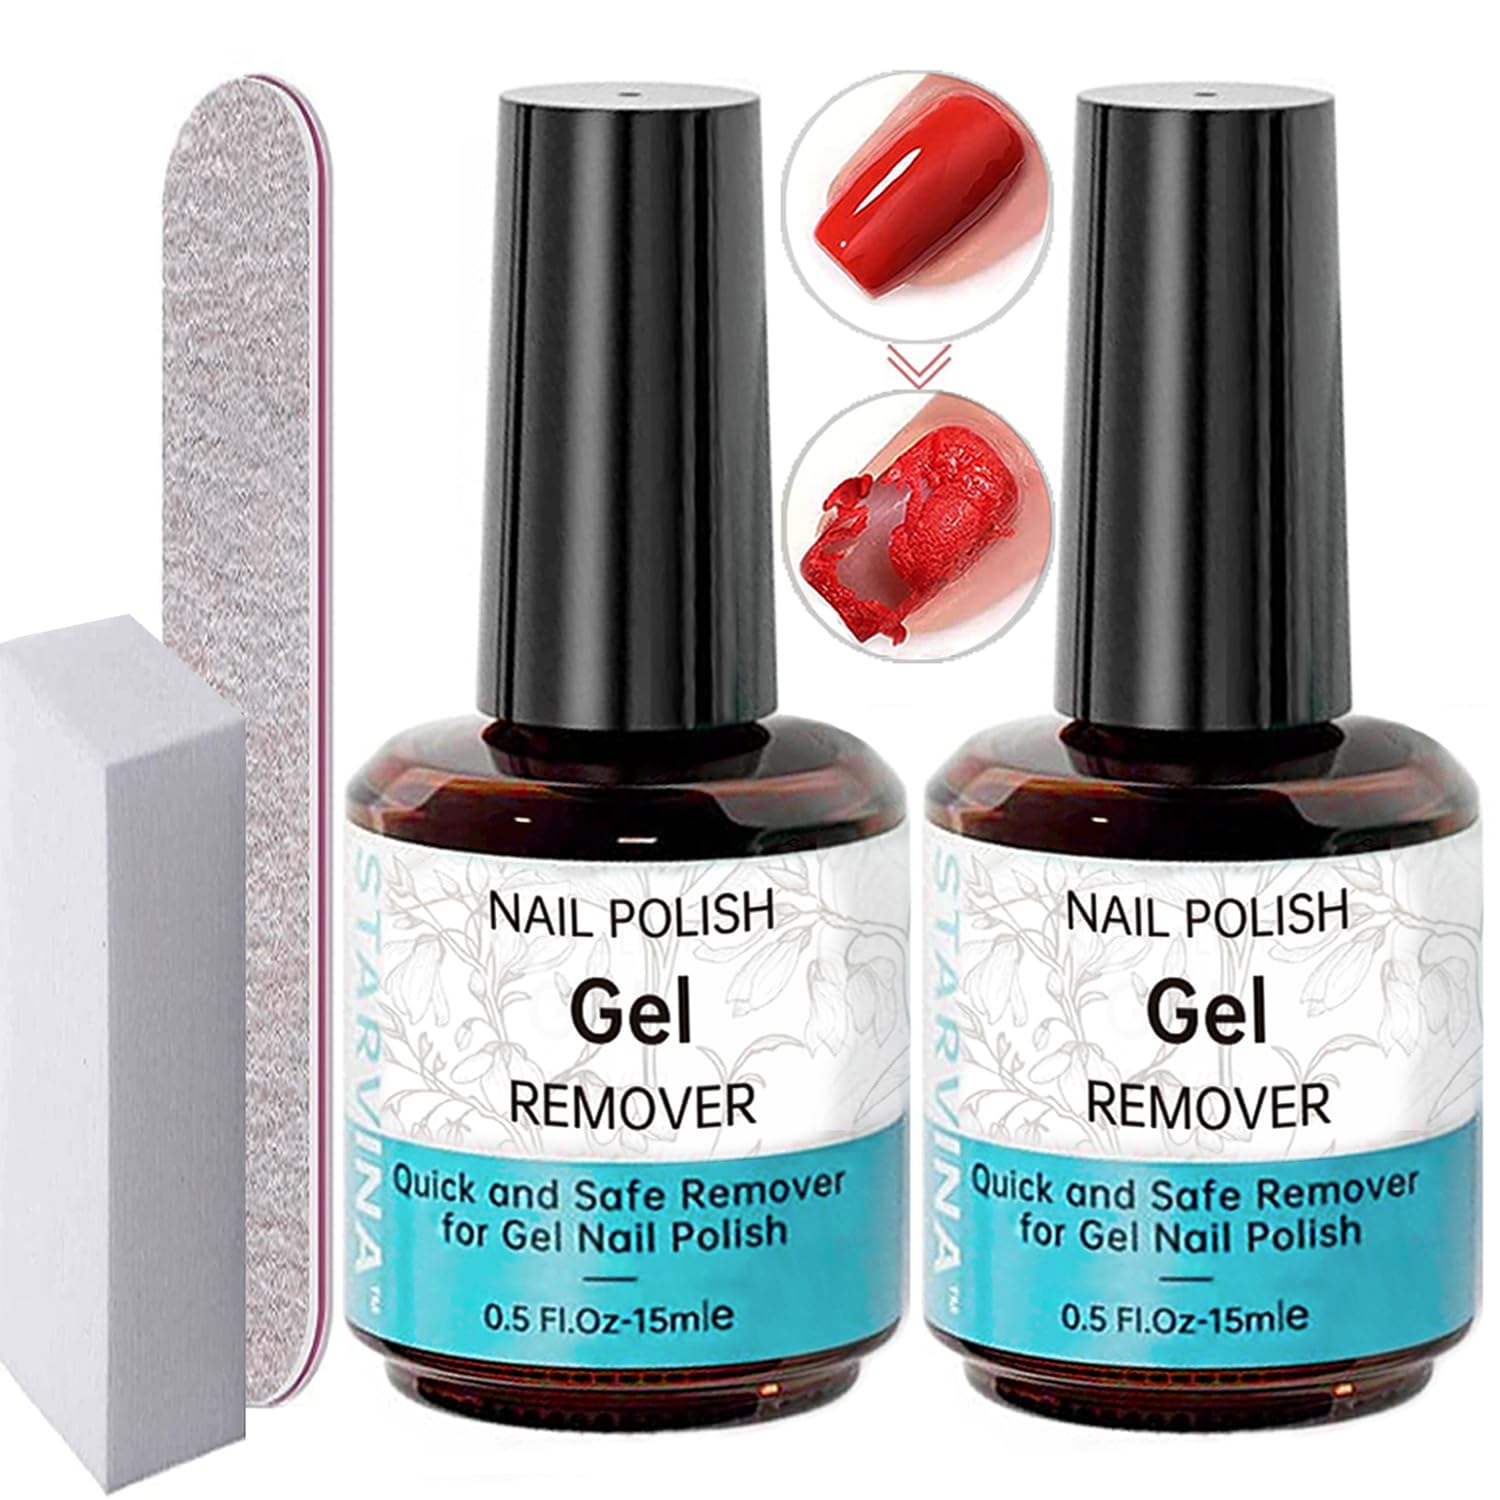
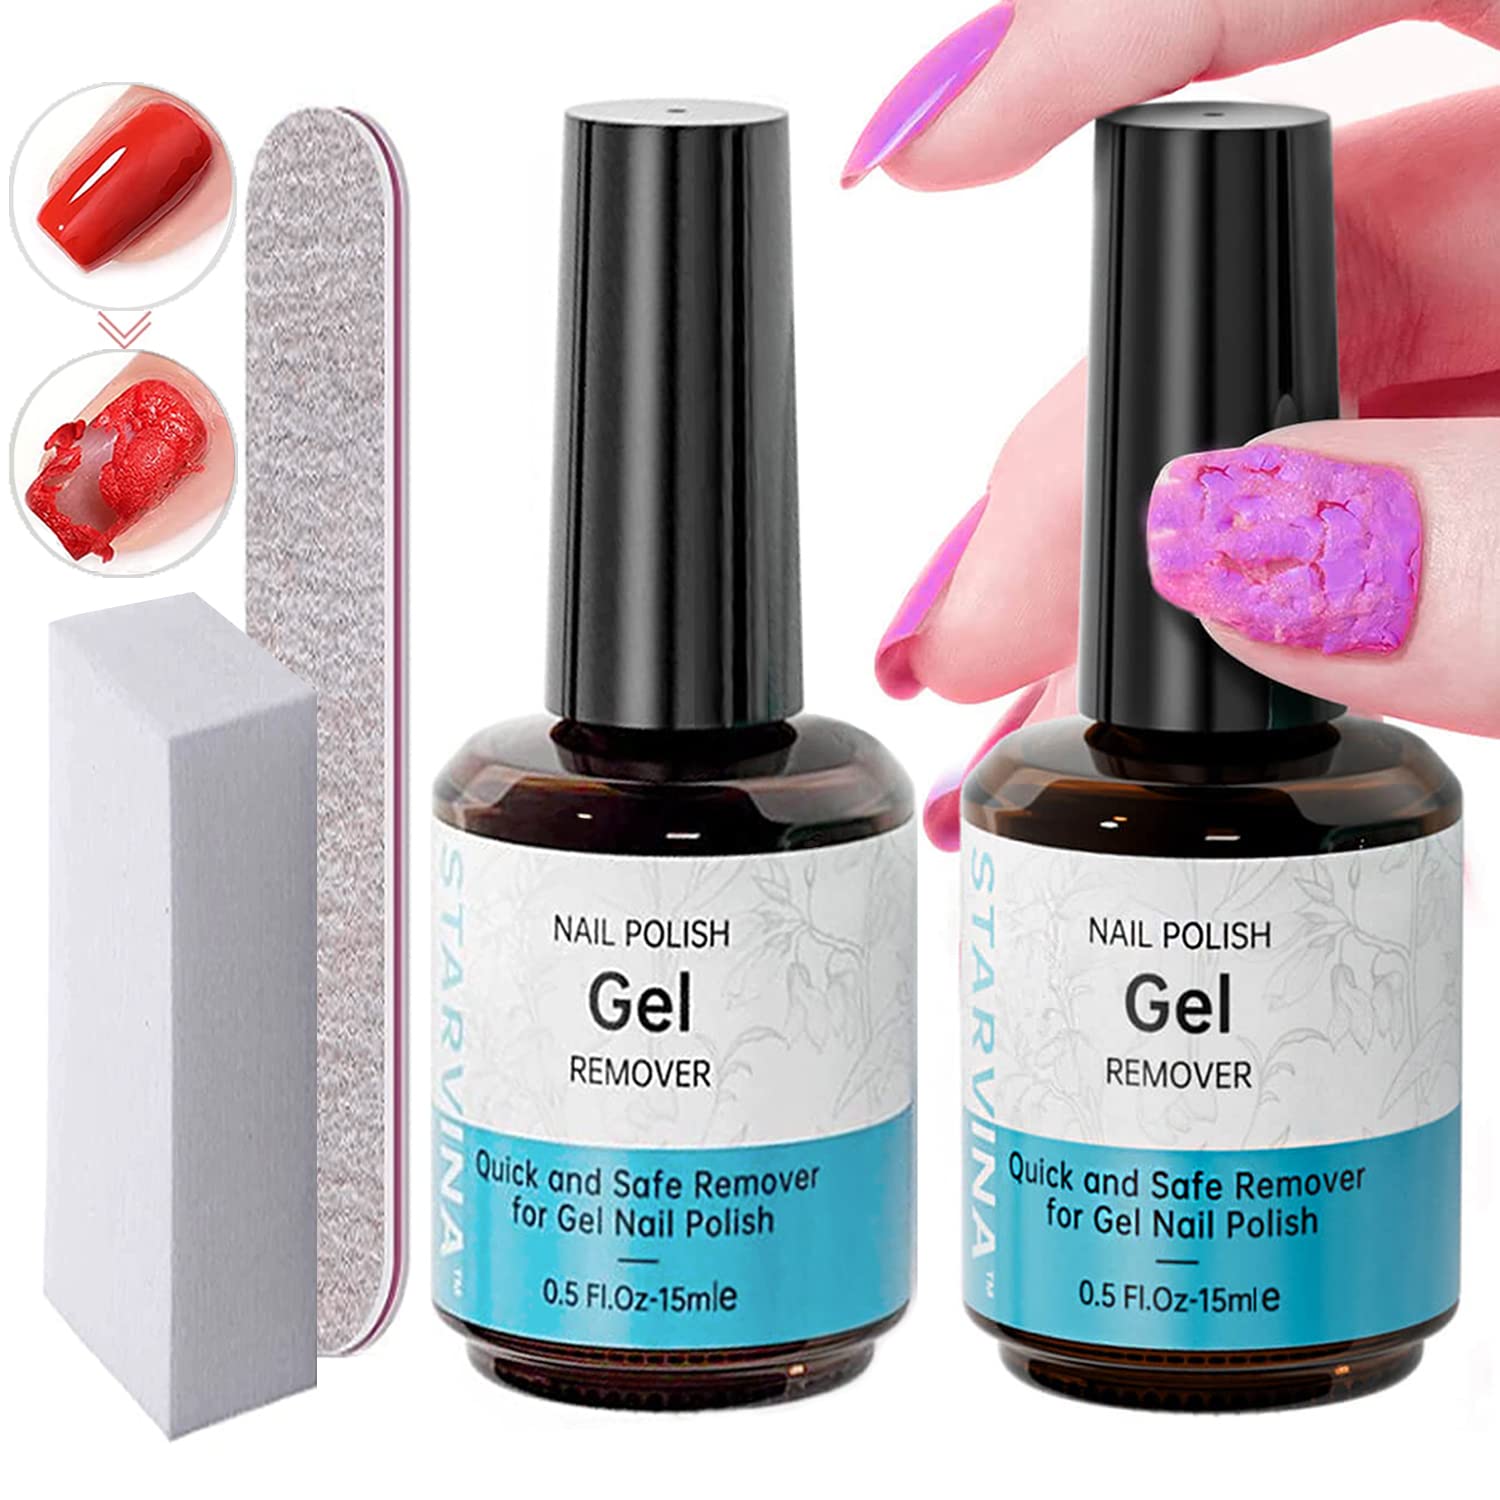
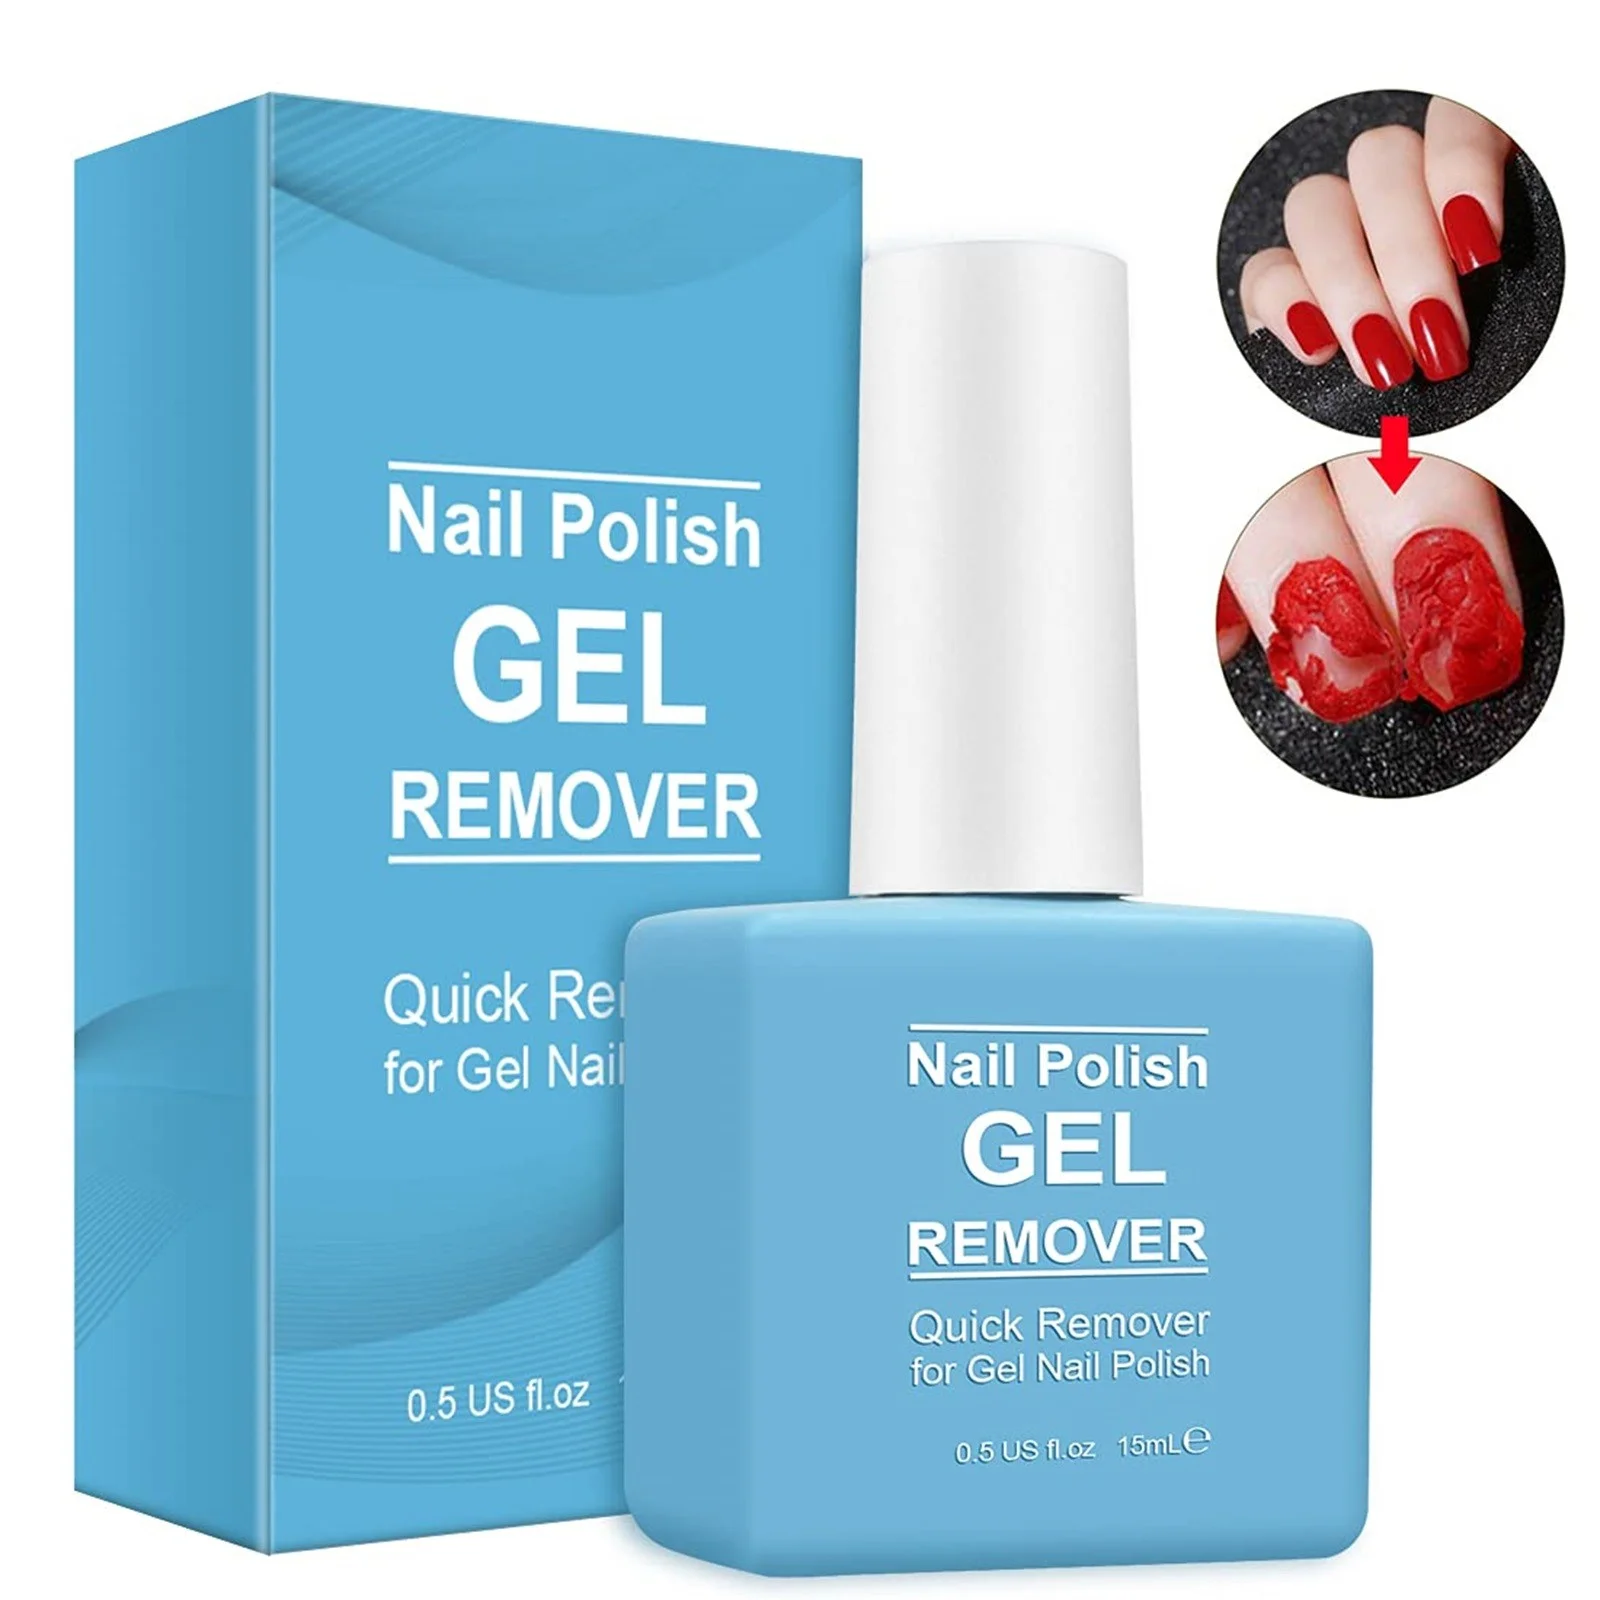
3. Use a Gel Polish Remover
Specialized gel polish removers are designed to work without UV lights. They often contain ingredients that help break down the gel more effectively. Follow the product instructions for best results.
4. Toothpaste and Foil Technique
An alternative method using common household items:
- Apply Toothpaste: Spread a small amount of toothpaste over your nails.
- Wrap with Foil: Secure the toothpaste with aluminum foil.
- Wait and Remove: After 10 minutes, the gel polish should loosen, allowing easy removal.
5. Olive Oil and Lemon Juice
A more natural approach involves:
- Mix Olive Oil and Lemon Juice: Combine equal parts in a bowl.
- Soak Your Nails: Immerse your nails in the mixture for 10-15 minutes.
- Gently Push Off the Gel: Use a cuticle stick to remove the softened polish.
These methods provide effective ways to remove gel nail polish at home without the need for a UV light.
 FAQ: Why Does My Nails Peel After Removing Gel Polish? Repair Tips
Removing gel polish can sometimes leave your nails feeling dry or peeling. Understanding why this happens and how to repair it is essential for maintaining healthy nails.
Why Do Nails Peel After Removing Gel Polish?
Peeling occurs due to the harsh nature of acetone and the removal process, which can strip natural oils and weaken the nail surface. Additionally, improper removal techniques can cause the polish to lift and peel.
Repair Tips for Peeling Nails
1. Moisturize Regularly
Use a rich moisturizer and cuticle oil daily to restore moisture to your nails and surrounding skin.
2. Apply Nail Strengtheners
Nail strengtheners help reinforce your nails, making them less prone to peeling and breaking.
3. Avoid Over-Filing
Excessive filing can thin your nails, so be gentle and limit filing to removing the topcoat.
4. Take Nail Breaks
Give your nails time to breathe between gel manicures. This helps prevent overuse of products that can weaken nails.
5. Use Gloves When Cleaning
Protect your nails by wearing gloves when using cleaning products or doing household chores that require hand protection.
6. Hydrate from Within
Maintain a healthy diet rich in vitamins and minerals, especially those that support nail health, such as biotin and vitamin E.
By following these repair tips, you can address and prevent nail peeling after gel polish removal, ensuring your nails remain strong and healthy.
How to Remove Gel Polish Without Acetone: Eco-Friendly & Gentle Methods
For those seeking gentler or eco-friendly alternatives, removing gel polish without acetone is possible through several effective methods.
1. Lemon Juice and Olive Oil
This natural method is gentle on nails and environmentally friendly.
- Mix and Soak: Combine equal parts lemon juice and olive oil. Soak your nails for 15-20 minutes.
- Gently Remove Gel: Use a cuticle stick to lift the softened polish.
2. Vinegar and Warm Water Bath
Vinegar helps break down the gel polish without harsh chemicals.
- Prepare the Bath: Mix one part white vinegar with two parts warm water.
- Soak Your Nails: Immerse your nails for 20-30 minutes.
- Remove the Gel: Gently push off the loosened polish with a cuticle stick.
3. Hydrogen Peroxide and Warm Water
Hydrogen peroxide acts as a mild remover.
- Create a Solution: Mix hydrogen peroxide with warm water in a bowl.
- Soak Your Nails: Let your nails soak for 15 minutes.
- Gently Remove Polish: Use a cuticle stick to lift the gel.
4. Coconut Oil and Baking Soda Scrub
This method not only removes gel polish but also exfoliates the nails.
- Make the Scrub: Combine coconut oil with baking soda to form a paste.
- Apply and Scrub: Gently scrub your nails for a few minutes.
- Remove Residue: Wipe away the polish with a damp cloth.
5. Commercial Acetone-Free Removers
Several products on the market offer effective gel polish removal without acetone. Look for acetone-free formulas labeled as “eco-friendly” or “gentle.”
By using these eco-friendly and gentle methods, you can remove gel nail polish without exposing your nails to harsh chemicals.
 Professional vs. DIY Removal: Which is Better for Your Gel Nails?
Deciding between professional and DIY gel polish removal depends on various factors, including your experience, time, and nail health goals.
Professional Removal
Pros:
- Expertise: Professionals have the skills to remove gel polish without damaging your nails.
- Efficiency: The process is faster and more thorough.
- Post-Removal Care: Salons often provide treatments to nourish and strengthen nails after removal.
Cons:
- Cost: Professional services can be expensive.
- Time: It requires scheduling and traveling to a salon.
DIY Removal
Pros:
- Cost-Effective: Removing gel polish at home saves money.
- Convenience: You can do it anytime without needing an appointment.
- Privacy: Perform the removal process in the comfort of your home.
Cons:
- Risk of Damage: Improper techniques can harm your nails.
- Skill Required: It may take practice to achieve perfect results.
- Time-Consuming: DIY removal can be slower, especially for beginners.
Which is Better for Your Gel Nails?
If you prioritize nail health and want the most damage-free removal, professional services are the better choice. However, if you enjoy doing things yourself and are willing to follow careful steps, DIY removal can be effective and economical. Ultimately, the best method depends on your personal preferences and nail care needs.
Gel Polish Removal Mistakes to Avoid for Healthy Nails
To maintain healthy nails, avoid common mistakes during the gel polish removal process. Here are key pitfalls to watch out for:
1. Peeling or Picking Off Gel Polish
Attempting to peel or pick off the gel polish can strip layers from your natural nails, leading to weakness and peeling.
2. Over-Filing Your Nails
Excessive filing can thin your nails, making them more prone to breaking and splitting.
3. Using Hot Water Only
Relying solely on hot water without acetone or another remover may not effectively break down the gel polish, leading to prolonged removal times and potential damage.
4. Ignoring Moisturizing and Nourishing
Failing to moisturize your nails and cuticles after removal can result in dryness and brittleness.
5. Skipping the Topcoat Filing Step
Not filing the topcoat can make it harder for the remover to penetrate, increasing the risk of nail damage during removal.
6. Rushing the Process
Hurrying through the removal steps can cause you to use excessive force, harming your nails in the process.
7. Using Poor-Quality Tools
Using inappropriate or low-quality tools can scratch or damage your nails, making the removal process less effective and more harmful.
8. Not Following Proper Removal Techniques
Proper techniques are crucial for safe removal. Ignoring the correct steps can lead to nail damage and weaken their structure.
By avoiding these mistakes, you can ensure a healthier and more effective gel polish removal process.
 Post-Removal Care: Nourishing Your Nails After Gel Polish Removal
After removing gel polish, it’s essential to care for your nails to restore their health and strength. Here are some post-removal care tips:
1. Apply Cuticle Oil
Massage cuticle oil into your nails and surrounding skin to replenish lost moisture and promote healthy nail growth.
2. Use a Rich Hand Cream
Hydrate your hands and nails with a nourishing hand cream to prevent dryness and brittleness.
3. Buffer Your Nails
Gently buff your nails to smooth out any remaining residue and prepare them for a new manicure.
4. Apply a Nail Strengthener
Using a nail strengthener can help reinforce your nails, making them less prone to breaking and splitting.
5. Give Your Nails a Break
Allow your nails to breathe by avoiding polish for a few days. This helps them recover and regain their natural strength.
6. Maintain a Healthy Diet
Ensure your diet includes vitamins and minerals that support nail health, such as biotin, vitamin E, and omega-3 fatty acids.
7. Avoid Harsh Chemicals
Minimize exposure to harsh cleaning products and detergents by wearing gloves to protect your nails.
8. Regular Manicure Maintenance
Keep up with regular manicures to maintain nail health and prevent future damage from gel polish applications.
By following these post-removal care steps, you can ensure your nails remain strong, healthy, and ready for your next manicure.
 Conclusion
Understanding how do you remove gel nail polish effectively and safely is essential for maintaining healthy nails. Whether you choose a professional removal service or opt for a DIY approach, following the right steps ensures your nails stay strong and beautiful. Remember to avoid common removal mistakes, explore eco-friendly methods, and provide thorough post-removal care to keep your nails in optimal condition. By incorporating these practices, you can enjoy the benefits of gel manicures without compromising the health of your natural nails.