In the ever-evolving world of beauty and fashion, UV nail polish has emerged as a standout trend, captivating nail enthusiasts with its vibrant colors and long-lasting finish. This innovative nail product offers a range of benefits, from enhancing the durability of your manicure to providing a glossy, professional look that can withstand daily wear and tear. Whether you are a seasoned nail artist or someone looking to experiment with your nail style, understanding the ins and outs of UV nail polish can help you achieve stunning results with ease. In this comprehensive guide, we will explore everything you need to know about UV nail polish, including its benefits, application techniques, maintenance tips, and the latest trends shaping the nail industry.
 What Is UV Polish?
UV polish is a type of long-lasting nail polish that cures under UV light. It combines durability and beauty, offering a shiny and chip-resistant finish. This polish is popular among professionals and at-home users for its vibrant and lasting results.
The Basics of UV Polish
UV polish uses a unique formula activated by UV light. This curing process bonds the polish to the nail, creating a durable, glossy layer. It differs from regular polish as it doesn’t air-dry and offers a professional look. The result is smooth and resistant to chipping, lasting longer than traditional polishes.
Its chemical structure contains photo-initiators. These react with UV light, hardening the polish. Each layer, including the base coat, color, and top coat, requires UV light exposure for curing. The polish provides excellent shine and is available in various colors and finishes.
How UV Polish Differs From Regular Nail Polish
UV polish and regular nail polish vary significantly in application and longevity. Traditional polish air-dries and can chip within days. UV polish, however, cures under UV light, extending wear time to weeks without chipping.
The formulas also differ. UV polish contains gel-like components, while regular polish uses simple pigments and solvents. This gives UV polish its resilience and gloss. Additionally, UV polish requires specialized tools like a UV lamp, whereas regular polish does not.
In summary, UV polish outshines regular polish in durability, finish, and application techniques. Its unique properties make it a top choice for stunning, long-lasting manicures.
How UV Polish Works
UV nail polish is widely valued for its durability and shine. Understanding how it works helps users appreciate its innovation and proper application. This section explores the curing process driven by UV light and the chemical composition that makes UV polish unique.
The Role of UV Light in Polishing
UV light plays a vital role in curing UV polish. The curing process involves activating photo-initiators within the polish using UV exposure. These photo-initiators react with UV light and cause the polish to harden quickly.
Unlike regular nail polish, UV polish doesn’t air-dry. Each layer applied—base coat, color coat, and top coat—requires curing under a UV lamp. The UV light bonds the polish to the nail for a smudge-free, durable finish. This process ensures the polish lasts longer without chipping, giving nails a salon-quality shine.
Chemical Composition of UV Polish
UV polish contains unique ingredients that set it apart from traditional formulas. It includes gel-like components and photo-initiators, which are essential for UV curing. The gel base provides enhanced durability and flexibility, allowing the polish to resist chipping.
The photo-initiators enable the rapid hardening of the polish when exposed to UV light. This creates a dense, solid layer on the nail surface. The chemical composition also allows for smooth application and vibrant colors.
In summary, UV polish works through a combination of UV light and advanced chemical formulas. These features deliver long-lasting, beautiful nails that maintain their shine for weeks.
 Benefits of Using UV Polish
UV polish offers several unique benefits that make it a preferred choice for manicures. Its innovative formula and curing process elevate it above traditional options.
Long-lasting Shine and Durability
UV polish provides exceptional durability, resisting chips for weeks. The curing process creates a strong bond with nails. This ensures a shiny, salon-quality finish that remains intact even with daily activities. Users can enjoy vibrant nails without frequent touch-ups.
Smooth Application and Finish
The gel-like formula guarantees smooth, even application. UV polish creates a flawless, glossy surface, free of smudges or streaks. It adds a professional touch every time. The curing process hardens each layer effectively, leaving nails polished and refined.
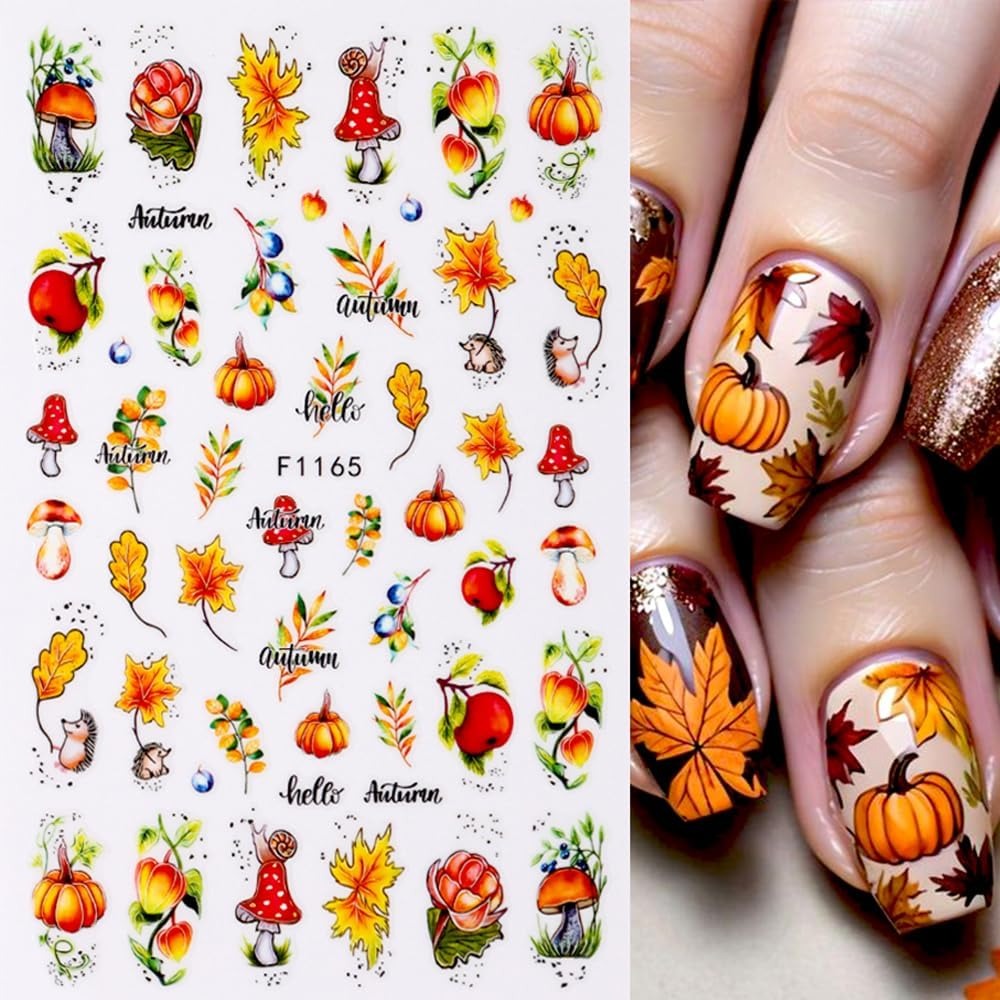
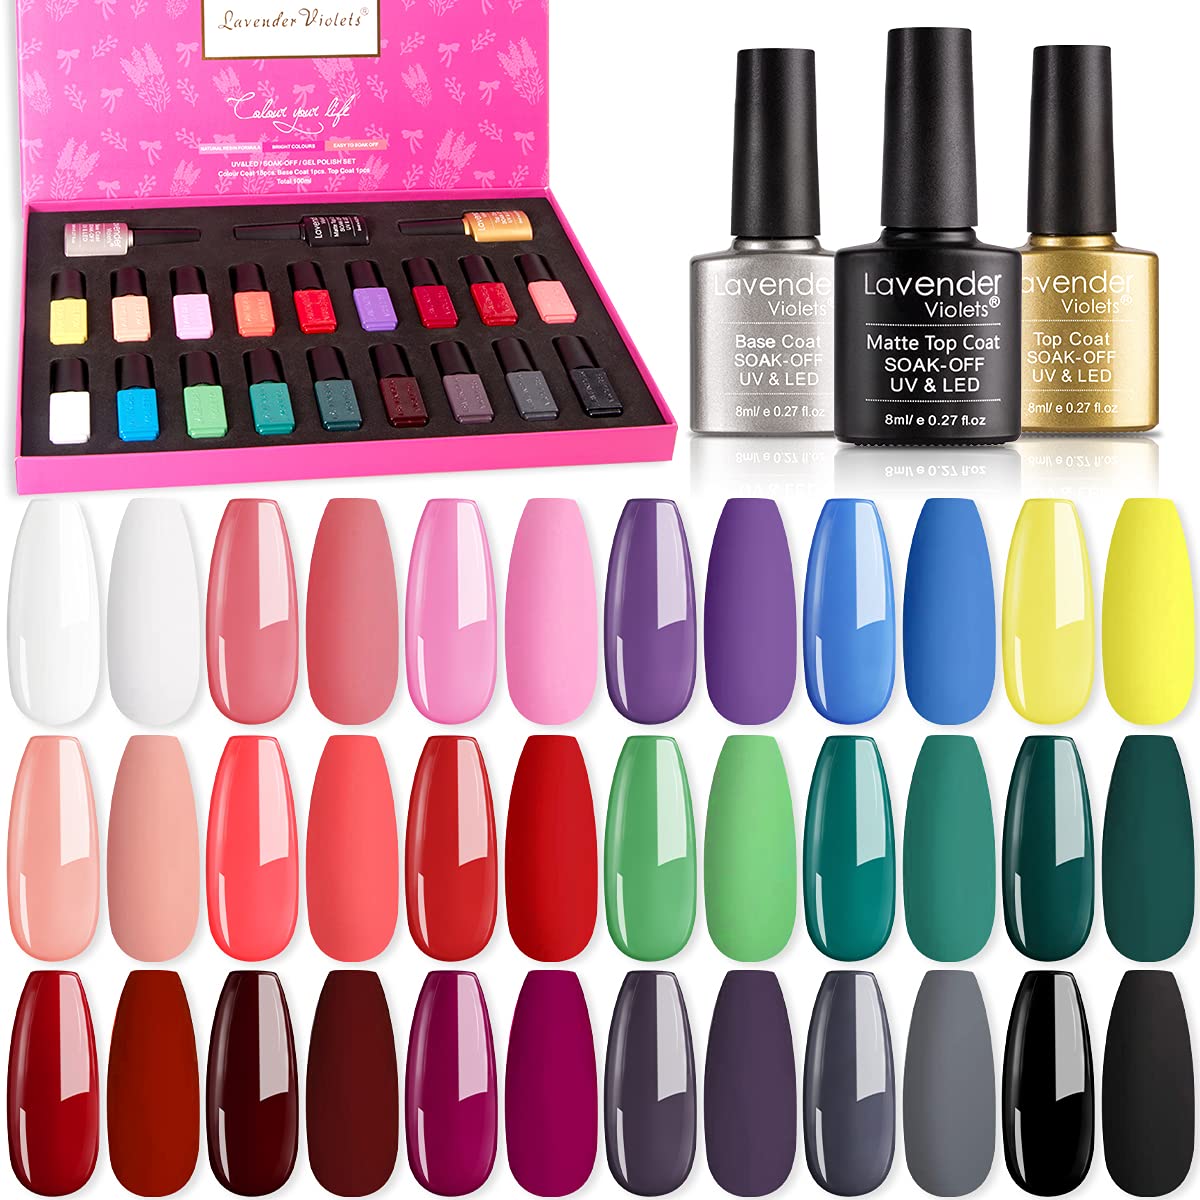
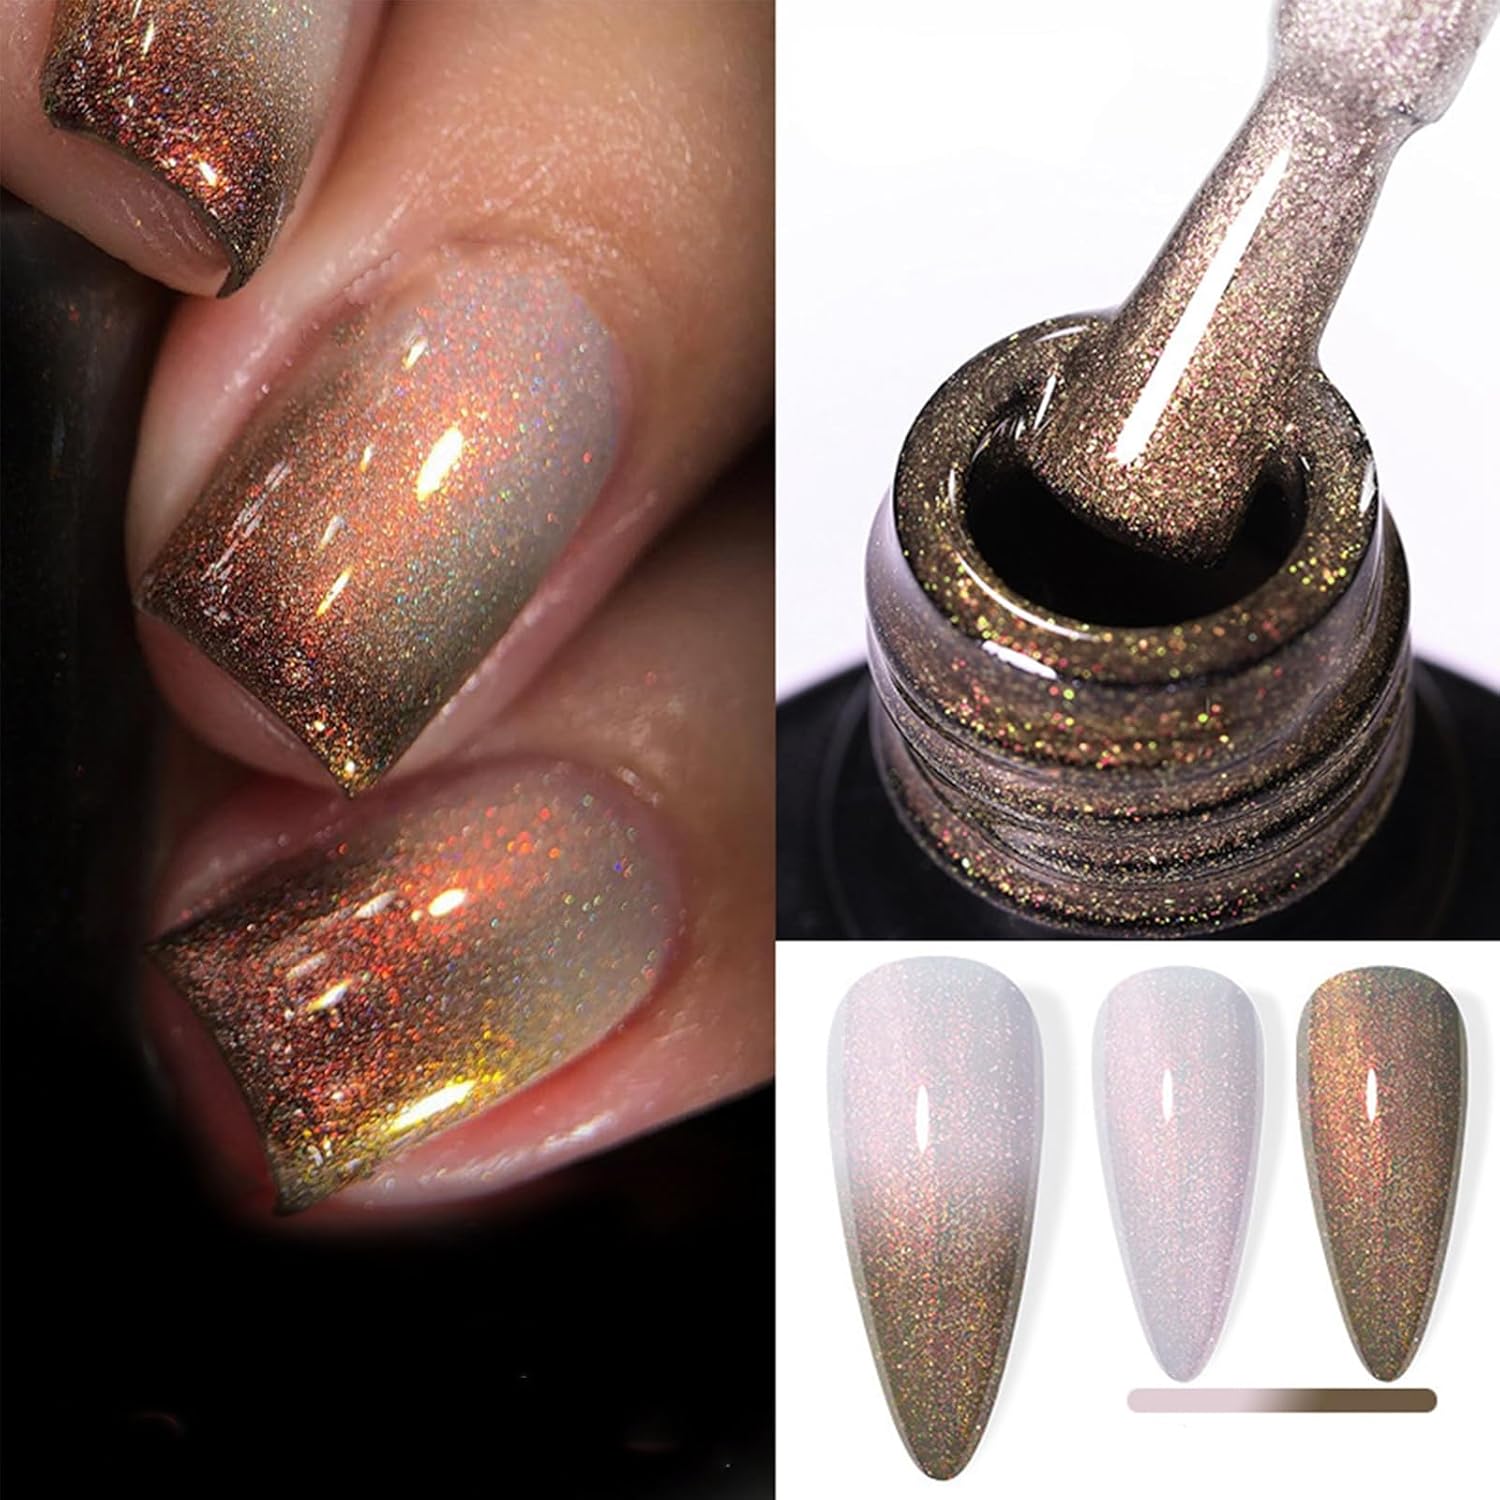
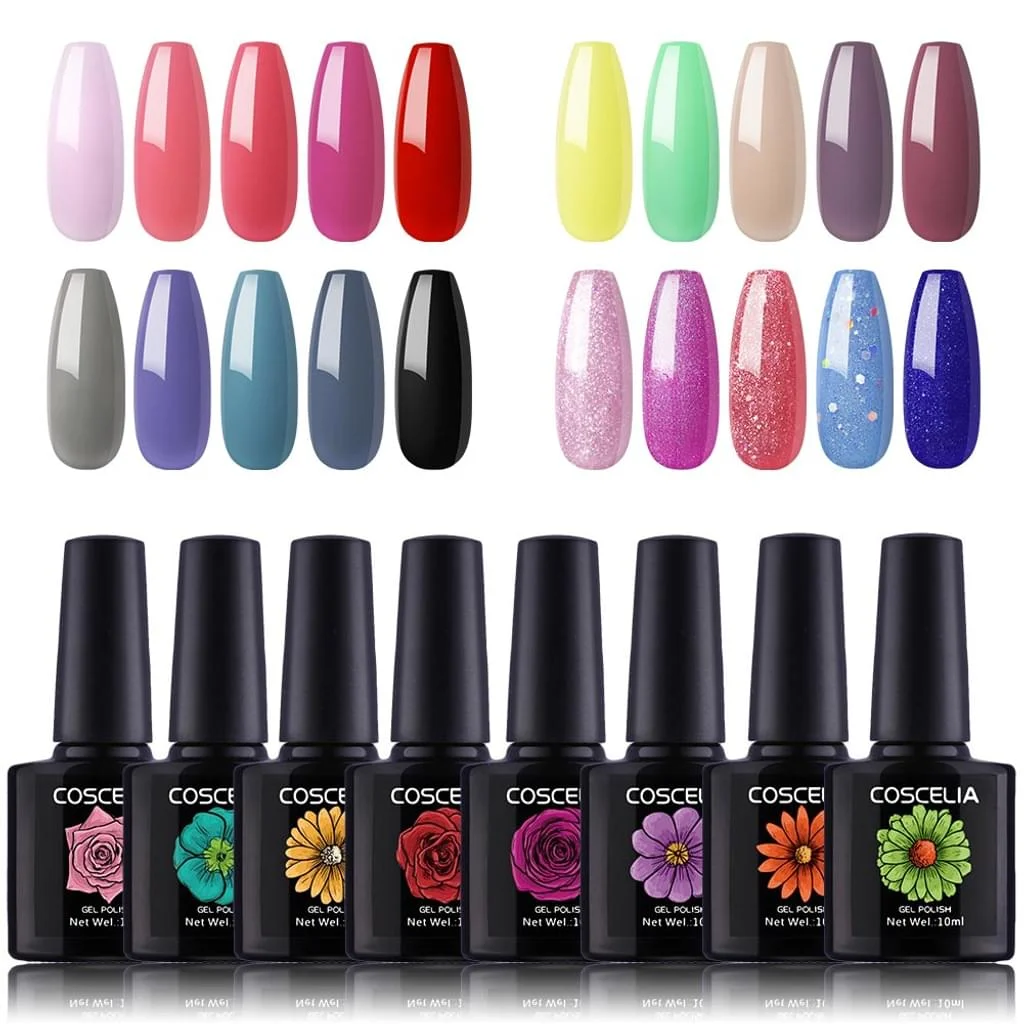
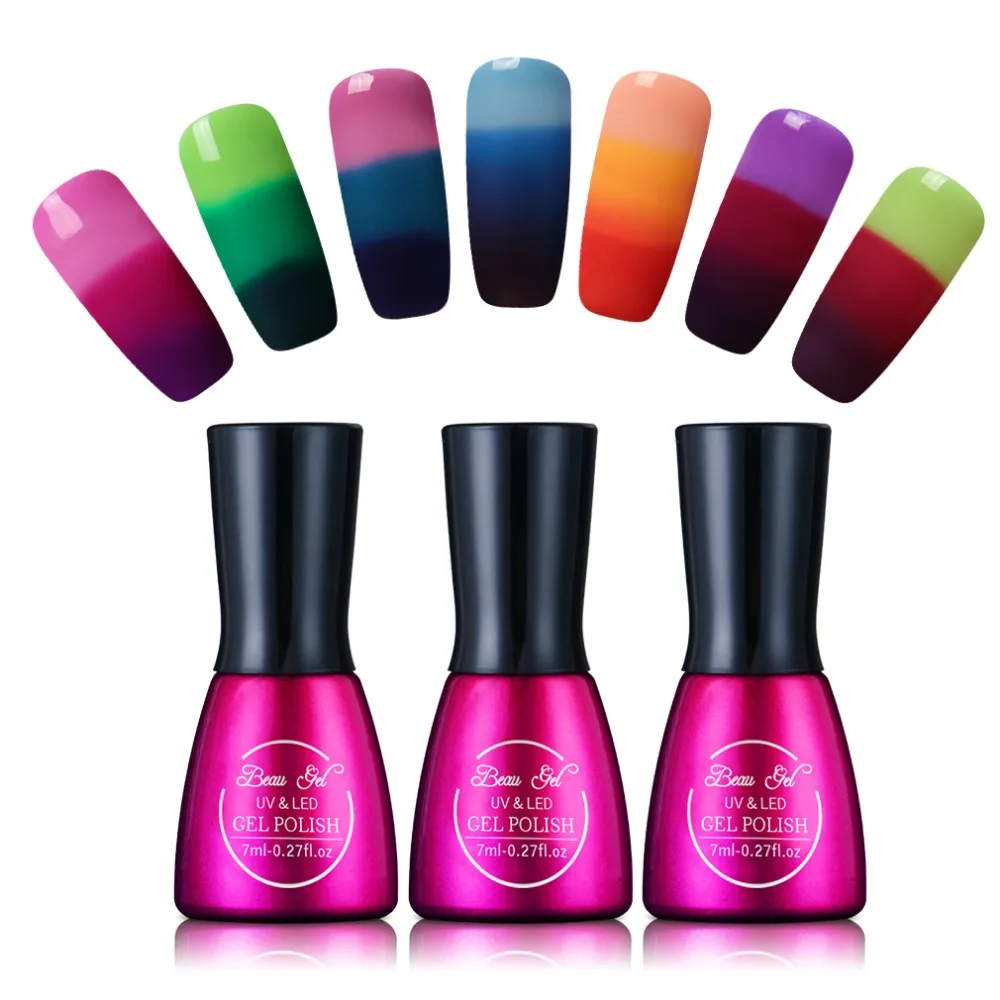
Variety of Colors and Styles
UV polish is available in an array of colors and finishes. From bold metallics to subtle nudes, there is an option for every preference. Unique styles like glitter or matte varnish offer creative choices for personalized manicures. This versatility caters to both casual looks and glamorous designs.
In summary, UV polish adds durability, effortless elegance, and creative options to any manicure experience.
Potential Risks and Concerns
While UV polish offers many benefits, it’s important to consider potential risks and concerns. Understanding these ensures safe and enjoyable use.
UV Exposure and Skin Safety
UV nail polish relies on UV light for curing. Prolonged exposure to UV rays can harm skin. Overexposure may increase the risk of premature aging and other skin conditions. Using a good-quality UV lamp minimizes unnecessary exposure.
To protect your skin, apply sunscreen before using a UV lamp. Focus on the areas around your nails. Alternatively, wear fingerless gloves to shield the skin while curing. Always follow the lamp manufacturer’s instructions for recommended usage time.
Common Allergic Reactions or Irritations
Some individuals may experience allergic reactions to UV polish. Ingredients like acrylates or photo-initiators can cause skin irritation. Symptoms may include redness, itching, or swelling around the nails.
Perform a patch test before full application to check for any allergies. Avoid applying polish to broken or damaged skin. If irritation occurs, discontinue use and consult a healthcare professional. Opt for hypoallergenic UV polish brands if you have sensitive skin.
By addressing these concerns, users can enjoy UV polish while prioritizing safety and health.
 How to Apply UV Polish at Home
Applying UV polish at home can be simple and rewarding. With the correct tools and a proper technique, you can achieve salon-quality nails every time. Below, we explain the essentials, step-by-step process, and tips to perfect your application.
Essential Tools and Equipment
Before starting, ensure you have the following tools:
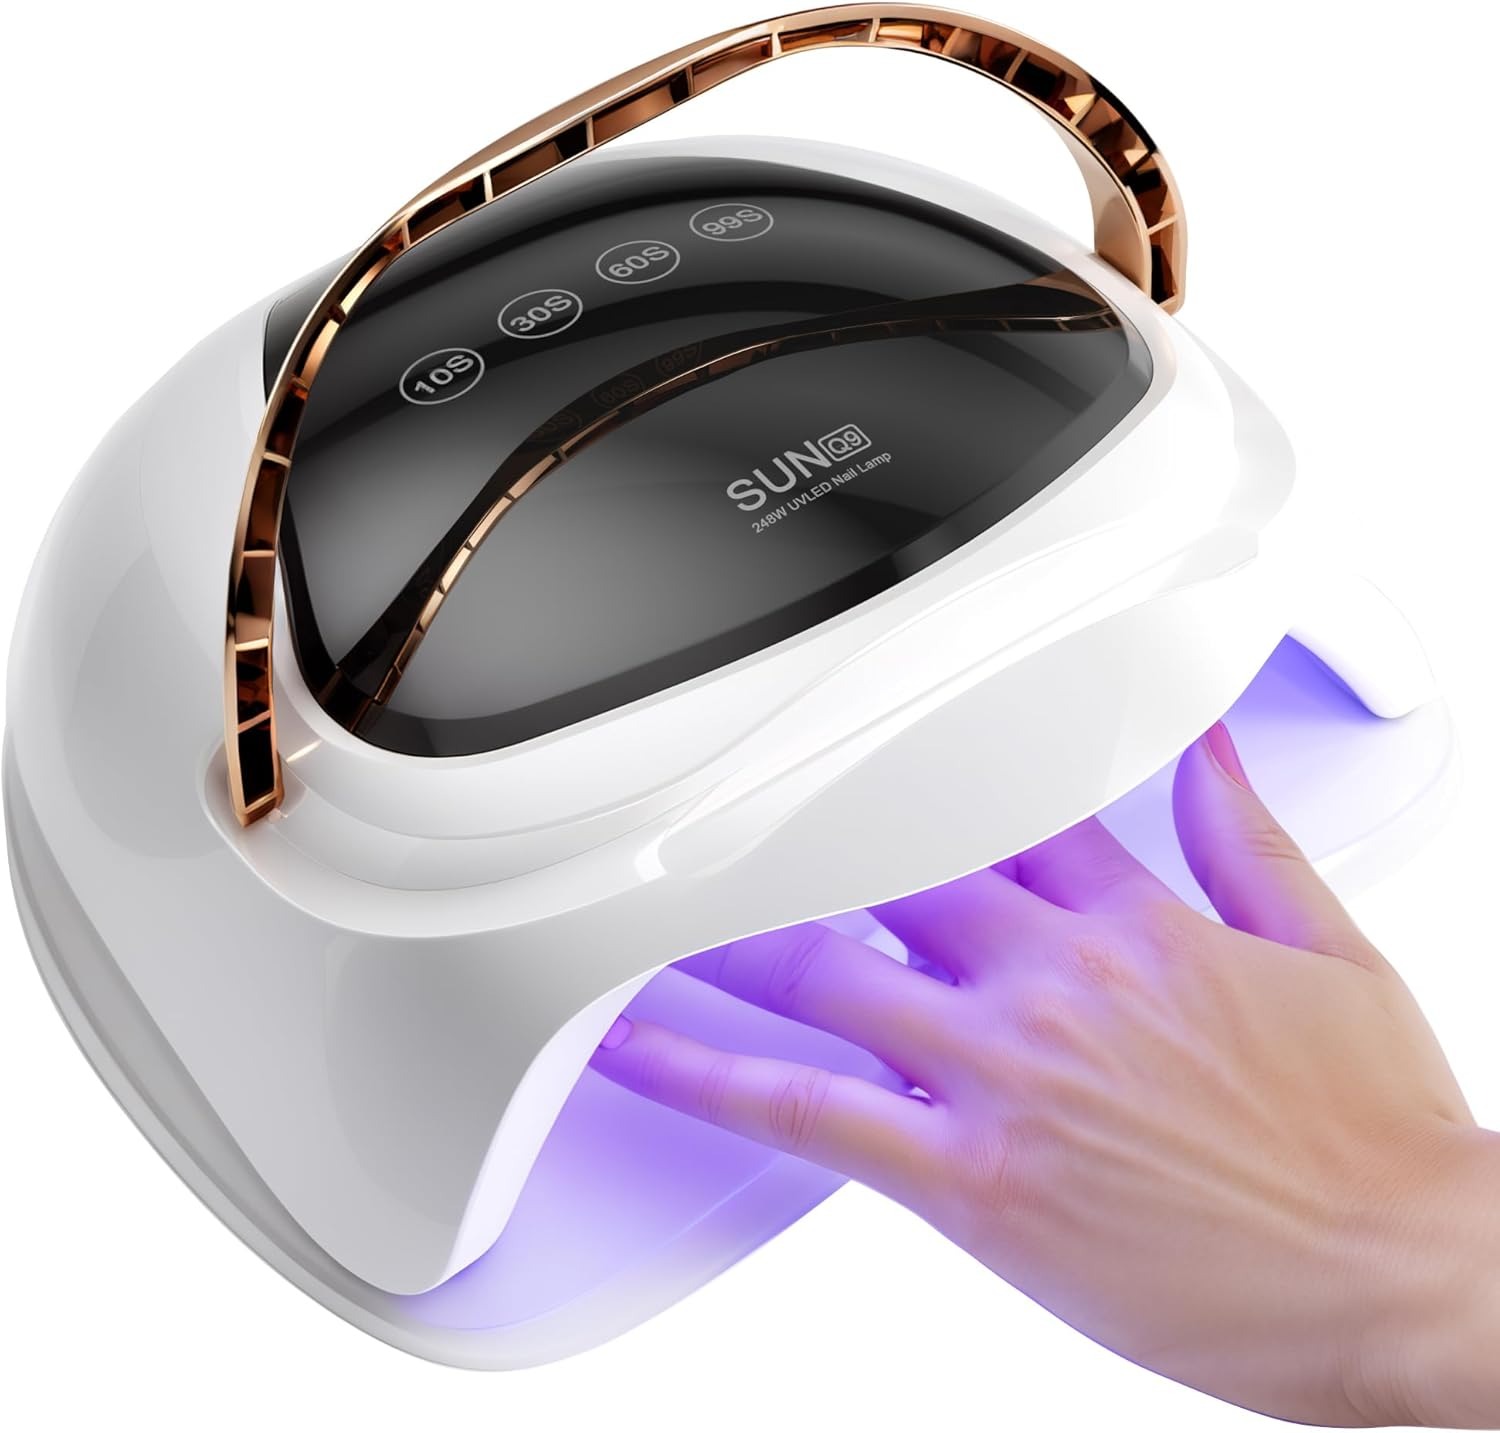
- UV Lamp: Key for curing the polish and achieving durability. Choose a reliable model for consistent results.
- Base Coat and Top Coat: Essential for protecting nails and adding shine.
- UV Polish: Select your favorite color or style to personalize your look.
- Nail Buffer and Cuticle Pusher: Prepare nails for a smooth base.
- Lint-Free Wipes: Prevent small fibers from ruining the finish.
- Alcohol-Based Cleanser: Removes tackiness after curing.
Step-by-Step Application Process
- Clean and Prepare Nails: Wash hands and remove old polish. Buff nails gently for a smooth surface.
- Push Back Cuticles: Use the cuticle pusher to tidy the nail bed area.
- Apply Base Coat: Brush on a thin layer, ensuring full nail coverage. Cure under a UV lamp for 30–60 seconds.
- Add Color Coat: Apply the UV polish evenly. Cure under UV light for the time specified by the polish.
- Repeat Layers: Apply additional coats as needed for full opacity. Cure each layer thoroughly.
- Seal with Top Coat: Finish with a thin top coat for shine and durability. Cure under UV light.
- Clean and Finalize: Wipe nails with alcohol-based cleanser to remove sticky residue for a polished look.
Tips for a Professional Look
- Work Thin Layers: Thin coats cure evenly and prevent clumping.
- Avoid Flooding the Cuticles: This keeps the manicure neat and reduces peeling issues.
- Be Precise: Use steady strokes to ensure smooth application.
- Follow Cure Times: Stick to the recommended UV exposure for lasting results.
- Practice Regular Care: Moisturize cuticles to enhance nail health and maintain polish quality.
By following these steps and tips, you can master UV polish application at home. Achieve a flawless, long-lasting manicure every time!
How to Safely Remove UV Polish
Removing UV nail polish can be simple with the right tools. Safe removal prevents nail damage and keeps nails healthy. Follow the steps below for an effective removal process.
Required Materials for Removal
- Acetone: Essential for breaking down UV nail polish layers. Use pure acetone for best results.
- Cotton Balls: Apply acetone to the nails evenly.
- Aluminum Foil: Wrap nails to hold acetone in place.
- Nail File: Buff the shiny top layer to prepare nails for removal.
- Cuticle Oil: Moisturize nails after removal for hydration.
- Bowl (optional): Use for soaking nails in acetone if preferred.
Step-by-Step Removal Guide
- Buff the Surface: Lightly file the polish to remove the top layer’s shine.
- Soak Cotton Balls in Acetone: Saturate cotton balls completely with acetone.
- Apply Cotton Balls: Place them on each nail.
- Wrap Nails with Aluminum Foil: Secure foil to keep the acetone against the polish.
- Wait for 10–15 Minutes: Allow acetone to soften the polish layers.
- Remove Foil and Cotton Balls: Gently wipe off polish using the soaked cotton balls.
- Use Wooden Stick (optional): Push or scrape leftover polish gently if needed.
- Rinse and Clean Nails: Wash hands thoroughly to remove acetone residue.
- Moisturize: Apply cuticle oil to prevent dryness and maintain nail health.
Avoiding Damage to Natural Nails
- Do Not Peel Polish: Peeling can remove layers of your natural nail.
- Be Gentle: Avoid forcing polish off. Let acetone loosen it instead.
- Limit Acetone Use: Only soak nails as long as necessary.
- Restore Nails After Removal: Use nourishing nail treatments to repair and strengthen.
Following these steps ensures UV nail polish is removed safely without harm to your nails.
 Comparing UV Polish to Other Nail Treatments
UV nail polish is a standout option in the world of nail treatments. But how does it compare to other types like gel polish and regular nail polish? Let’s break down the differences to help you make the best choice for your manicure needs.
Gel Polish vs. UV Polish
Gel polish and UV nail polish are often confused but are distinct products.
- Curing Process: Both require UV or LED light for curing. However, some gel polishes now adapt to LED light faster, whereas UV polish relies primarily on UV light.
- Formula Composition: Gel polish has a thicker consistency compared to the gel-like formula of UV nail polish. This thickness provides more flexibility but may feel heavier on the nails.
- Finish and Durability: UV nail polish generally provides a firmer, glossy finish that resists chipping longer. Gel polish may offer slightly more flexibility but is prone to peeling sooner.
- Removal Process: Both require acetone for removal. Gel polish sometimes takes longer to break down and demands more filing.
In summary, UV nail polish excels in durability and shine, while gel polish may feel more flexible.
Regular Nail Polish vs. UV Polish
Regular nail polish and UV nail polish are worlds apart in performance and maintenance.
- Drying Method: Regular nail polish air-dries, whereas UV polish cures with UV light. This makes UV polish more time-efficient for lasting results.
- Longevity: Regular polish lasts a few days without chipping. UV polish can stay intact for weeks.
- Application Differences: Regular nail polish applies quickly but can smudge before drying. UV polish requires curable layers for professional results.
- Gloss and Finish: UV nail polish delivers a shiny, streak-free look. Regular polish often lacks the same smooth finish.
- Tools Required: UV polish demands a UV lamp and specific tools. Regular polish needs none, making it more accessible for beginners.
In conclusion, UV nail polish outperforms regular polish in durability, shine, and overall longevity.
 Frequently Asked Questions About UV Polish
Is UV Polish Safe for Daily Use?
UV nail polish is generally safe when used correctly. Limit overexposure to UV light for skin safety. Use sunscreen or fingerless gloves to protect your skin while curing the polish. Patch tests can help prevent allergic reactions to the ingredients. Avoid using UV nail polish on damaged or infected nails. Regular breaks between applications can maintain nail health and prevent thinning.
How Long Does a UV Manicure Typically Last?
UV nail polish lasts 2–3 weeks without chipping or losing shine. Longevity depends on proper application and care. Thin layers and correct curing times offer better durability. Avoid peeling or picking at the polish to extend its life. Regular moisturizing helps maintain nail flexibility and polish integrity. High-quality products also contribute to longer-lasting results.
Can UV Polish Be Used Without a UV Lamp?
No, UV nail polish requires curing under a UV lamp to harden properly. UV light activates photo-initiators in the polish formula. Without UV light, the polish remains soft and smudges easily. Investing in a reliable UV lamp ensures a durable and glossy finish. Regular nail polish can be an alternative if you don’t own a UV lamp.