Introduction to UV Light for Nails
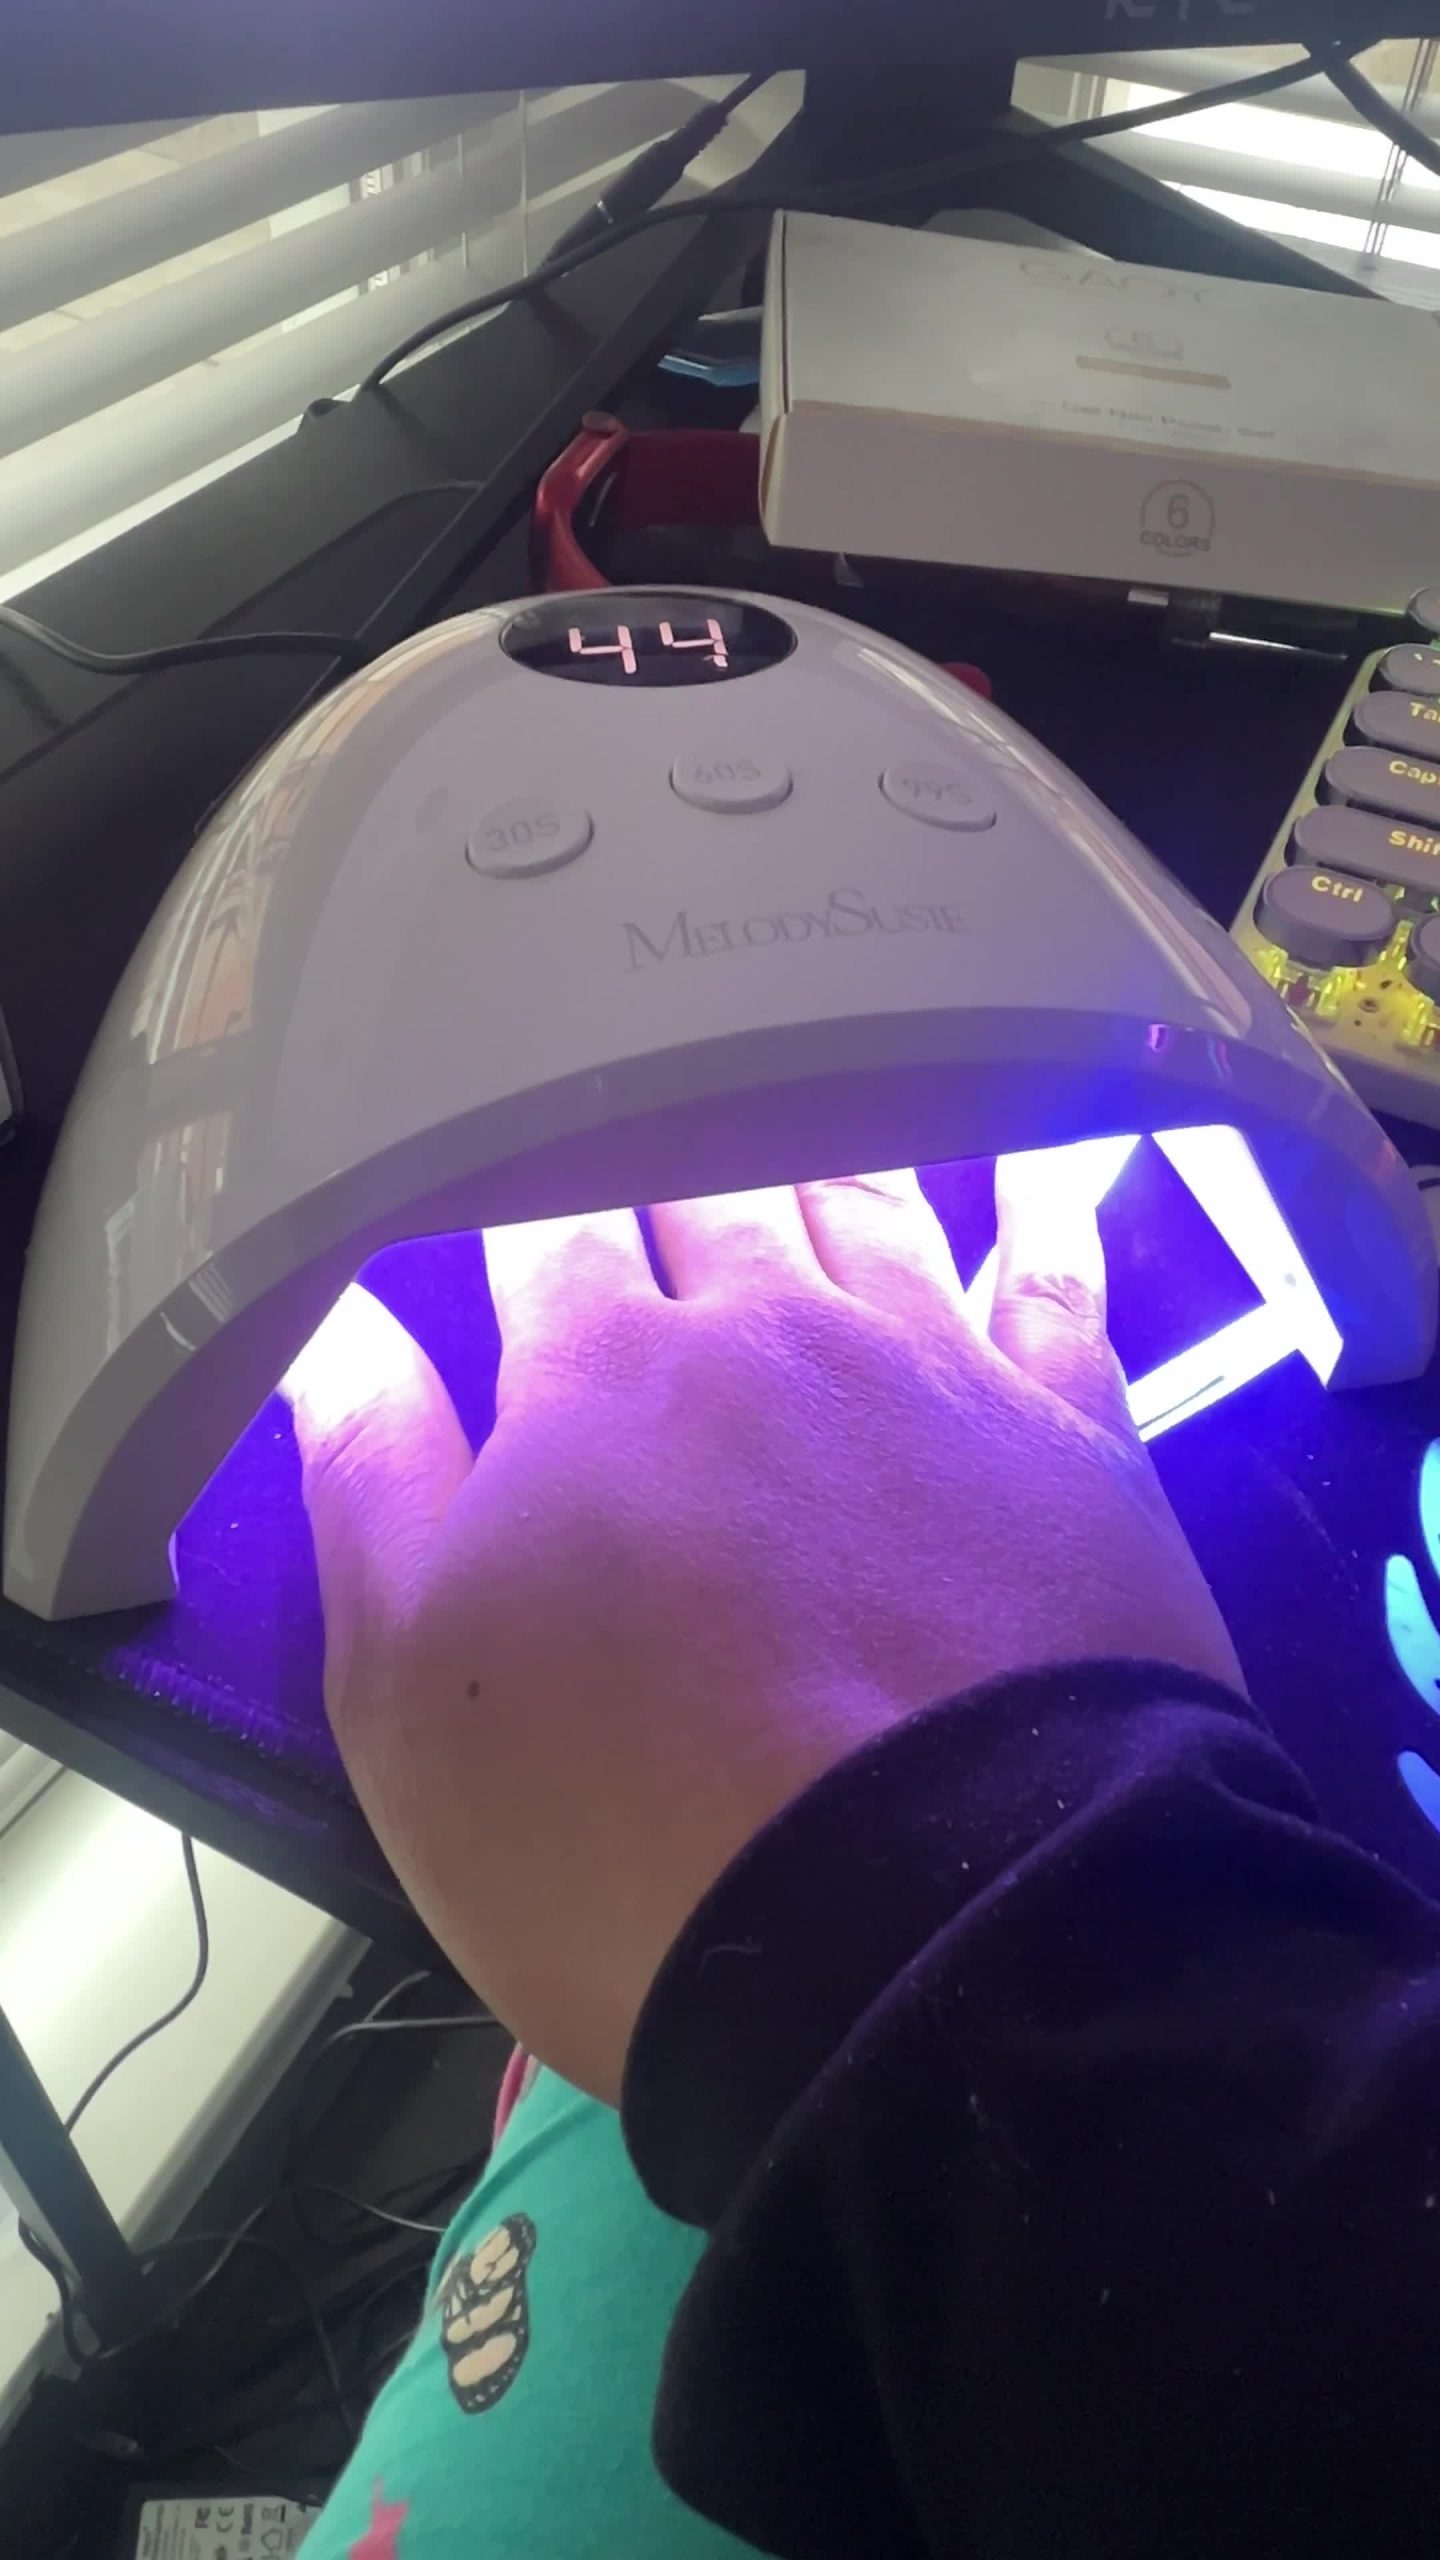
A UV light for nails is essential for achieving salon-quality manicures at home. This device uses ultraviolet (UV) or LED light to cure gel or acrylic polish, hardening it into a durable, glossy finish that lasts weeks without chipping. Unlike air-drying methods, UV lights ensure rapid curing—typically 30 seconds to 3 minutes per layer—while bonding polish securely to the nail bed. Modern lamps come in LED or traditional UV models, with wavelengths like 385-405nm (LED) offering faster, cooler results for LED-reactive polishes. Key features include adjustable arms for all nail sizes, safety timers, and UV-blocking shields to protect skin and eyes. Ideal for both professionals and at-home users, these lights are safe when used properly, extending manicure longevity while avoiding damage to natural nails. Users rave about their convenience and chip-resistant results, making them a must-have for nail care enthusiasts.

Types of UV Lights for Nails
UV lights for nails vary in technology and purpose, catering to diverse needs—from at-home touch-ups to professional salons. Here’s a breakdown of the main types:
1. LED UV Lights
- How They Work: Use blue light wavelengths (385-405nm) to cure LED-reactive polishes quickly (30-60 seconds per layer).
- Pros:
- Faster curing reduces heat exposure and drying time.
- Energy-efficient and lightweight.
- Cons:
- Requires LED-compatible polish.
- More expensive than traditional UV lamps.
2. Traditional UV Lamps
- How They Work: Emit 365nm UV-A light, effective for older gel polishes.
- Pros:
- Cures thick acrylics or non-LED polishes.
- Often cheaper than LED models.
- Cons:
- Longer curing times (2-3 minutes per layer).
- Generates more heat, risking polish yellowing.
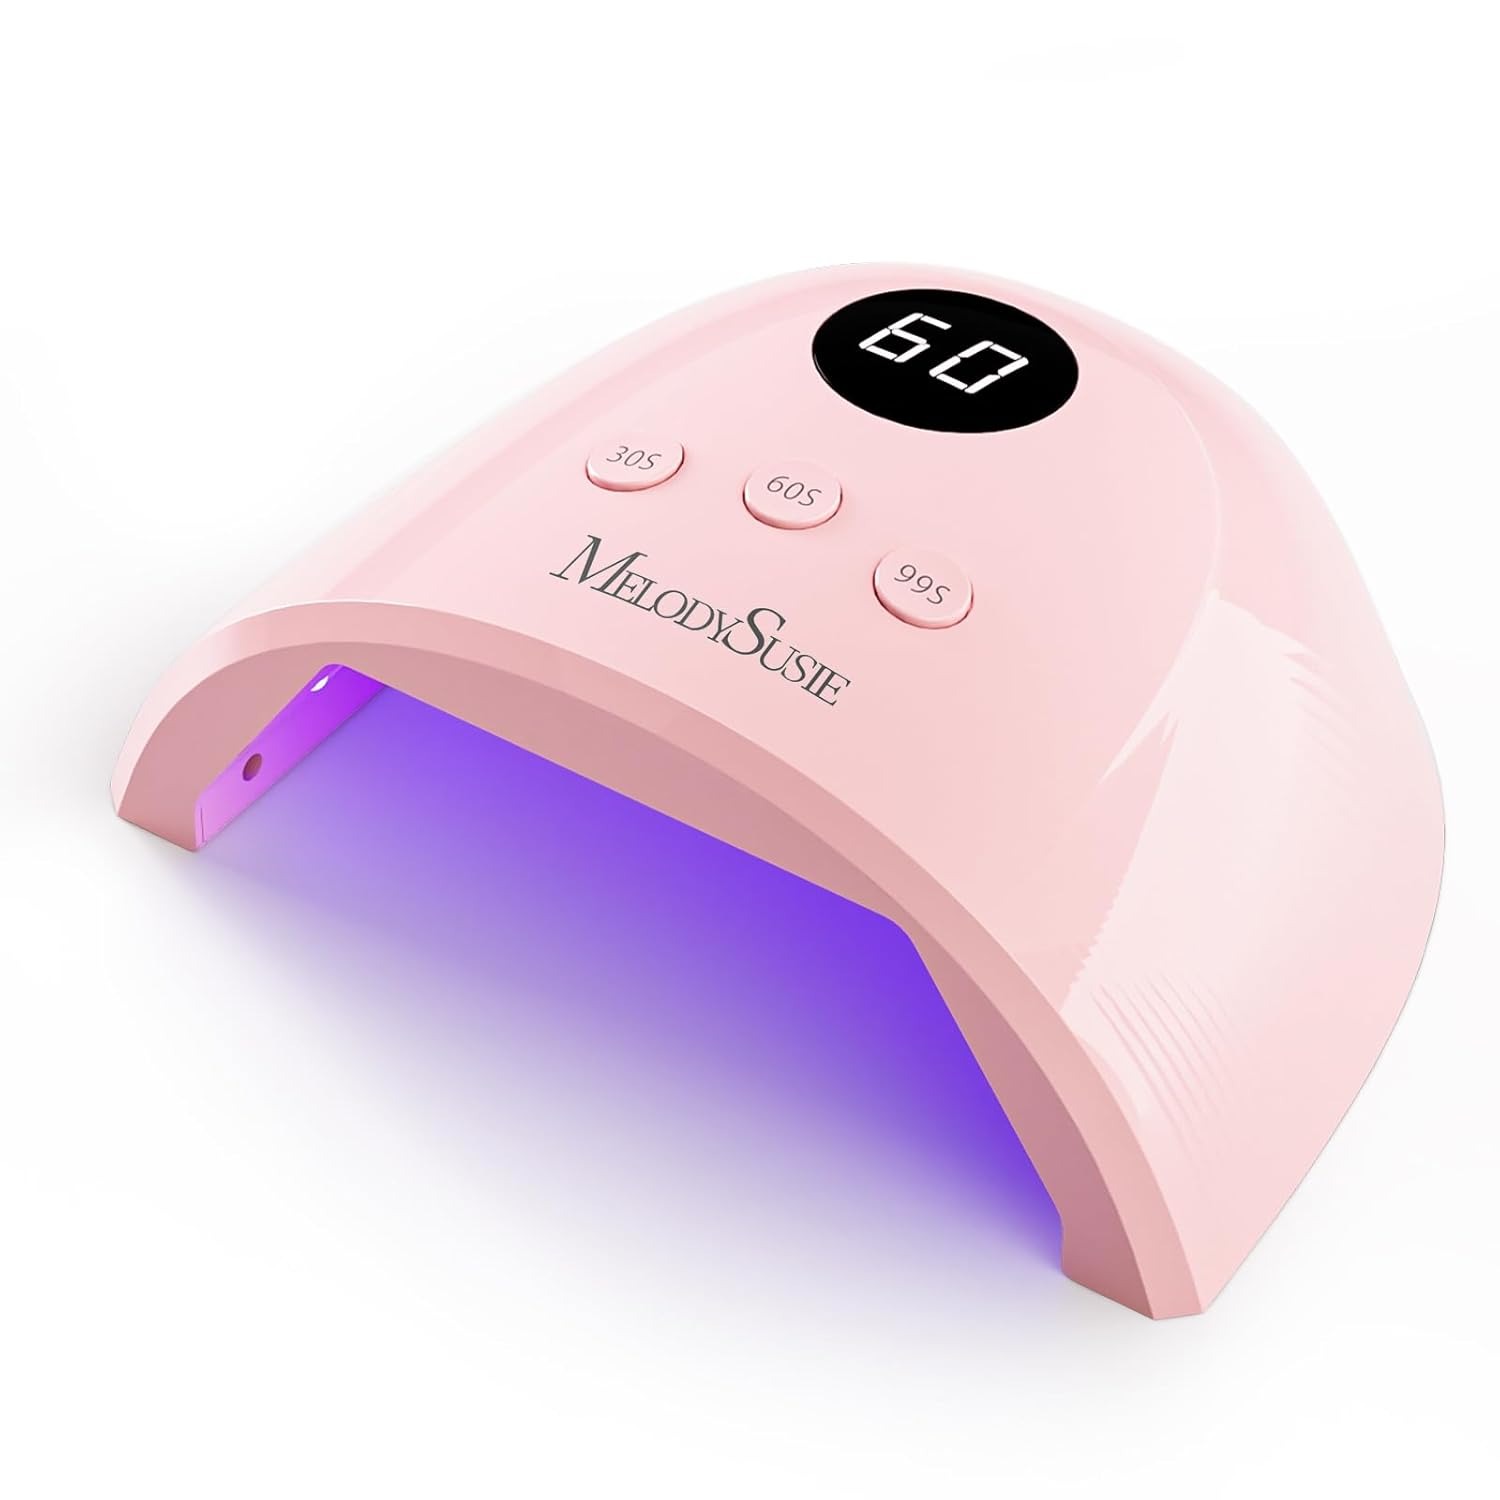
3. Portable Travel Lights
- Design: Compact, battery-powered devices with adjustable arms.
- Ideal For:
- Touch-ups on the go or small manicures.
- LED-based for quick, efficient curing.
- Limitations:
- Smaller curing area; may require multiple sessions.
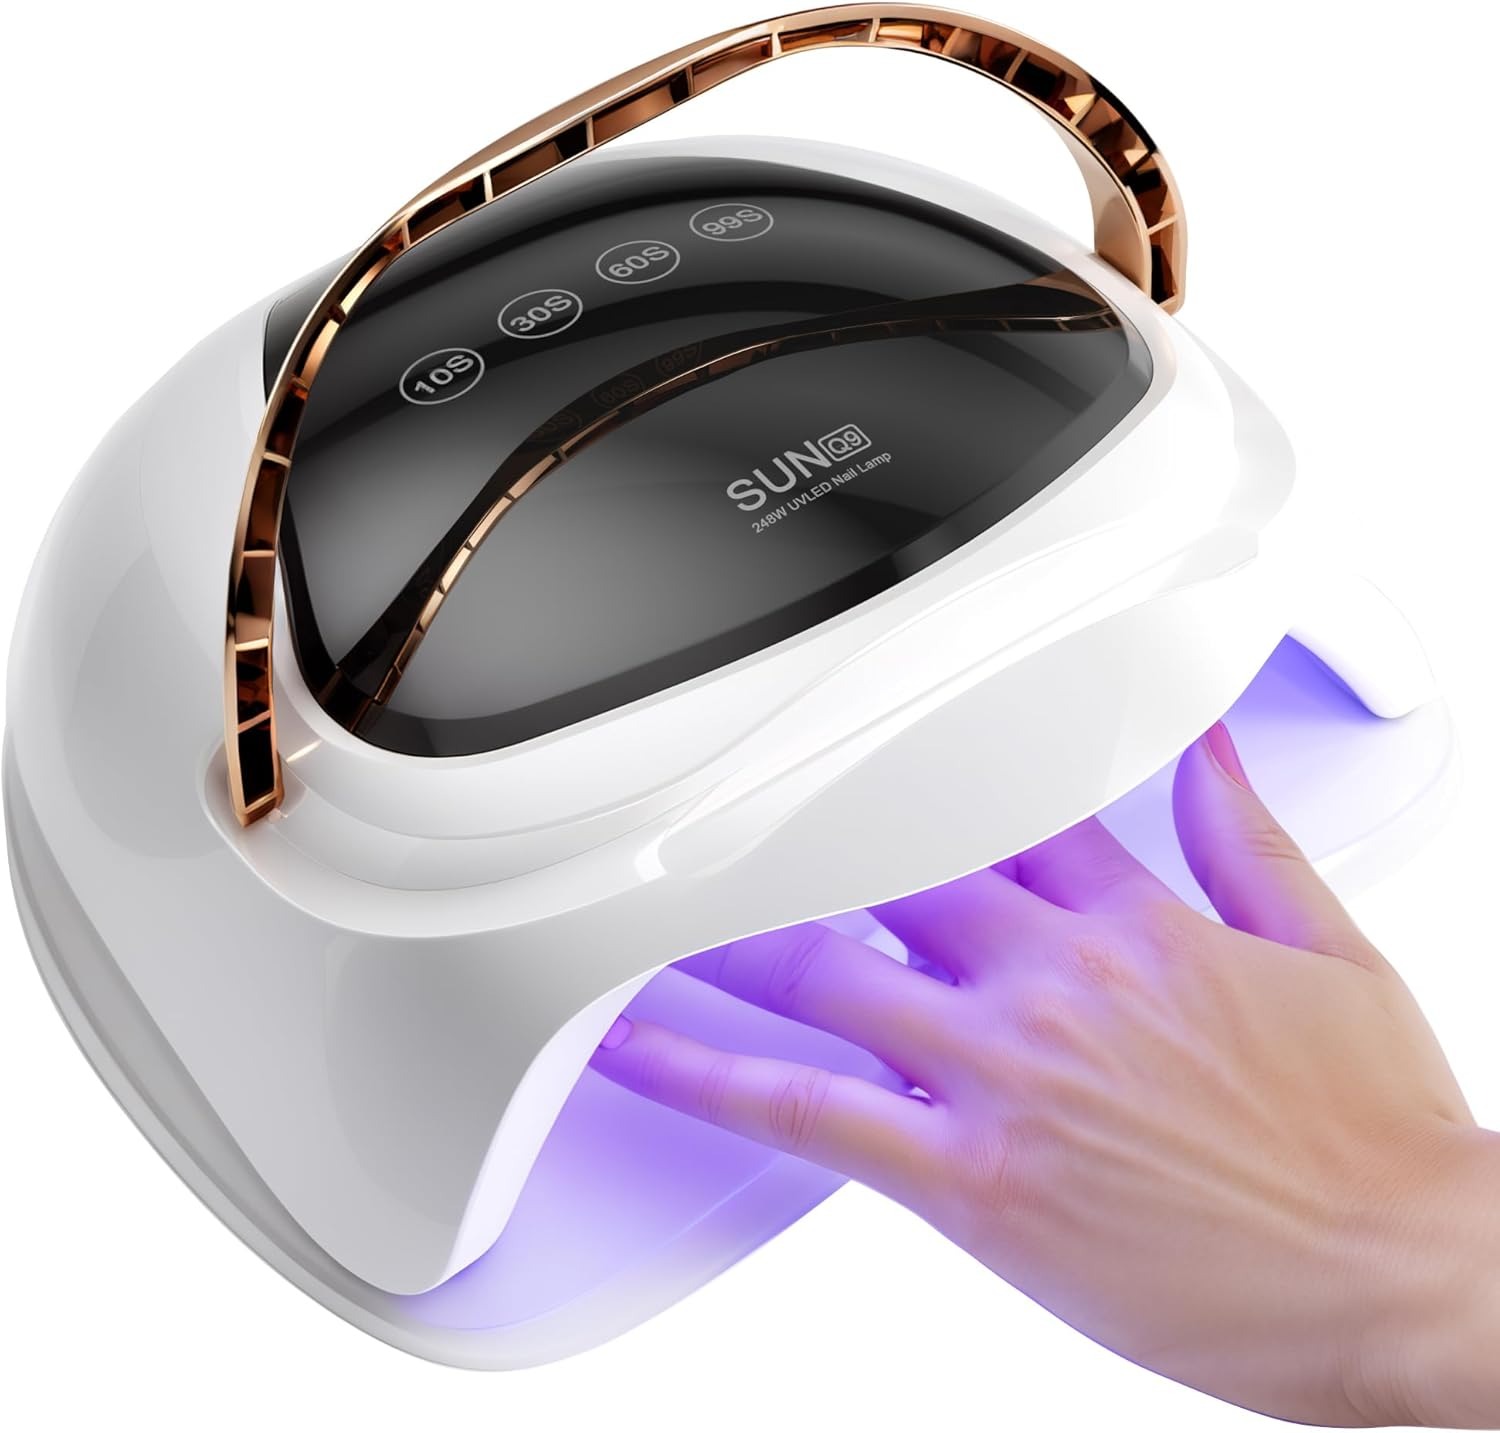
4. Professional-Grade Lamps
- Features:
- Multi-speed settings (e.g., 30/60/90-second timers).
- Sturdy build for heavy use.
- Some include UV-blocking shields and timers.
- Best For:
- Nail technicians needing fast, consistent results.
- High-volume curing without overheating.
5. Hybrid UV/LED Lamps
- Flexibility: Switch between wavelengths for curing both traditional and LED polishes.
- Perfect For:
- Salons with diverse client preferences.
- Home users wanting versatility.
Choosing the Right Type:
- LED Lights: Ideal for modern polishes and speed.
- Traditional UV: Stick with it if using older gel formulas.
- Portable Lamps: Great for travel but not full manicures.
Each type balances speed, cost, and compatibility, so select based on your polish type and usage frequency.
How UV Lights Cure Nail Polish
UV lights for nails harness ultraviolet or LED light to chemically harden gel or acrylic polish into a durable, chip-resistant finish. Here’s how the process works:
1. Activation of Photoinitiators
- Key Ingredient: Nail polish contains photoinitiators (e.g., camphorquinone) that react to UV/LED light.
- UV Light Interaction: When exposed to specific wavelengths:
- Traditional UV Lamps (365nm): Activate older photoinitiators in standard gels.
- LED Lamps (385-405nm): Trigger faster reactions in modern LED-reactive polishes.
2. Polymerization Process
- Chemical Bonding: The light energy breaks photoinitiators into free radicals, which bond monomers and oligomers in the polish into a solid polymer network.
- Result: The liquid polish hardens into a smooth, glass-like layer that adheres tightly to the nail.
3. Curing Time and Efficiency
- Factors Affecting Speed:
- Wavelength Match: LED polishes cure faster (30-60 seconds) under compatible lamps; mismatched wavelengths extend curing time.
- Distance from Nails: Optimal placement (1-2 inches from nails) ensures even light exposure.
- Polish Thickness: Thicker layers require longer curing.
4. Optimal Settings for Success
- LED Lamps:
- Use 385-405nm settings for quick, cool curing.
- Ideal for thin polish layers and LED-reactive products.
- Traditional UV Lamps:
- Longer exposure (2-3 minutes) needed for thick acrylics or non-LED gels.
- Risk of overheating; monitor for polish yellowing.
5. Common Mistakes to Avoid
- Under-Curing: Leads to soft, peeling edges.
- Over-Curing: Wastes time and may weaken nails.
- Inconsistent Placement: Causes uneven hardness.
6. Post-Curing Tips
- Cooling: Let nails rest 1-2 minutes after curing to ensure full hardening.
- Buffing: Lightly smooth the surface with a buffer block for a flawless shine.
By understanding how UV lights interact with polish chemistry, users can achieve flawless cures that last 2-3 weeks. Always match your lamp’s wavelength to the polish type for optimal results.
Choosing the Right UV Light for Your Needs
Selecting the ideal UV light for nails depends on your usage habits, polish type, and budget. Follow these guidelines to pick the perfect lamp:
1. Determine Your Primary Use Case
- At-Home Enthusiasts:
- Prioritize LED lamps for speed and convenience (e.g., 30-second curing).
- Compact, portable models work well for occasional manicures.
- Professionals/Salons:
- Opt for durable, multi-speed lamps with adjustable arms and timers (e.g., 30/60/90-second settings).
- Look for sturdy build quality to withstand daily use.
2. Consider Your Budget
- Budget-Friendly Options (Under $50):
- Ideal for occasional use; may lack advanced features.
- Mid-Range ( 50−100):
- Includes LED technology, adjustable arms, and timers.
- Premium (Over $100):
- Professional-grade lamps with hybrid UV/LED modes and safety shields.
3. Match Wavelength to Polish Type
- LED-Reactive Polishes:
- Choose 385-405nm LED lamps for quick curing (e.g., UV-Cure LED lamps).
- Traditional Gels/Acrylics:
- Use 365nm UV lamps if your polish doesn’t react to LED light.
4. Evaluate Additional Features
- Adjustable Arms: Ensure easy access to all nails, including thumbs and pinkies.
- Safety Timers: Auto-shutoff prevents overexposure and overheating.
- UV-Blocking Shields: Protect skin from stray light during curing.
5. Check User Reviews and Brand Reliability
- Top Brands:
- LED Options: LEPHISTO, Gellux, UVGLow.
- Professional Lamps: LED Lampe, Diamondbrite.
- Look for Longevity: High-quality bulbs last 1-2 years with regular use.
6. Portability vs. Power
- Travel Lamps:
- Lightweight and battery-operated for touch-ups on the go.
- Best for LED polishes and small manicures.
- Stationary Lamps:
- More powerful for thick layers or acrylics.
Final Tips:
- Test Compatibility: Confirm your polish matches the lamp’s wavelength.
- Prioritize Safety: Avoid lamps without timers or shields.
By aligning your needs with these factors, you’ll find a UV light for nails that delivers salon-quality results every time.
Safety Tips for UV Light Use
UV lights for nails offer convenience but require careful handling to avoid skin, eye, or nail damage. Follow these safety guidelines to protect yourself and extend the lamp’s lifespan:
1. Protect Your Skin
- Apply Barrier Cream:
- Apply petroleum jelly or cuticle oil to cuticles before curing to prevent drying and UV absorption.
- Avoid Overexposure:
- Limit weekly manicures to once every 2-3 weeks to avoid nail weakening.
2. Eye Safety Precautions
- Wear UV-Blocking Glasses:
- Use protective goggles or sunglasses with UV400 rating during curing.
- Avoid Staring at the Light:
- Look away or close your eyes during sessions to prevent retinal strain.
3. Nail Health Maintenance
- Take Breaks:
- Let nails “rest” 1-2 weeks between services to recover natural strength.
- Avoid Thick Layers:
- Overly thick polish requires prolonged curing, increasing UV exposure risks.
4. Proper Lamp Usage
- Follow Curing Times:
- Over-curing generates excess heat, which may yellow polish or damage nails.
- Maintain Distance:
- Keep the lamp 1-2 inches from nails—closer placement intensifies UV exposure.
5. Cleanliness and Maintenance
- Sanitize the Lamp:
- Wipe the UV bulbs with a microfiber cloth monthly to remove dust or residue.
- Store Properly:
- Keep the lamp in a dry area to avoid electrical damage.
6. Environmental Precautions
- Work in a Well-Lit Room:
- Adequate lighting reduces eye strain during polish application.
- Keep Out of Reach of Children:
- UV lamps are not toys—store them securely when not in use.
Common Mistakes to Avoid:
- Skipping Eye Protection: UV rays can cause temporary blindness if stared at directly.
- Ignoring Breaks: Frequent use weakens nails, leading to brittleness.
By prioritizing these safety measures, you can enjoy UV light for nails without compromising your health. Always read your lamp’s manual for brand-specific guidelines.
Maintenance and Longevity of UV Lights
Proper care ensures your UV light for nails lasts 3-5 years, providing reliable manicures over time. Follow these steps to maximize its lifespan and performance:
1. Daily Cleaning Routine
- After Each Use:
- Wipe the UV bulbs and interior with a soft, dry cloth to remove dust or polish residue.
- Avoid touching bulbs with bare hands—oil from fingers can reduce light output.
- For Portable Lamps:
- Let them cool before storing; heat accelerates battery degradation.
2. Regular Deep Cleaning
- Monthly Maintenance:
- Use a damp cloth (no harsh chemicals) to clean stubborn stains on the lamp’s surface.
- For LED bulbs, gently wipe with a microfiber cloth to avoid scratching.
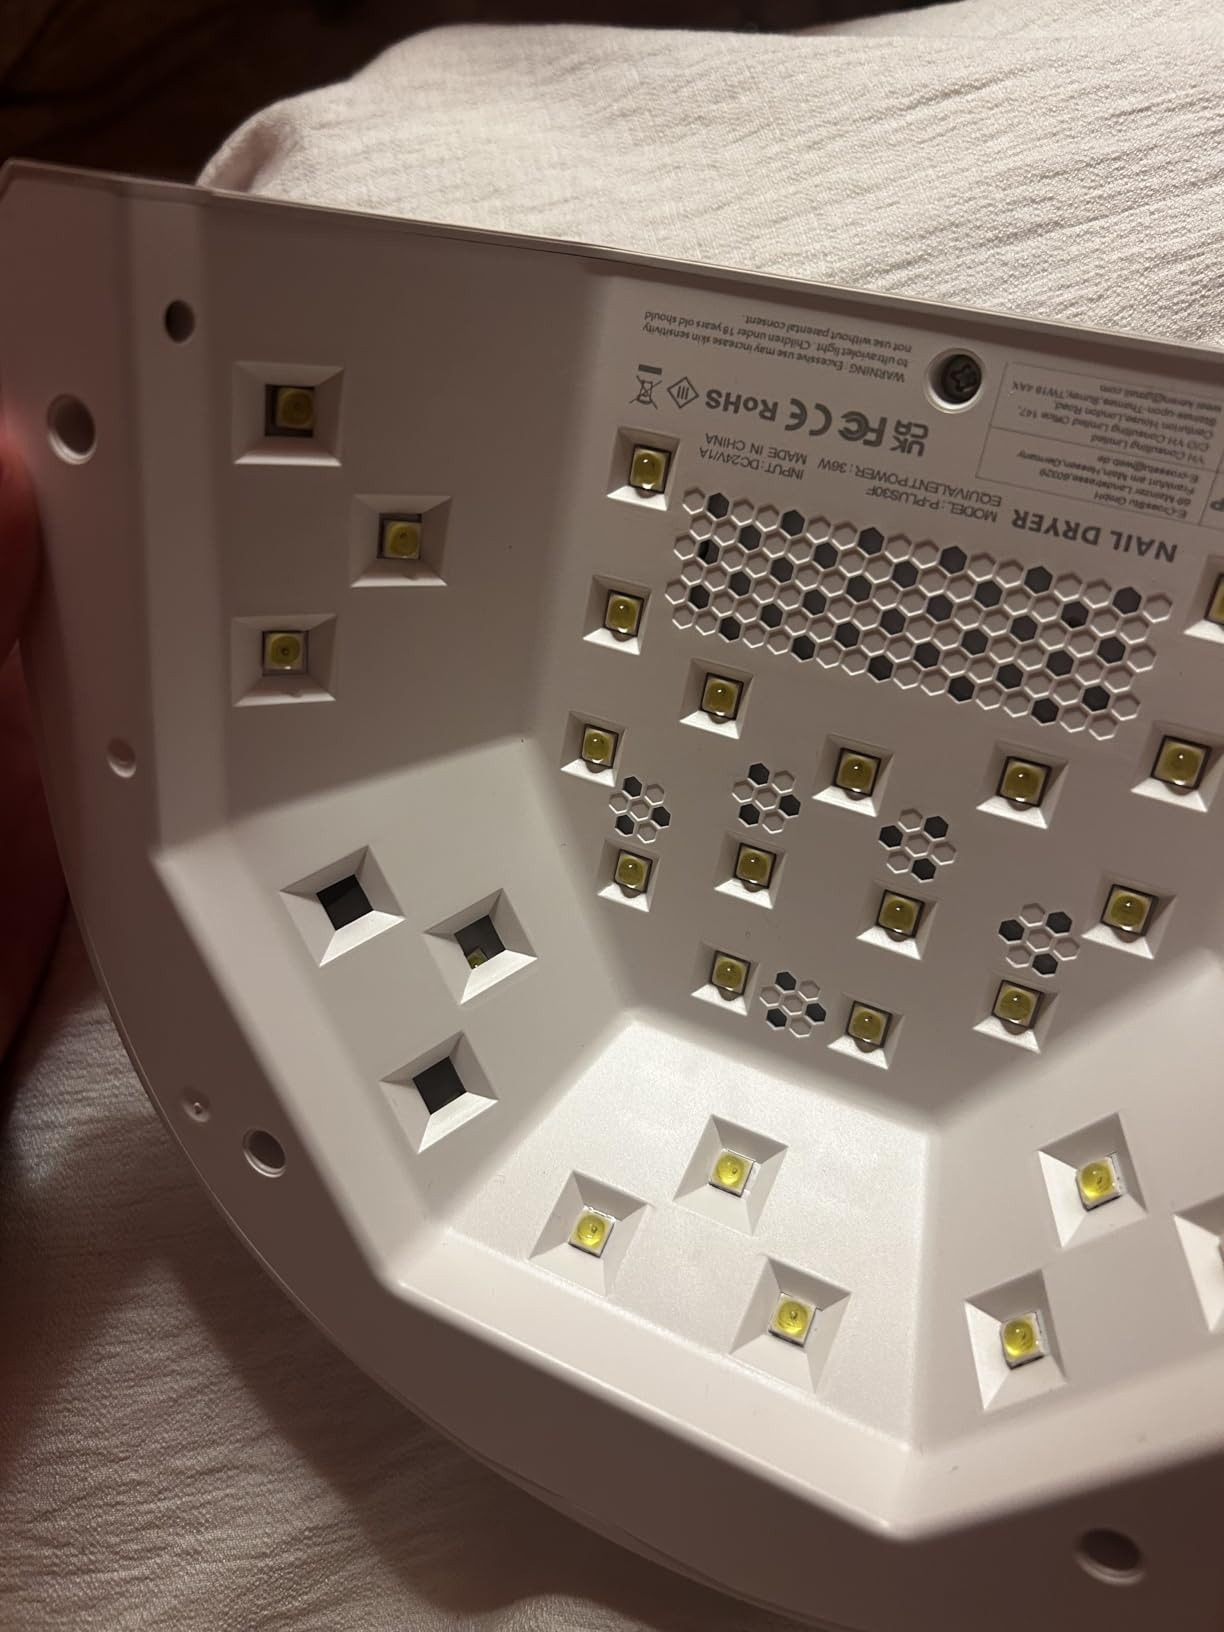
3. Monitor Bulb Performance
- Signs of Aging:
- Fading light intensity or uneven curing indicates bulbs need replacement.
- Replacement Schedule:
- Replace bulbs every 1-2 years for consistent curing power. Most brands sell replacement kits.
4. Storage Tips
- Keep Dry:
- Store in a cool, dry place to prevent moisture buildup, which can damage electronics.
- Avoid Direct Sunlight:
- Prolonged sun exposure weakens plastic components and reduces bulb life.
5. Battery Care for Portables
- Charge Properly:
- Fully charge before first use and avoid over-discharging.
- Use the included charger only—third-party chargers may damage batteries.
6. Avoid Overuse
- Cooling Periods:
- Let the lamp cool between uses to prevent overheating.
- Limit Daily Sessions:
- For professional models, take breaks between clients to extend bulb life.
Common Mistakes to Avoid:
- Ignoring Dust Buildup: Can scatter UV light and reduce curing efficiency.
- Using Harsh Chemicals: Damages surfaces and voids warranties.
By following these maintenance steps, your UV light for nails will remain reliable, ensuring perfect manicures for years. Replace parts promptly and store carefully to avoid costly repairs.
User Testimonials and Real-Life Benefits
Users praise UV lights for nails for transforming their at-home manicures into salon-quality masterpieces. Here’s how real customers benefit:
1. Convenience and Time Savings
- “This LED lamp cured my polish in 30 seconds—no more waiting!” – Sarah, at-home user.
- Professional Benefit: Nail technicians cut curing time by 50%, freeing up slots for more clients.
2. Durability and Chip-Resistant Results
- “My manicures last 2 weeks without chips—even after washing dishes!” – Mark, busy father.
- Traveler’s Perspective: A portable UV lamp lets users touch-up polish during trips without carry-on mess.
3. Cost Efficiency
- “I saved $500 yearly by doing manicures at home with my UV lamp!” – Lisa, budget-conscious user.
- Salon Owners: Investing in a high-end lamp reduces polish waste from under-curing.
4. Safety and Comfort
- “The UV-blocking shield and timer made me feel safe using it daily.” – Emily, nail enthusiast.
- Sensitive Skin Users: Barrier creams and adjustable arms prevent irritation during sessions.
5. Versatility Across Polishes
- Hybrid Lamp User: “Switching between UV and LED modes lets me use all my polishes!” – David, collector.
- Acrylic Enthusiast: Traditional UV lamps cure thick acrylics perfectly for bold designs.
6. Durability and Longevity
- “My lamp is 3 years old and still works flawlessly!” – Rachel, loyal customer.
- Salon Lamp Review: A professional-grade model handled 1,000+ manicures without bulb replacement.
Top Benefits Summarized:
- Speed: Cures in minutes, saving time.
- Quality: Long-lasting, professional results.
- Safety: Protects skin and eyes with proper use.
These testimonials highlight how UV lights for nails deliver reliable performance, cost savings, and confidence for diverse users. Whether for personal use or business, they’re a worthwhile investment for nail care enthusiasts.
FAQs: Everything You Need to Know
Here are quick answers to common questions about UV lights for nails:
Q: How long should I cure each nail?
A: Follow the polish instructions—typically 30-90 seconds for LED, 2-3 minutes for traditional UV.
Q: Are UV lights safe for daily use?
A: Yes, with precautions: use protective goggles, apply cuticle oil, and limit sessions to weekly.
Q: Can I use any nail polish with a UV lamp?
A: No! Use LED-reactive polishes with LED lamps and traditional gels with UV models.
Q: How often should I replace the bulbs?
A: Every 1-2 years for optimal curing power. Check for fading light intensity as a sign.
Q: Can I use a UV lamp for acrylics?
A: Yes! Traditional UV lamps (365nm) work best for thick acrylic layers.
Q: Is it safe for children to use?
A: No! UV light risks eye/skin damage—keep it out of reach and supervise use.
Q: How do I clean the lamp?
A: Wipe with a dry cloth monthly; avoid water or harsh chemicals.
Q: What’s the return policy?
A: Most brands offer a 30-day satisfaction guarantee—check before purchase.