If you own or plan to buy gold jewelry, knowing how to test gold jewelry is essential. Fake pieces flood the market. Some look real but contain little or no actual gold. That’s why learning proper testing methods protects your investment.
Moreover, many people inherit or receive gold as gifts. They may not know its true value. Testing helps confirm authenticity and purity. Whether you’re selling, buying, or storing, understanding how to test gold jewelry brings confidence and clarity.
 Why Testing Gold Jewelry Matters in Today’s Market
The need to test gold jewelry has never been greater. Counterfeit items appear online and in stores. Scammers use gold plating over cheap metals. These look convincing at first glance.
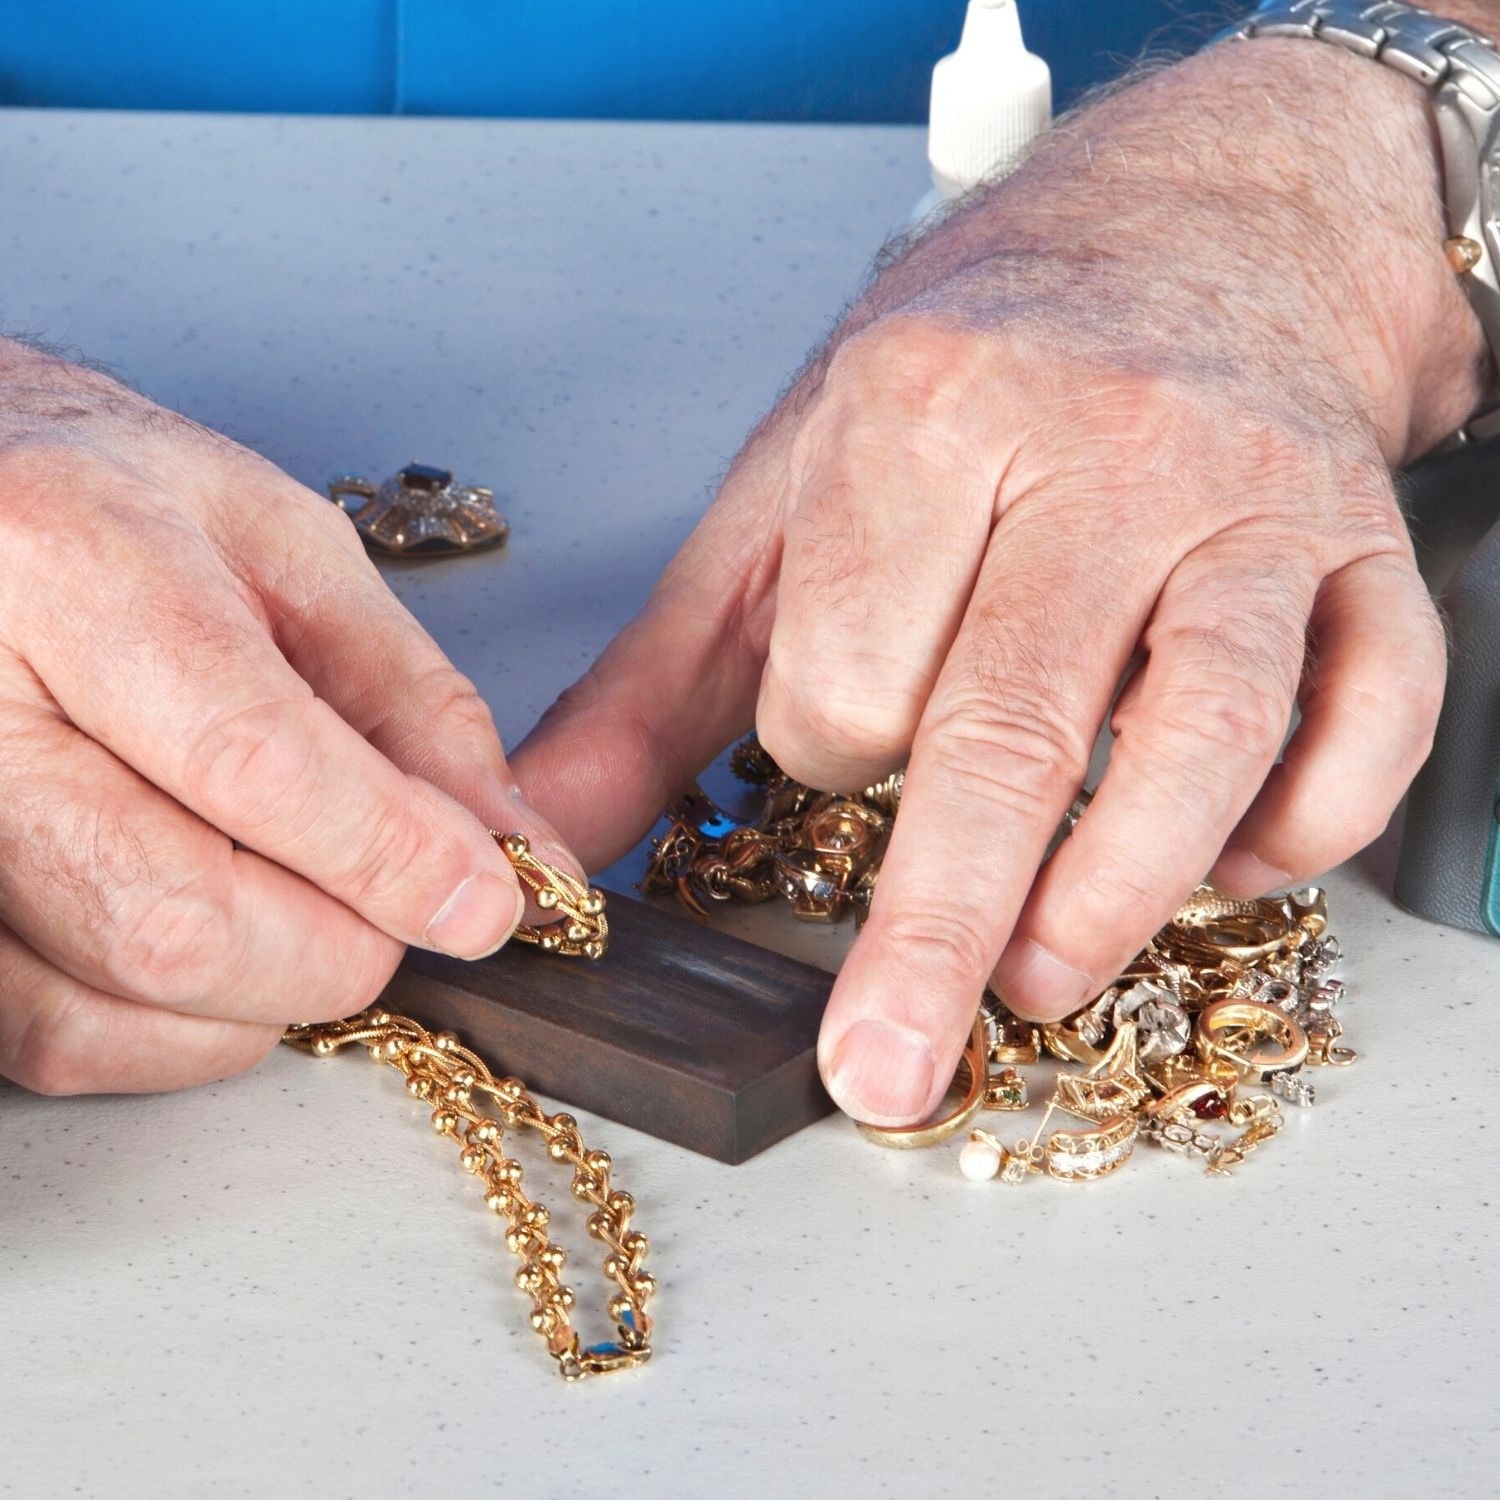
Additionally, secondhand markets grow fast. Thrift shops, estate sales, and online auctions attract buyers. However, not all sellers are honest. Some misrepresent karat levels.
Testing also matters when selling. Pawn shops and jewelers offer low prices if they doubt quality. A verified piece earns more money. You avoid being underpaid.
Insurance claims require proof too. If jewelry is lost or stolen, you must prove its value. Photos help, but a purity report adds strength.
Family heirlooms benefit from testing. You may assume a piece is 14K. Yet, it could be lower grade. Knowing the truth honors the item’s history.
Even repairs depend on accurate testing. Jewelers need to know what metal they’re working with. Wrong tools can damage real gold.
Clearly, taking time to learn how to test gold jewelry saves money and stress.
Avoiding Fraud and Making Informed Decisions
Fraudulent gold jewelry remains a serious issue. Many scams involve heavy fakes made of tungsten. These match gold’s weight but cost far less. Only detailed tests reveal the truth.
Magnetic tests help spot imposters. Real gold does not attract magnets. If a piece sticks, it contains iron or steel. This quick check stops many mistakes.
Another trick involves acid washing. Some sellers dip base metals in acid to mimic gold. The color fades quickly with wear. Testing catches this early.
Buyers often trust stamps alone. Yet, fake hallmarks exist. A “24K” stamp means nothing without verification. Always test beyond the marking.
Sellers use emotional stories too. “This was my grandmother’s ring” sounds sincere. But emotion should not replace facts.
Testing removes guesswork. It turns uncertainty into knowledge. You act based on evidence, not hope.
In group purchases or shared estates, results prevent conflict. Everyone sees the same data. Trust grows through transparency.
Learning how to test gold jewelry empowers you. You become harder to deceive.
 Visual Inspection: The First Step in Testing
Before using tools, start with a visual check. Look closely at the piece. Use a magnifying glass if needed. Signs of wear may show underlying metal.
Check for discoloration. Faded spots suggest plating. Green or black marks near clasps mean base metal exposure.
Look for seams or bubbles. Plated items sometimes peel. Tiny gaps appear where layers separate. These are red flags.
Examine hallmarks and engravings. Real gold usually has stamped numbers like 10K, 14K, or 750. These indicate purity. Absence doesn’t mean fake—some antique pieces lack stamps.
Be cautious of uneven coloring. Real gold maintains tone across surfaces. Patchy shine hints at poor plating.
Inspect clasps and hinges. Weak joints suggest low-quality construction. Solid gold feels dense and balanced.
Compare weight to similar items. Gold is heavy. A lightweight necklace might be hollow or fake.
Also, consider design quality. Mass-produced fakes often have blurry details. Handcrafted gold shows precision.
Visual checks don’t confirm purity. But they raise awareness. Suspicious signs call for deeper testing.
Always begin here before moving to advanced steps.
Using Magnification and Lighting Properly
Proper lighting improves visual inspection. Natural daylight works best. It reveals true color and flaws. Avoid dim rooms or yellow bulbs.
Use a jeweler’s loupe with 10x magnification. This exposes tiny imperfections. Scratches, tool marks, or surface textures become visible.
Look inside rings or behind pendants. Hidden areas show wear faster. Plating wears thin in high-friction zones.
Hold the light at an angle. Glare highlights texture changes. Reflective patterns differ between real and plated gold.
Black lights do not test gold. Some believe UV light reveals fakes. This is false. Gold reacts to chemical or physical tests, not UV.
LED task lamps provide steady brightness. Position them to reduce shadows. Clear views support accurate analysis.
Magnification also finds repair marks. Solder lines or filled stones affect value. Experts notice these during appraisals.
Keep your eyes fresh. Take breaks during long inspections. Fatigue leads to missed details.
Combine sight with other senses. Touch and weight matter too. But vision starts the process.
A strong visual exam guides next steps. It tells you whether further testing is needed.
Acid Test Kits: A Reliable Way to Check Purity
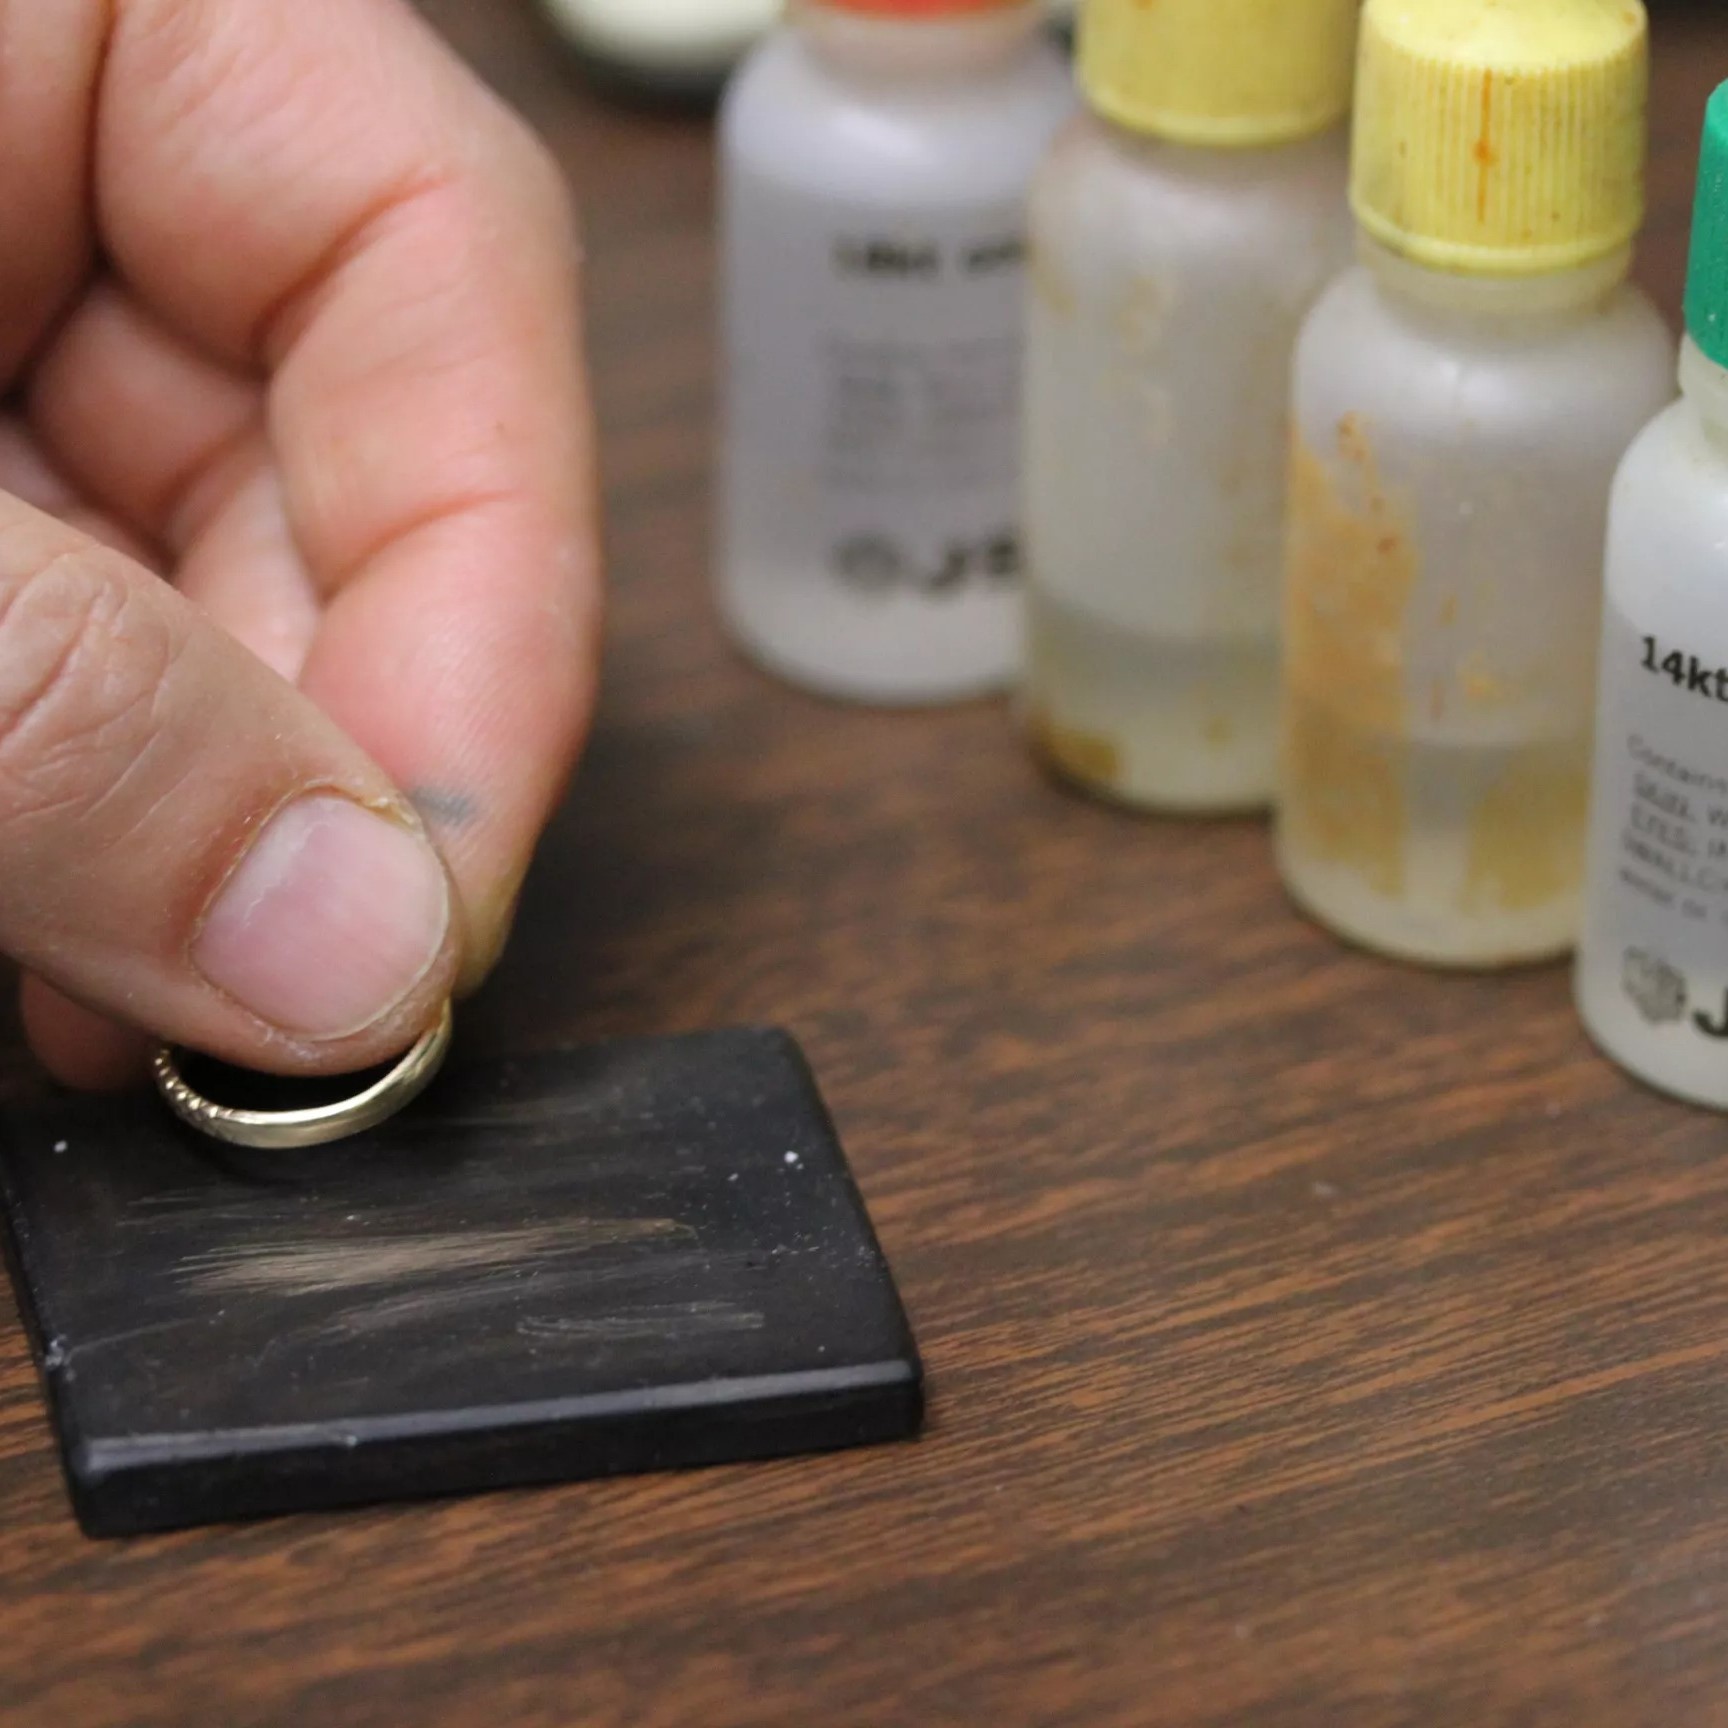
One of the most trusted ways to test gold jewelry is with an acid kit. These kits include nitric or aqua regia acid. They react differently based on metal type.
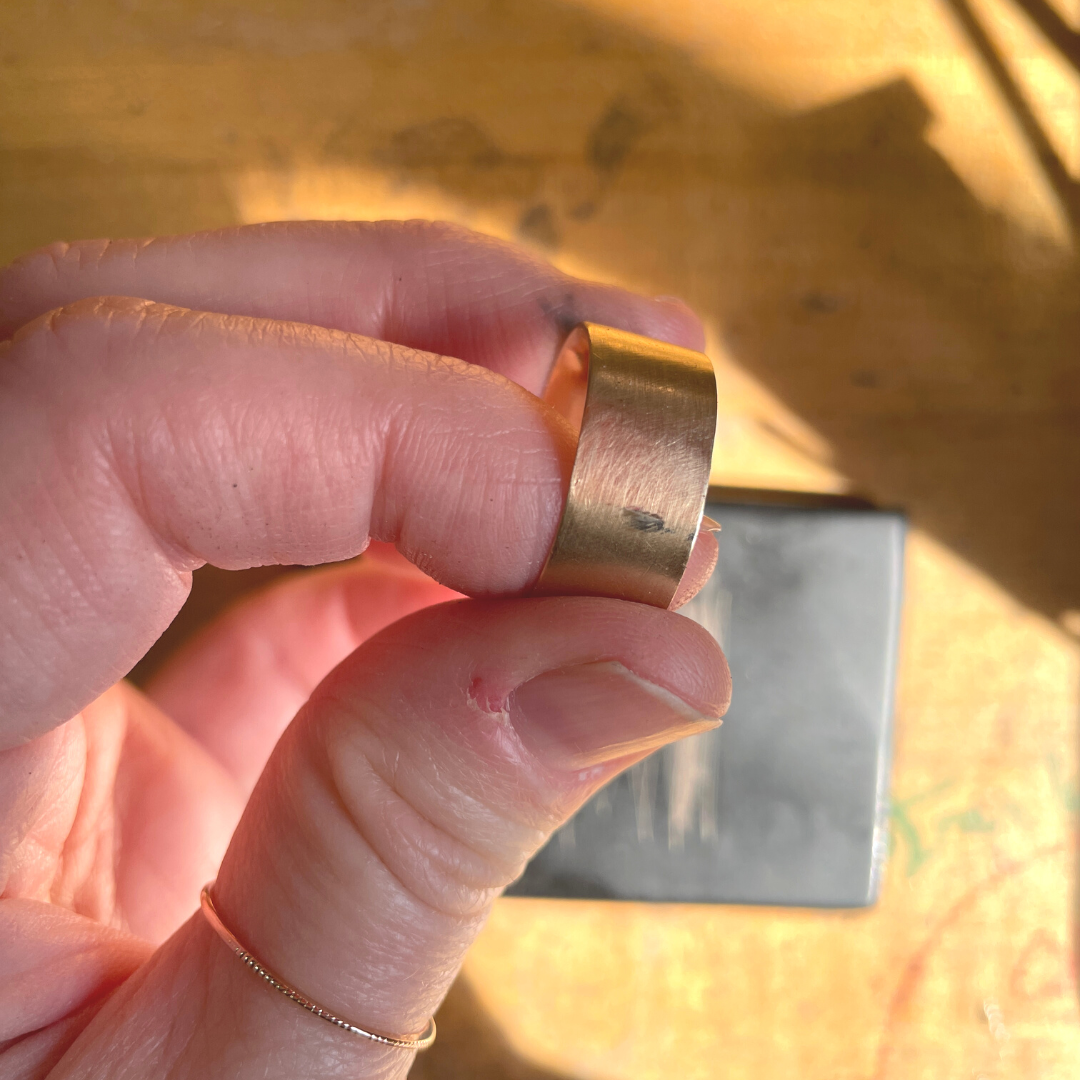
Start by rubbing the item on a test stone. This leaves a streak. Apply drops of acid to the mark. Watch the reaction.
No change means real gold. Red or green fizzing indicates base metals. The speed and color matter. Fast reactions signal low purity.
Different acids test various karats. A 14K tester uses one solution. A 22K requires another. Match the acid to your expected result.
Practice on known samples first. Learn what real reactions look like. Mistakes happen when users misread colors.
Acid testing damages the piece slightly. The scratch is small but permanent. Avoid doing this on valuable antiques unless necessary.
Kits are affordable. Most cost under $30. Refills last years. They include practice stones and instructions.
Some kits come with touch needles. These match common karat levels. Just rub and test.
Always wear gloves and work in ventilated areas. Acids are corrosive. Safety comes first.
Despite minor damage, acid tests remain highly accurate. They are widely used by professionals.
For those serious about how to test gold jewelry, this method delivers clear answers.
Understanding Karat Levels and Color Reactions
Gold purity affects acid test results. 24K gold is pure. It resists most acids. Lower karats dissolve faster.
18K gold contains 75% gold. It shows slight reaction under strong acid. Trained eyes see subtle changes.
14K is 58.3% gold. It tolerates mild acid. Stronger solutions cause slow bubbling.
10K gold is barely above standard. It reacts quickly. Bubbling appears within seconds.
The test stone color helps too. Light yellow suggests high purity. Pale or gray streaks point to alloys.
Matching known samples builds skill. Keep reference bars or tested items nearby.
Color charts guide beginners. They show expected outcomes. Follow them carefully.
Avoid mixing up acids. Labels fade over time. Write them clearly.
Not all kits are equal. Buy from reputable brands. Cheap sets may give false readings.
Results vary by temperature and humidity. Warm environments speed reactions. Cold slows them.
Experience improves accuracy. New users may misjudge timing. Practice increases confidence.
Understanding these factors makes acid tests reliable. They form a core part of how to test gold jewelry.
 Electronic Gold Testers for Quick Results
Electronic testers offer a non-destructive way to test gold jewelry. These handheld devices pass a small current through the metal. Conductivity reveals composition.
Turn on the device and warm it up. Place the probe on a clean area. Wait a few seconds for the reading.
Digital models display karat levels. Analog ones use needle movement. Both show real-time results.
Clean the surface first. Dirt or oils block contact. Rub with alcohol and dry well.
Test multiple spots. One reading isn’t enough. Consistent results increase trust.
These testers detect plating. They identify base metal underneath. This prevents costly mistakes.
They work on rings, chains, and earrings. No damage occurs. Ideal for delicate or vintage pieces.
Calibration ensures accuracy. Reset the device regularly. Follow manufacturer guidelines.
Battery life matters. Carry spares during appraisals. Low power causes errors.
Cost varies. Basic models start around 50.Professionalunitsexceed200. Choose based on use.
Some detect silver and platinum too. Multi-metal testers expand usefulness.
While not perfect, they deliver fast, safe checks. Many jewelers use them daily.
For home users, they offer peace of mind. You verify without scratching.
When combined with other methods, electronic testers strengthen your approach to how to test gold jewelry.
Advantages and Limitations of Digital Tools
Electronic testers bring many benefits. First, they are non-invasive. No scratches or marks occur. This preserves value.
Speed is another plus. Readings take seconds. Compare that to waiting for acid reactions.
Ease of use makes them popular. Beginners get results fast. No chemistry skills required.
They work on curved surfaces. Probes adjust to shape. Flat contact isn’t always needed.
However, limitations exist. Surface contamination skews results. Cleaning is critical.
Plated items with thick gold layers may fool testers. The current doesn’t penetrate deep. False positives occur.
Calibration drifts over time. Devices lose accuracy. Regular checks prevent this.
They cannot identify alloy mixtures. Only conductivity matters. Other metals may interfere.
Water or moisture affects performance. Never test damp jewelry. Dry thoroughly first.
Fingerprints leave oils. Wipe the item with alcohol. Use lint-free cloths.
Not all testers handle low-karat gold well. Sensitivity varies. Research before buying.
Still, their role is growing. They suit quick checks and large batches.
Use them as part of a full testing routine. Pair with visual and acid methods.
Together, they build a complete picture. No single tool replaces all others.
 Magnet Testing: A Simple but Limited Method
Magnet testing is one of the easiest ways to test gold jewelry. Real gold is not magnetic. Any attraction means other metals are present.
Hold a strong neodymium magnet near the piece. Observe how it reacts. Does it pull? Slide slowly?
If the jewelry moves toward the magnet, it contains iron, nickel, or cobalt. These are common in fake gold.
Note that some gold alloys include magnetic metals. White gold with nickel may show weak pull. This doesn’t mean fake—but needs follow-up.
Plated tungsten often passes weight and magnet tests. Tungsten is heavy and non-magnetic. Only acid or XRF testing reveals the truth.
Still, magnets rule out many fakes. They are cheap and instant. Every home tester should keep one.
Use them before any other test. It takes two seconds. Eliminate obvious counterfeits early.
Keep different magnet strengths. Weak ones miss subtle pulls. Strong ones catch more.
Never rely solely on magnets. They don’t confirm gold. They only rule out certain fakes.
Combine with other checks for better results.
Magnet testing is simple. But it plays a key role in how to test gold jewelry.
When to Use Multiple Tests Together
No single method proves gold 100%. That’s why experts use several tests together. Cross-checking increases confidence.
Start with a magnet. If it attracts, stop. The piece likely isn’t gold.
Then inspect visually. Look for stamps, wear, and color. Note anything unusual.
Use an electronic tester for a quick scan. Record the reading.
Follow with an acid test. Confirm the result matches earlier findings.
Weigh the item and compare to density charts. Gold is very dense. Mismatches suggest hollow or fake pieces.
Professional XRF machines give exact breakdowns. These are found in labs and jewelry stores.
Each test supports the others. Agreement means higher certainty.
Disagreement calls for caution. Re-test or seek expert help.
Using multiple methods reduces risk. You avoid false conclusions.
For high-value items, extra effort pays off. Mistakes cost money.
Building a routine makes testing easier. Over time, it becomes natural.
Understanding how to test gold jewelry fully means embracing layers of proof.
Frequently Asked Questions
Can I test gold at home without tools?
Yes, use visual checks and magnets. But for purity, tools are needed.
Do vinegar or baking soda tests work?
No, they are unreliable. Stick to proven methods.
Is hallmark enough to prove gold?
No, fake stamps exist. Always verify with testing.
Can I damage real gold while testing?
Only acid and file tests leave marks. Others are safe.
How accurate are electronic testers?
Most are 90–95% accurate. Calibrate regularly.
What karat is considered real gold?
10K and above are legally real in the U.S.
Should I test inherited jewelry?
Yes, especially before selling or insuring.
Can plating pass a gold test?
Thin plating fails acid and electronic tests. Thick plating may fool basic tools.
 Final Thoughts on Mastering How to Test Gold Jewelry
Knowing how to test gold jewelry protects your finances and emotions. Whether you’re a buyer, seller, or collector, accuracy matters. Fake items cost more than money—they waste trust and time.
With the right tools and knowledge, anyone can test gold. Start simple. Build skills over time. Combine methods for stronger results.
From magnets to acid kits, each step adds clarity. Confidence grows with every test. You make smarter choices.
In a world full of imitations, real knowledge shines. And mastering how to test gold jewelry ensures you stay ahead.